What Goes Wrong When Painting Interiors?
Interior painting looks simple, but mistakes, in prep, technique, paint choice, or application, can lead to a finish that peels, streaks, shows imperfections, or disappoints. Avoiding the common ones, whether you DIY or hire a pro, ensures a smooth, lasting, professional-looking result. Here’s what goes wrong and how to avoid it.
Mistake: Skipping or Skimping Prep
How to avoid it: The most common painting mistake is inadequate prep, painting over dirty, damaged, or unprepared walls, which leads to poor adhesion, visible imperfections, and a short-lived finish. Avoid it by properly preparing surfaces: cleaning, patching holes and cracks, sanding, filling, priming where needed, and caulking. A quality paint job depends far more on prep than on painting, and skipping it to save time produces a poor, short-lived result. Whether DIY or professional, proper preparation is the foundation of a good paint job, so never skimp on it, it’s what makes the difference. (For more on this, see What Makes Interior Painting Cost More (or Less)?.) In homes built before 1978, the EPA’s Lead Renovation, Repair and Painting rule requires anyone paid to disturb painted surfaces to be certified in lead-safe practices.
Mistake: Using Cheap Paint or Tools
How to avoid it: Using very cheap paint or poor-quality tools leads to poor coverage, streaks, an uneven finish, and more coats needed, false economy that shows in the result. Avoid it by using quality paint appropriate to the space and good brushes and rollers. Quality paint covers better, looks better, and lasts longer, and good tools apply it smoothly, while cheap paint and tools produce a disappointing finish. You needn’t buy the most expensive, but avoiding bottom-tier paint and tools is worth it, since the paint and tools significantly affect the result and the effort required to achieve it.
Mistake: Not Priming When Needed
How to avoid it: Skipping primer when it’s needed, on new drywall, bare surfaces, dramatic color changes, or over stains, leads to poor coverage, color bleed-through, stains showing, and adhesion problems. Avoid it by priming when the situation calls for it: new surfaces, big color changes (especially covering dark colors), and stain coverage. While paint-and-primer products help in some cases, dedicated priming is important in these situations. Not priming when needed causes the finish to look poor or the old color or stains to show through, so priming appropriately is key to a clean, even result.
Mistake: Poor Technique and Application
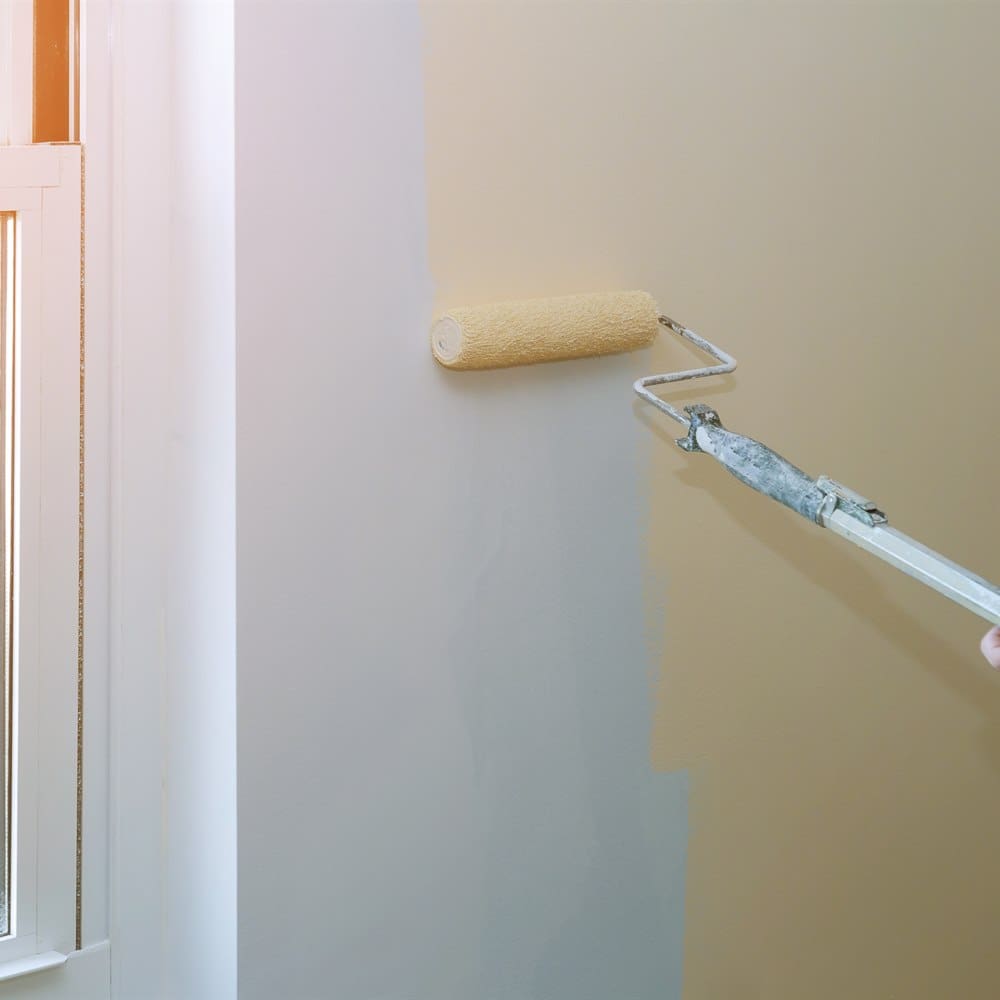
How to avoid it: Poor technique, uneven application, visible brush or roller marks, lap marks, drips, or bad cutting in around trim, produces an amateurish finish. Avoid it by using proper technique: maintaining a wet edge, applying even coats, proper rolling and brushing, careful cutting in, and letting coats dry properly between applications. Good technique produces a smooth, even, professional finish, while poor technique shows in streaks, marks, and unevenness. This is a key reason to hire a skilled painter for a flawless result, or, for DIY, to learn and apply proper techniques carefully. Technique greatly affects the finish quality. (For more on this, see How to Find a Good Interior Painter.)
Mistake: Not Enough Coats or Rushing Drying
How to avoid it: Applying too few coats leaves poor coverage and an uneven, patchy look, while rushing, not letting coats dry properly before the next, causes problems like pulling, streaking, or poor adhesion. Avoid it by applying enough coats for full, even coverage (often two, more for color changes) and allowing proper drying time between coats as the paint requires. Rushing the coats or the drying compromises the finish, so patience with adequate coats and proper drying is essential to a smooth, fully-covered, lasting result. Don’t cut corners on coats or drying time.
Mistake: Poor Protection and Cleanup
How to avoid it: Failing to protect the space, getting paint on floors, furniture, fixtures, or trim, creates a mess and damage, while poor cutting in and taping leads to messy lines. Avoid it by properly protecting the room: covering floors and furniture, taping or carefully cutting in edges, and protecting fixtures, plus cleaning up properly afterward. Good protection prevents paint where it shouldn’t be and produces clean lines, while poor protection creates cleanup headaches and damage. Taking the time to protect the space and work cleanly, then cleaning up properly, is part of a quality paint job and avoids costly messes.
The Mistake of Underestimating the Job’s Difficulty
An underlying mistake that leads many DIY painting projects to disappoint is underestimating how much skill, effort, and time a quality paint job actually requires, treating painting as simpler than it is. Painting looks straightforward, apply paint to walls, and for a simple room a capable DIYer can do it well, but achieving a truly professional-looking result involves more skill and care than many expect: thorough surface preparation, precise cutting in around trim and edges, maintaining a wet edge to avoid lap marks, even application without streaks or roller marks, and patience with proper coats and drying. Homeowners who underestimate this difficulty often rush the prep, apply paint unevenly, or cut in sloppily, ending up with a result that looks amateurish and reveals the corners cut. The gap between a passable paint job and a professional-quality one is wider than it appears, and it lies precisely in the skill and care that’s easy to underestimate. (For more on this, see Interior Painting Mistakes to Avoid.)
Recognizing the true difficulty of quality painting helps you avoid disappointment in two ways. First, if you’re doing it yourself, it prompts you to invest the necessary time and care, doing thorough prep, learning and applying proper technique, not rushing the coats or drying, rather than treating the job casually and being disappointed by the result. Second, it helps you make a realistic DIY-versus-pro decision: for a simple room where you’re willing to invest the effort, DIY can work well, but for a complex job, or when a flawless result matters, recognizing that professional-quality painting is genuinely skilled work may point you toward hiring a pro whose expertise delivers the finish you want. Many homeowners who attempt an ambitious painting project, a whole house, high ceilings, extensive trim, without appreciating its difficulty end up either with a disappointing result or hiring a pro partway through to fix or finish it. Approaching painting with a realistic understanding of the skill and effort a quality job requires, and either committing to doing it properly or hiring a professional for jobs beyond your comfort, is one of the best ways to avoid the disappointment of an underestimated project. Respecting the real difficulty of quality painting leads to better decisions and better results, whether you DIY or hire out.
Staying Ahead of Mistakes
The common painting mistakes, skipping prep, cheap paint and tools, not priming when needed, poor technique, too few coats or rushed drying, and poor protection, are all avoidable with proper preparation, materials, technique, and care. When you’re ready to connect with a qualified local pro, connect below.
Frequently Asked Questions
Skipping or skimping on prep, painting over dirty, damaged, or unprepared walls, which leads to poor adhesion, visible imperfections, and a short-lived finish. Properly prepare surfaces: cleaning, patching holes and cracks, sanding, filling, priming where needed, and caulking. A quality paint job depends far more on prep than on painting, so never skimp on it, proper preparation is the foundation of a good, lasting result.
Yes. Very cheap paint or poor-quality tools lead to poor coverage, streaks, an uneven finish, and more coats needed, false economy that shows in the result. Use quality paint appropriate to the space and good brushes and rollers, which cover better, look better, and last longer. You needn't buy the most expensive, but avoiding bottom-tier paint and tools is worth it, since they significantly affect the result and the effort to achieve it.
On new drywall, bare surfaces, dramatic color changes (especially covering dark colors), and over stains. Skipping primer in these situations leads to poor coverage, color bleed-through, stains showing, and adhesion problems. While paint-and-primer products help in some cases, dedicated priming is important in these situations. Priming appropriately is key to a clean, even result, so not priming when needed causes the finish to look poor or old colors and stains to show through.
Often two for full, even coverage, and more for dramatic color changes (plus priming). Applying too few coats leaves poor coverage and a patchy look, while enough coats give full, even coverage. Also allow proper drying time between coats as the paint requires, rushing the drying causes pulling, streaking, or poor adhesion. Patience with adequate coats and proper drying is essential to a smooth, fully-covered, lasting result, so don't cut corners on coats or drying.
Properly protect the room, covering floors and furniture, taping or carefully cutting in edges, and protecting fixtures, and use proper technique for clean lines and even application. Failing to protect the space gets paint where it shouldn't be, and poor cutting in leads to messy lines. Good protection and careful work produce clean results, while poor protection creates cleanup headaches and damage. Taking time to protect the space and work cleanly avoids costly messes.