What Interior Painting Mistakes Should You Avoid?
The most common interior painting mistake is picking a color without testing it on the actual wall — buy a $4 to $8 sample pot, paint a 12×12-inch patch, and watch it for 24 to 48 hours in every lighting condition before you buy gallons. The rest of the list is the same kind of failure: skipping primer on patched areas, using the wrong finish for the room, painting over dirt or gloss, and rushing dry time between coats. Most bad paint jobs come from skipped steps, not bad paint.
Not Testing Colors on the Actual Wall
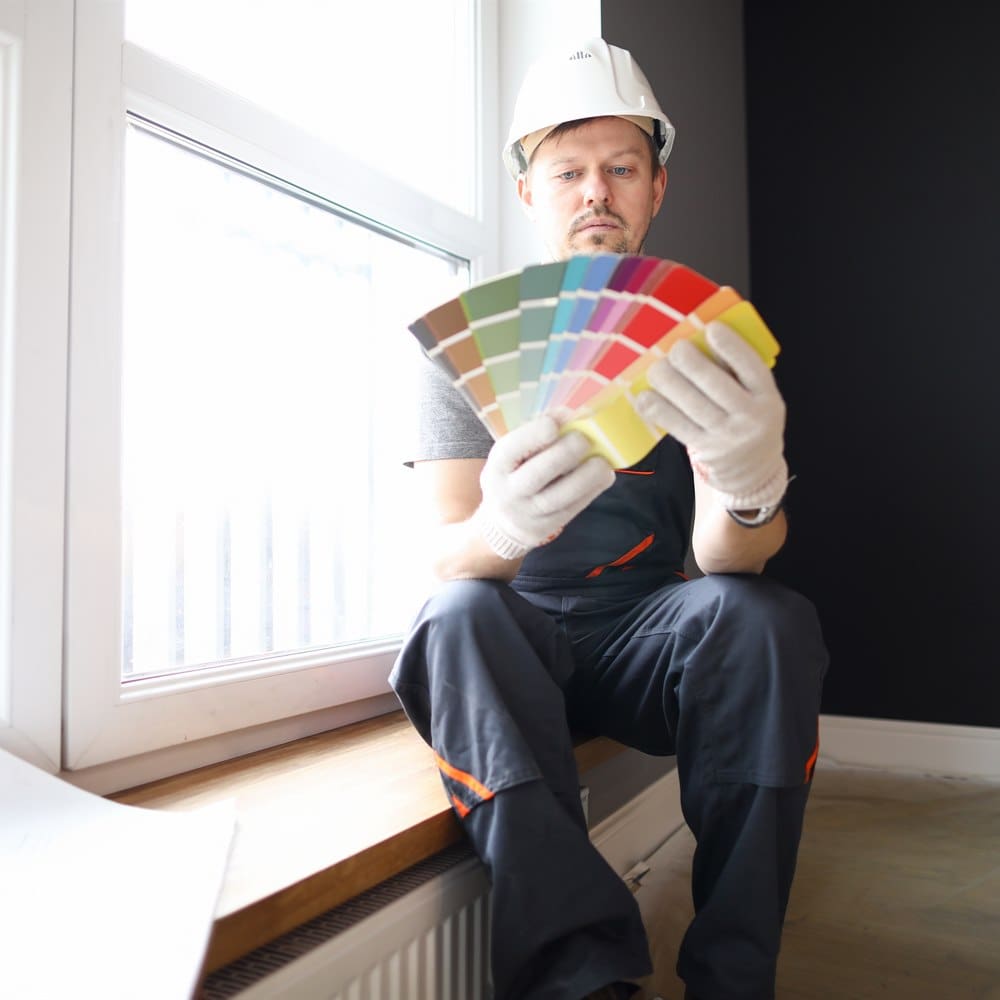
Choosing a paint color from a small chip in the store — or from a photo online — is the single most common painting mistake. Colors read differently depending on the room’s light source (natural vs. artificial), the room’s other colors (the floor, the furniture, the trim), and the wall’s orientation. A color that looks perfect in the store looks green, pink, or gray on the wall because of undertones you did not see in the small chip. Solution: always buy a sample pot ($4 to $8) and paint a 12×12-inch patch on the actual wall. Observe over 24 to 48 hours in all lighting conditions before purchasing full gallons.
Skipping Primer on Patched Areas
Patching a wall and painting directly over the patch without priming: the repaired area shows as a dull spot (called flashing) even after multiple coats of topcoat. The patch material (spackle or joint compound) is more porous than the surrounding painted drywall and absorbs the topcoat differently. Solution: spot-prime every patched area with a dull-coat primer before applying the topcoat. Takes 5 extra minutes per patch and eliminates the most common cause of visible patch spots in a finished paint job. (For more on this, see Interior Painting Prep: Why It Matters More Than the Paint.) In homes built before 1978, the EPA’s Lead Renovation, Repair and Painting rule requires anyone paid to disturb painted surfaces to be certified in lead-safe practices.
Using the Wrong Finish for the Room
Flat paint in a kitchen: impossible to clean (it stains permanently). Semi-gloss on an imperfect wall in a bedroom: every roller texture, patch, and drywall seam is highlighted. Standard wall paint on cabinets: chips, peels, and leaves brush marks that do not self-level. The finish is not a minor detail — it determines the practical performance and the visual quality of the paint job. Match the finish to the surface and the use (flat for ceilings, eggshell/satin for walls, semi-gloss for trim and wet areas, enamel for cabinets). (For more on this, see Interior Paint Types: Matte, Eggshell, Satin, or Semi-Gloss?.)
Working With a Contractor on This Project
Getting the right outcome on any home services project starts before the work begins. A few consistent practices make the difference between a smooth project and a frustrating one.
Get at least two or three quotes. A single quote gives you no basis for comparison. Two or three quotes reveal the market rate for the work, expose scope differences between bidders, and let you assess contractor communication quality before any commitment is made. The lowest bid is not automatically the best value if the scope is thin or the materials are underspecified.
Ask for licenses and insurance before work starts. Verify current general liability insurance and, for any work involving workers on your property, workers compensation coverage. Licensing requirements vary by state and trade; confirm the specific requirements in your jurisdiction. A licensed contractor who carries appropriate insurance protects both parties if something goes wrong during the project.
Get the scope in writing. A written proposal that specifies materials, labor scope, timeline, what is included (permits, cleanup, disposal), and warranty terms is the foundation of a professional engagement. Verbal agreements on any of these points invite misunderstanding. For any project over $500, written scope is non-negotiable.
Clarify the payment schedule upfront. A reasonable payment schedule ties major payments to project milestones: a deposit at signing, a payment at material delivery or project start, and a final payment at completion after a walkthrough confirms satisfaction. A contractor who requires full payment upfront before work begins is a red flag in any trade.
Making a Confident Decision
The information in this article is designed to help you ask better questions of the professionals you work with, evaluate their answers with more confidence, and understand the decisions involved in this type of home services project. It is not a substitute for professional assessment of your specific home.
Every home is different. Roof slopes, local weather, tree exposure, soil conditions, and existing system condition all affect what the right solution is for your specific situation. The general principles here apply broadly, but a professional who assesses your home in person will give you guidance that accounts for the details that general articles cannot.
When you are ready to move forward, getting at least two or three quotes from licensed, insured, local contractors is the most important practical step. It lets you compare approaches, assess contractor quality, and confirm that the solution proposed matches your specific situation and budget.
Interior Painting Cost at a Glance
Interior painting projects run $500 to $8,000 overall, averaging about $3,800, from a single room to a full-house repaint. Per room, walls only: small bedroom (10×10, 8-foot ceilings) $300 to $600. Standard bedroom (12×12, 9-foot ceilings) $400 to $800. Living or dining room (15×20) $800 to $1,600. Kitchen walls $500 to $1,200. Full bathroom $200 to $400. Ceilings, trim, and doors are quoted separately from walls, at $1 to $3 per sq ft for ceilings, $1 to $3 per linear ft for trim, and $75 to $150 per door side. Whole-house interior, walls only: $4,500 to $6,000 for a 1,500 sq ft home and $7,500 to $10,000 for a 2,500 sq ft home. Premium paint (Benjamin Moore Aura, Sherwin-Williams Emerald) adds roughly $200 in materials on a four-bedroom repaint but requires fewer coats and extends the repaint cycle. (For more on this, see How to Choose Interior Paint Colors.)
Cabinet painting (door removal, sanding, priming, two coats of enamel): $2,500 to $7,000 for most kitchens, averaging about $4,900. Wallpaper removal before painting: $1 to $3 per sq ft additional. Prep is the largest labor line and the first thing a cheap quote leaves out: routine drywall patching runs $50 to $300 and major patching $200 to $800. Get itemized quotes specifying the paint brand, product line, finish, and number of coats before comparing bids.
Cost figures on this page were checked against published pricing on August 29, 2026. How we source cost data.
Frequently Asked Questions
Not testing color samples on the actual wall. Skipping primer on patched areas (causes flashing). Using the wrong finish for the surface (flat in a kitchen, enamel on regular walls). Painting over dirt, grease, or glossy surfaces without cleaning or sanding first. Rushing the dry time between coats (causes lifting, peeling, or poor adhesion of the second coat).
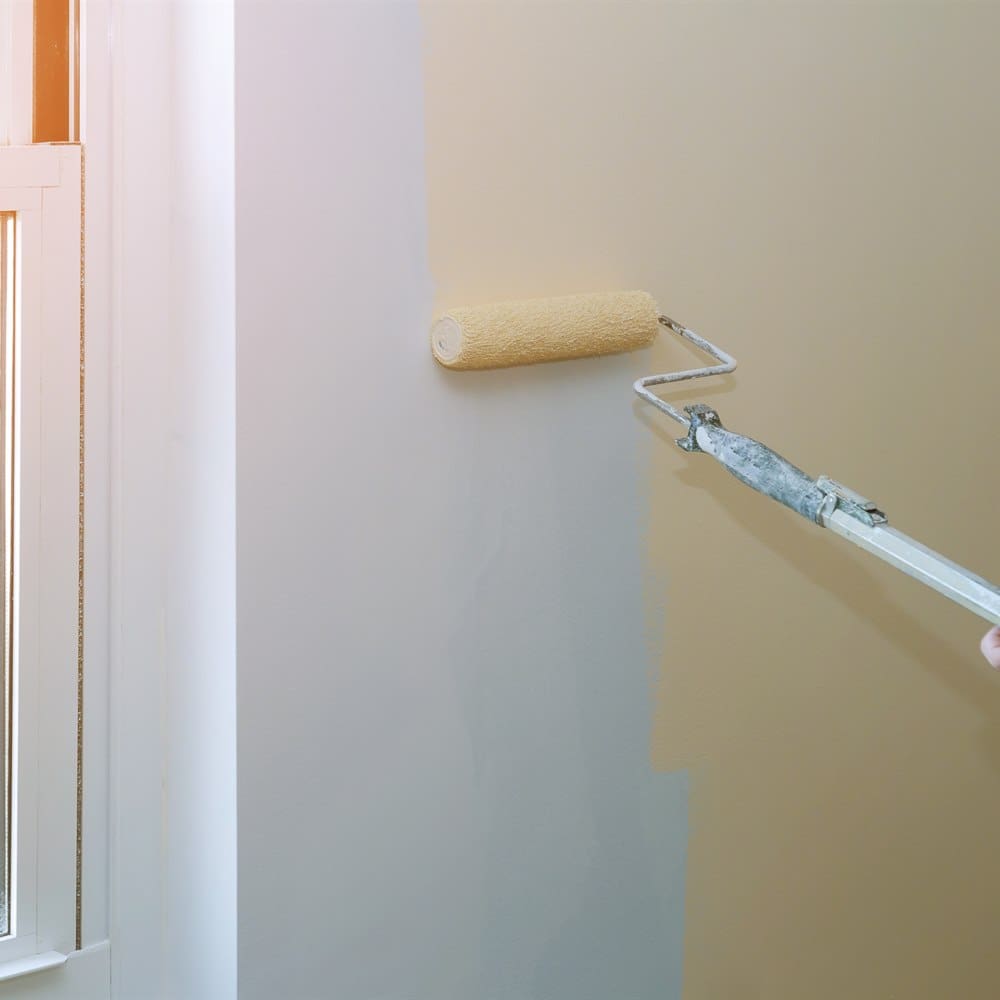
Use a quality roller cover (3/8-inch nap for smooth walls, 1/2-inch for slightly textured walls). Apply paint in a W or N pattern and then smooth out without re-rolling the dried edge (maintain a wet edge). Do not overload the roller with paint (squeezing the roller into the tray removes excess). Use a paint with self-leveling properties (premium paints level more than budget paints). Apply a second coat after the first is fully dry.
Applying a second coat before the first is fully dry causes: lifting of the first coat (the wet first coat is dragged by the roller), mixing of the two coats (resulting in an uneven finish), and potential peeling at the edges where the roller applies the most pressure. Most interior paints require 2 to 4 hours of dry time between coats; premium paints with extended open time may require up to 8 hours. Follow the label instructions and add time if the room is humid or cool.
Two methods: painter's tape (press firmly along the entire tape edge before painting, remove tape while the paint is still slightly wet to avoid tearing the paint film), or freehand cutting in with an angled sash brush (a skill that produces cleaner lines than tape in practiced hands). For DIYers: tape is more reliable. A common mistake with tape: removing it after the paint is fully cured, which lifts the paint film along the tape edge.
Streaky or uneven sheen: caused by varying paint application (thick in some areas, thin in others), rolling over a previously dried edge, using incompatible paint products (a gloss topcoat over a flat primer, for example), or applying the second coat too soon. A quality roller cover applied with consistent pressure and maintained wet edge produces the most even sheen. For the best result on a large wall: maintain the wet edge by working from one corner to the other without stopping in the middle of the wall.