
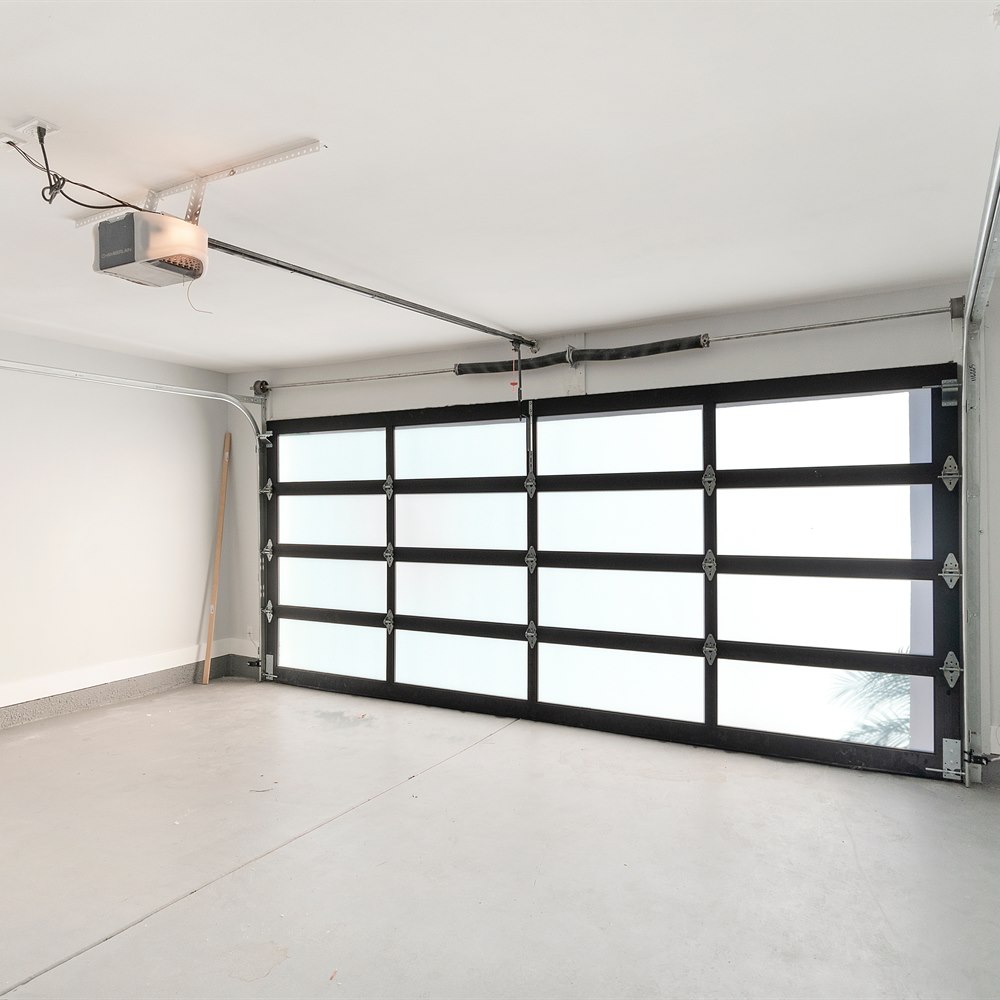
Should You Install a Garage Door Opener Yourself?
Garage door opener installation is one of the more approachable major home projects for capable DIYers. But it involves spring system connections, safety sensor wiring, and calibration steps that, done incorrectly, create safety hazards. Here is how to decide whether DIY is right for your situation.
What the Installation Actually Involves
A garage door opener installation involves: assembling and mounting the rail and motor unit to the ceiling; connecting the trolley to the door; installing safety sensors at floor level on each side of the door and wiring them to the opener; installing the wall button and wiring it; programming remote transmitters; and calibrating travel limits and force settings so the door opens and closes to the correct position and reverses appropriately on obstruction. Each step has a defined correct procedure described in the installation manual. (For more on this, see How Long Does Garage Door Opener Installation Take?.)
The Case for DIY
Garage door opener replacement (not the full door, just the opener) is a commonly completed DIY project for homeowners with basic mechanical aptitude and comfort with simple electrical connections. The manufacturer’s installation manual provides detailed instructions, and many openers include installation videos accessible by QR code. The work does not require specialized tools beyond a drill, socket set, and level. Replacing an existing opener follows essentially the same mounting points and wiring as the old unit, making it more straightforward than a first-time installation. (For more on this, see Garage Door Opener Installation: DIY or Hire a Pro?.)
The Case for Professional Installation
Professional installation is the right choice when: this is a first-time installation without existing mounting hardware and wiring, the door is heavy (solid wood or large two-car) and requires correct horsepower selection and spring assessment, the installation involves changes to ceiling framing or electrical work, you are not confident in the wiring steps for safety sensors, or the opener model includes complex smart features that require integration testing. Professional installers complete the calibration steps more efficiently and typically guarantee the result with a labor warranty. (For more on this, see How to Find the Best Garage Door Opener Installer.)
The Safety Calibration Question
The most consequential step in opener installation is calibrating the safety reversal force: the force at which the opener reverses when the door contacts an obstruction. Incorrectly set force allows the door to continue closing when it should reverse, which is a safety hazard. The calibration procedure is described in the manual and should be verified with the two-by-four contact test before the installation is considered complete, regardless of whether the installation was DIY or professional.
The Most Common DIY Mistake
The most common mistake in DIY home improvement is attempting a project that is technically within the homeowner’s mechanical capability but requires professional-grade equipment or materials for a durable result. Many systems require specialized tools, commercial-grade equipment, or professional materials that are not available at retail and that make a significant difference in the outcome. When the equipment or materials are the differentiating factor, DIY produces a result that looks similar initially but fails significantly sooner than the professional alternative.
The honest assessment before beginning any DIY project is: do I have the specific equipment (not just tools), the specific materials (not just a consumer-grade alternative), and the specific technique knowledge required for this project to succeed at the professional level? If any of these is missing, the professional service call is almost always the better economic choice when evaluated over the full service life of the result.
The Practical Answer
Opener replacement in an existing installation with mechanical mounting and wiring already in place is within reach of a capable DIYer with time and patience. First-time installations and heavy-door applications are better handled professionally. When you are ready to schedule professional installation, connect with a local pro below.
Any project in this category benefits from thorough preparation before the contractor arrives: a clear definition of the scope, an understanding of the site-specific variables that affect cost, and a set of specific questions about approach, warranty, and timeline. Contractors who answer these questions readily and specifically are demonstrating the same transparency they bring to the project. Those who are evasive or vague about any of them are signaling an approach that may produce the same vagueness in the project execution.
The best outcomes in any home improvement project come from homeowners who approach the hiring decision as a partnership evaluation rather than a pure price comparison. Technical competence, local accountability, clear communication, and a backed warranty are the qualities that determine whether a project provides long-term satisfaction, and all of these are assessable before the project begins by asking the right questions and evaluating the quality of the answers.
Frequently Asked Questions
Opener replacement in an existing installation (same mounting points, existing wiring) is within reach of a capable DIYer. First-time installations, heavy-door applications, and any installation requiring electrical work are better handled professionally. The safety reversal calibration step is critical and must be verified regardless of who performs the installation.
A drill, socket set, level, ladder, and wire stripper cover most opener installations. No specialized tools are required. The installation manual provides the specific hardware and steps. Installation takes 2 to 4 hours for a capable DIYer; significantly longer for a first attempt.
Calibrating the auto-reverse force: the door must reverse when it contacts an obstruction with the safety sensors operating and when it makes physical contact with an object (the contact reversal). Test with a two-by-four flat on the floor: the door should reverse on contact. If it does not, adjust the force setting downward until it does.
First-time installations requiring new ceiling mounting hardware and wiring from scratch, electrical outlet installation (requires a licensed electrician), heavy-door installations requiring spring assessment alongside opener sizing, and any structural modifications to ceiling framing. These are outside the scope of standard DIY replacement.
You can DIY if: you are replacing an existing opener with the same mounting type, the existing wiring, mounting brackets, and sensors can be reused, you are comfortable following detailed mechanical and wiring instructions, and you are willing to verify safety calibration carefully before using the door normally. If any of these does not apply, professional installation is the more appropriate choice.