
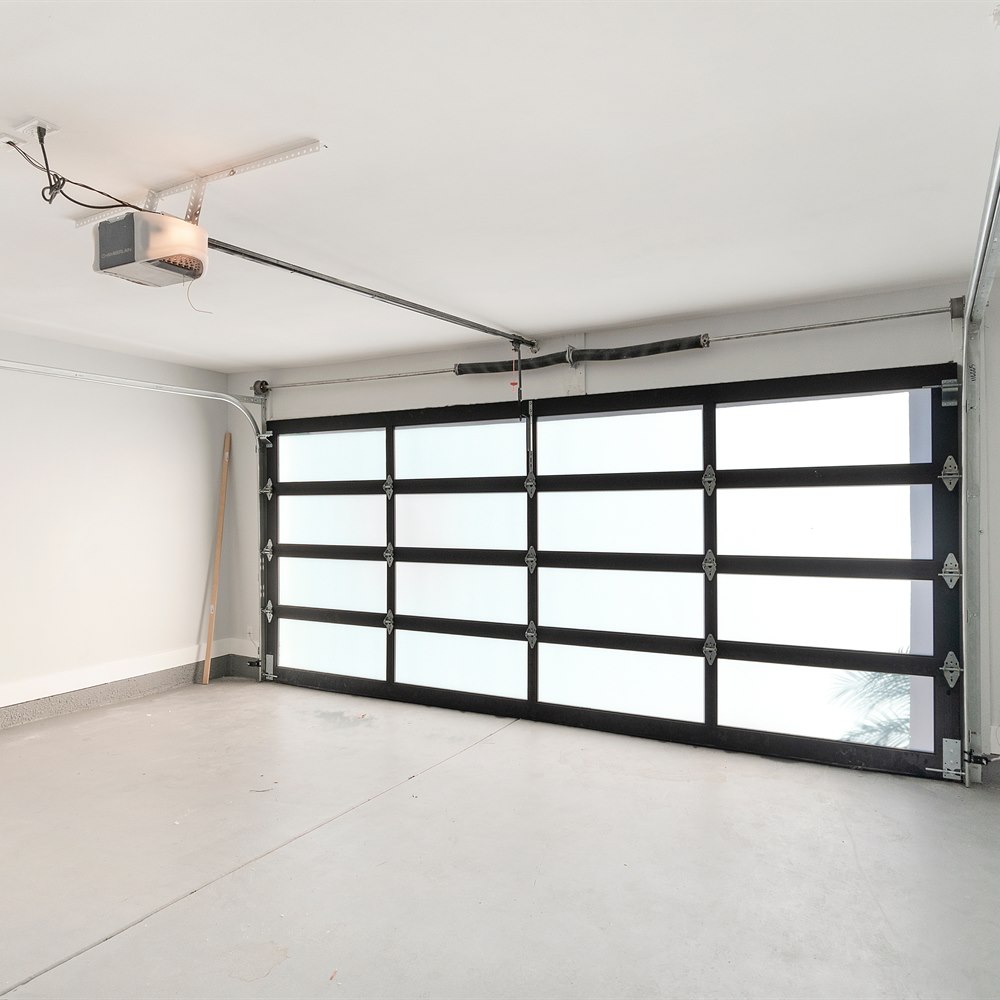
How Long Does Garage Door Opener Installation Take?
Most residential garage door opener installations take 2 to 4 hours, including removal of the old unit, mounting the new opener, programming, and safety testing. Straightforward replacements land at the short end and first-time installations at the long end.
Replacing an Existing Opener: 1.5 to 3 Hours
Swapping an existing opener for a new model of similar type takes 1.5 to 3 hours. The outlet, rail mounting point, and sensor wire routing are already in place, so the installer is replacing the motor unit and rail rather than building the system from scratch. A clean replacement on a compatible door with no hardware complications finishes in under 2 hours in many cases. (For more on this, see Questions to Ask a Garage Door Opener Installer.)
First-Time Installation: 3 to 4 Hours
Installing the first opener in a garage that never had one adds mounting hardware where none exists, wiring runs for the sensors and wall button, and assessment of the door’s balance and track configuration before anything is connected. The safety sensor wire has to be routed along the tracks down to the door threshold. Plan on 3 to 4 hours, and up to 5 when there is no existing mounting structure at all. (For more on this, see Hidden Costs of Garage Door Opener Installation.)
Installed Alongside a New Garage Door: 4 to 6 Hours
When the opener goes in with a new garage door on the same visit, the combined project runs 4 to 6 hours. The door is installed first, then the opener, trolley connection, and programming. Bundling is more efficient than two separate visits, which is why opener replacement is worth scheduling at the same time as door replacement when both are due.
Step by Step Through the Installation
Old opener removal: 30 to 45 minutes. The existing opener is unplugged, the door is put in manual release mode, and the motor unit, rail, and mounting hardware come down. Wiring to the wall button and sensors is detached.
New rail and motor installation: 45 to 90 minutes. The rail is assembled in sections, the motor is attached, and the assembly is lifted and mounted to the ceiling bracket and the header bracket above the door opening. The drive, whether chain, belt, or direct-drive, is tensioned. This is the most physically demanding step, since it means working at ceiling height with precise alignment.
Wiring and safety sensors: 30 to 45 minutes. Wall button wiring runs back to the motor unit. Photo-eye sensors are mounted on each side of the door opening at the correct height, wired, and aligned. The opener is plugged in and the auto-reverse and photo-eye functions are adjusted and tested.
Programming and testing: 30 to 60 minutes. All remotes are programmed, the wall button is tested, any exterior keypad is installed and programmed, and vehicle HomeLink buttons are set up. The door is cycled several times and the up and down travel limits are calibrated. How long this takes depends mostly on how many accessories need programming.
What Extends the Timeline
The most common delay is a missing outlet. If there is no 120V outlet near the mounting location, a licensed electrician has to install one before the opener work can proceed, which adds both scheduling delay and electrical cost. Unusual ceiling height or configuration requiring custom mounting, compatibility issues discovered mid-installation, and a door that needs spring adjustment before the opener can be connected also push past the standard window. (For more on this, see Garage Door Opener Installation: DIY or Hire a Pro?.)
Smart openers add 30 to 60 minutes for app pairing, camera configuration if the unit includes one, and smart home platform integration. Connectivity troubleshooting takes longer still if the home network needs configuration first.
Garage Door Opener Cost at a Glance
| Opener type | Installed cost | Notes |
|---|---|---|
| Basic chain-drive, 1/2 HP | $325 to $550 | Most economical and most common, noisier than belt, best for detached garages |
| Belt-drive, 1/2 HP | $350 to $600 | Significantly quieter, the standard recommendation for attached garages |
| Smart opener with Wi-Fi and battery backup | $600 to $1,200 | Smartphone control, activity history, and operation during power outages |
| 3/4 HP motor upgrade | $30 to $60 premium | Required for two-car doors over roughly 160 lbs, wood doors, or high-use applications |
Cost figures on this page were checked against published pricing on August 29, 2026. How we source cost data.
Installation labor: $100 to $300 for a like-for-like replacement, with big-box installed-price programs at $178 to $238.
Accessories: additional remotes run $25 to $60 each and an exterior keypad $30 to $80.
Get two or three quotes on equivalent scope so you can see whether removal, disposal, programming, and accessories are inside each price. Verify licensing and insurance, get the scope and warranty in writing, and pay the balance after a walkthrough that confirms the safety features work.
Preparing for Installation Day
Confirm that a 120V outlet is accessible near the mounting location, and if it is not, schedule the electrician in advance rather than discovering the gap on installation day. Clear the area around and under the garage door so the installer can work and can position a ladder safely. Know where the manual door release handle is. If you are replacing a unit, have the existing remotes and documentation on hand. Plan for the door to be non-functional during the installation window, and make sure the completion time restores access before you need it.
DIY Versus Professional Installation
A like-for-like replacement, with the same mounting rail type and existing wiring in place, is within reach of a confident DIYer comfortable with ceiling mounting and basic wiring. Budget 4 to 6 hours doing it yourself versus 2 to 4 hours professionally. You will need a step ladder or scaffold, a power drill with bits, wrenches for hardware assembly, a voltage meter or non-contact tester, a level, and wire cutters and strippers. The opener box includes the mounting hardware and a manual, and most brand-name manuals are well written and follow a logical sequence.
The parts that go wrong are the safety parts. Sensor alignment, auto-reverse adjustment, trolley adjustment, and confirming door balance all require careful attention, and incorrect installation produces a door that does not reverse on contact. For a $325 to $1,200 opener, professional installation is the recommended approach for most homeowners. If you do install it yourself, test the auto-reverse and photo-eye functions thoroughly before considering the job complete.
Frequently Asked Questions
2 to 4 hours for most installations. Replacing an existing opener takes 1.5 to 3 hours, a first-time installation with no existing hardware takes 3 to 4 hours, and installing alongside a new garage door takes 4 to 6 hours combined.
Yes. A replacement on a compatible door with the outlet and sensor wire routing already in place takes 1.5 to 2.5 hours in many cases, because the installer is swapping the motor unit and rail rather than running every component from scratch.
Slightly, by about 30 to 60 minutes. Smart openers add app pairing, camera configuration if included, and smart home platform integration on top of standard programming. Extensive smart home integration or network troubleshooting adds more.
No electrical outlet near the mounting location is the most common issue, since a licensed electrician must install one first. Unusual ceiling height requiring custom mounting, compatibility problems found during installation, a door needing spring adjustment, and smart opener connectivity troubleshooting also add time.
2 to 5 minutes per remote. Press the learn button on the motor unit, then press the remote button within 30 seconds, and the opener light flashes or clicks to confirm. Programming several remotes, a keypad, and vehicle HomeLink buttons for a full household takes 15 to 30 minutes.
A like-for-like replacement with the same rail type and existing wiring is within reach of a confident DIYer, taking 4 to 6 hours versus 2 to 4 hours professionally. The safety sensor calibration, auto-reverse adjustment, and door balance checks are where mistakes create hazards, so professional installation is recommended for most homeowners buying a $325 to $1,200 opener.
Make sure a 120V outlet is accessible near the mounting location and schedule an electrician in advance if it is not. Clear the area around and under the garage door, know where the manual release handle is, and have the existing remotes and documentation available if you are replacing a unit.
Immediately. The installer tests full operation, including safety reversal and travel limit calibration, before finishing, so the garage is operational at the end of the visit in standard scenarios.