What Happens During Blown-In Insulation Installation?
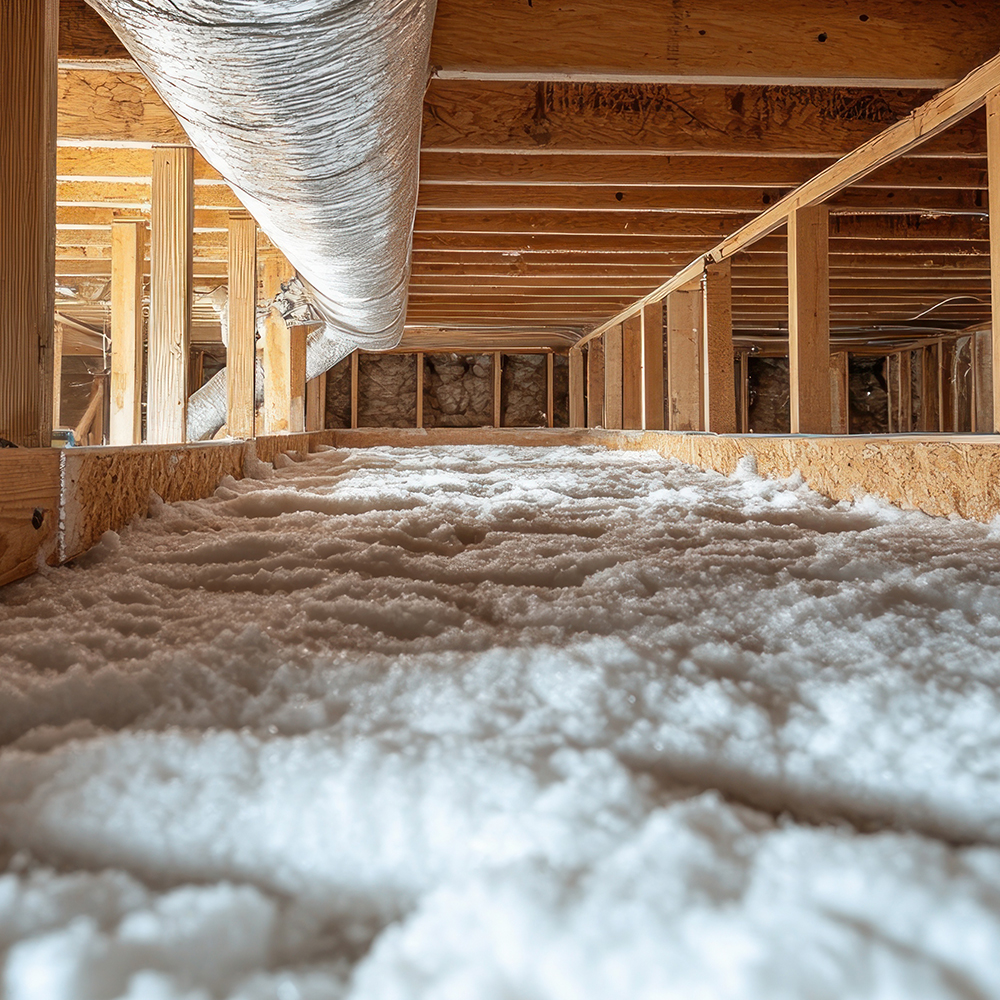
Blown-in insulation installs in a few hours to one full day, with air sealing plus insulation in a standard 1,000-square-foot attic taking 4 to 6 hours. It is one of the less disruptive major home improvement projects, and the work runs in a set order: assessment, air sealing, baffles, then blowing in the material.
Pre-Installation Assessment
The installer measures the attic area, assesses existing insulation depth, identifies any air sealing needs, checks for adequate ventilation and baffle presence, and identifies any non-IC-rated recessed fixtures that need can covers. This takes 30 to 60 minutes and establishes the scope of work. The Department of Energy publishes recommended R-values by climate zone and where insulation pays back fastest.
Air Sealing (If Included)
Before insulation is blown in, the installer seals attic bypasses with spray foam or caulk plumbing penetrations, wire chases, top plate gaps, and other air pathways through the ceiling. This is done with the attic floor cleared (or minimally insulated), before new material is added. Air sealing in a bare or minimally insulated attic takes 1 to 3 hours. (For more on this, see Hidden Costs of Blown-In Insulation.)
Baffle Installation
Cardboard or foam baffles are installed at each rafter bay adjacent to soffit vents typically across the full perimeter of the attic to maintain the ventilation airflow path from soffit to ridge. This prevents insulation from blocking soffit ventilation. Baffle installation takes 30 to 90 minutes depending on the attic perimeter and the number of rafter bays. (For more on this, see How to Prepare Your Attic for Blown-In Insulation.)
Blowing In the Insulation
The blower machine is set up on the truck or at the attic access point. A hose runs from the machine to the installer in the attic. The installer works from the far corners toward the access point, blowing material to the specified depth (marked by depth gauges placed around the attic). A 1,000-square-foot attic takes 1 to 2 hours to fill to the target depth once the machine is running. When complete, the installer removes the hose and checks depth at multiple locations.
Blown-In Insulation Cost at a Glance
| Cost Factor | Typical Range | Notes |
|---|---|---|
| Cellulose or fiberglass | $0.50 to $1.50 per sq ft | material, $1.50 to $3.00 per sq ft installed |
| Blowing existing wall cavities | $1.70 to $3.70 per sq ft | installed; drilling and patching costs more than an open attic floor |
| Professional installation | $1.50 to $3.00 per sq ft | installed for a complete job |
| Overall range | $1,000 to $3,500, averaging $2,000 |
Cost figures on this page were checked against published pricing on August 23, 2026. How we source cost data.
Planning Your Project Budget
The cost ranges in this article are based on industry data and are intended as planning benchmarks, not fixed prices. The actual cost for your project depends on your specific home, your local labor market, the current price of materials, and the scope the contractor confirms after a site inspection.
Always get at least two written quotes on equivalent defined scope before committing to any home services project. Wide price variation between quotes usually reflects differences in material quality, scope completeness (what is included and what is not), or contractor overhead and experience level rather than simple price competition.
Use the cost data in this article to ask better questions during the quoting process: What material is included? What does that per-square-foot or per-linear-foot rate include and exclude? Are permits, cleanup, and disposal included? What is the warranty on labor? These questions turn a quote into a comparable basis for decision-making. (For more on this, see Questions to Ask a Blown-In Insulation Contractor.)
Working With a Contractor on This Project
Getting the right outcome on any home services project starts before the work begins. A few consistent practices make the difference between a smooth project and a frustrating one.
Get at least two or three quotes. A single quote gives you no basis for comparison. Two or three quotes reveal the market rate for the work, expose scope differences between bidders, and let you assess contractor communication quality before any commitment is made. The lowest bid is not automatically the best value if the scope is thin or the materials are underspecified.
Ask for licenses and insurance before work starts. Verify current general liability insurance and, for any work involving workers on your property, workers compensation coverage. Licensing requirements vary by state and trade; confirm the specific requirements in your jurisdiction. A licensed contractor who carries appropriate insurance protects both parties if something goes wrong during the project.
Get the scope in writing. A written proposal that specifies materials, labor scope, timeline, what is included (permits, cleanup, disposal), and warranty terms is the foundation of a professional engagement. Verbal agreements on any of these points invite misunderstanding. For any project over $500, written scope is non-negotiable.
Clarify the payment schedule upfront. A reasonable payment schedule ties major payments to project milestones: a deposit at signing, a payment at material delivery or project start, and a final payment at completion after a walkthrough confirms satisfaction. A contractor who requires full payment upfront before work begins is a red flag in any trade.