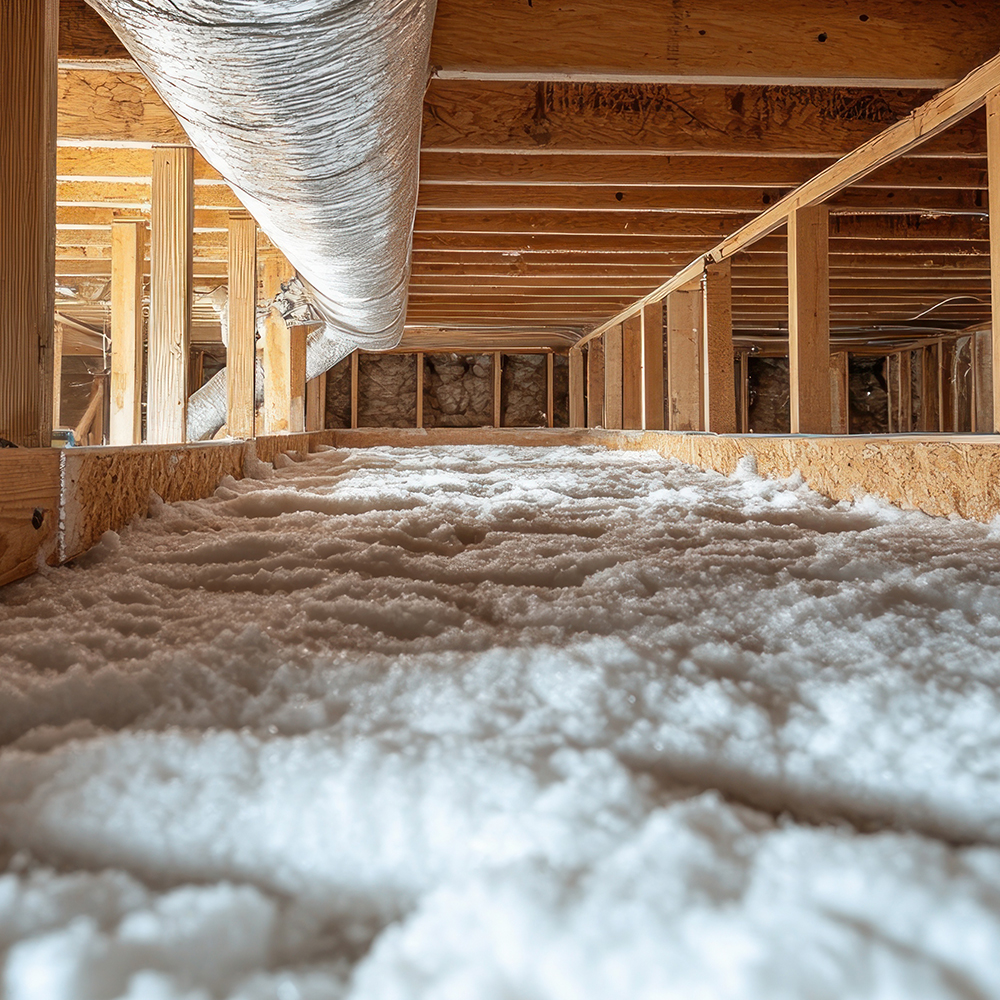
How Do You Prepare an Attic for Blown-In Insulation?
Air seal every bypass, repair active roof leaks, install baffles at the eaves, cover non-IC-rated recessed lights, and place depth gauge markers before blowing begins. Attic preparation before blown-in insulation installation directly affects how well the insulation performs. Here is the correct preparation sequence.
Step 1: Seal All Air Bypasses
Before any insulation goes in, identify and seal all penetrations through the attic floor plumbing stacks, electrical wire chases, framing bays open at the top plate, recessed light fixtures (install can covers over non-IC-rated units), and the attic hatch. Use two-component spray foam for large gaps and caulk for small gaps around wiring. This step is done with the attic floor accessible, before the installation crew buries everything under insulation. It is far more difficult to access and seal these penetrations after insulation is in place. The Department of Energy publishes recommended R-values by climate zone and where insulation pays back fastest.
Step 2: Check and Repair Roof Leaks
Any active roof leak will wet and damage the new insulation. Before adding insulation, check the attic thoroughly for signs of water staining, wet sheathing, or existing wet insulation. Any roof leaks must be repaired before insulation is installed.
Step 3: Install Baffles at the Eaves
Cardboard, foam, or rigid plastic baffles installed at each rafter bay along the eaves create a channel for ventilation airflow from the soffit vents to the attic space above the insulation level. Install one baffle per rafter bay around the full perimeter of the attic before blowing begins. Without baffles, the blown-in material will cover the soffit vents, blocking ventilation and creating moisture risk in the roof assembly. (For more on this, see What to Expect During Blown-In Insulation Installation.)
Step 4: Mark or Remove Non-IC Fixtures
Non-IC-rated recessed light fixtures cannot be covered with insulation. Either install UL-listed can covers (fire-rated boxes that allow insulation to be blown around them) or keep the area above non-IC fixtures clear. IC-rated fixtures may be covered without restriction. (For more on this, see Questions to Ask a Blown-In Insulation Contractor.)
Step 5: Place Depth Gauges
Depth indicator cards placed at regular intervals across the attic floor allow the installer to verify that the correct depth is achieved uniformly. Place one gauge every 50 to 100 square feet in the installation area.
Working With a Contractor on This Project
Getting the right outcome on any home services project starts before the work begins. A few consistent practices make the difference between a smooth project and a frustrating one.
Get at least two or three quotes. A single quote gives you no basis for comparison. Two or three quotes reveal the market rate for the work, expose scope differences between bidders, and let you assess contractor communication quality before any commitment is made. The lowest bid is not automatically the best value if the scope is thin or the materials are underspecified.
Ask for licenses and insurance before work starts. Verify current general liability insurance and, for any work involving workers on your property, workers compensation coverage. Licensing requirements vary by state and trade; confirm the specific requirements in your jurisdiction. A licensed contractor who carries appropriate insurance protects both parties if something goes wrong during the project.
Get the scope in writing. A written proposal that specifies materials, labor scope, timeline, what is included (permits, cleanup, disposal), and warranty terms is the foundation of a professional engagement. Verbal agreements on any of these points invite misunderstanding. For any project over $500, written scope is non-negotiable.
Clarify the payment schedule upfront. A reasonable payment schedule ties major payments to project milestones: a deposit at signing, a payment at material delivery or project start, and a final payment at completion after a walkthrough confirms satisfaction. A contractor who requires full payment upfront before work begins is a red flag in any trade.
Making a Confident Decision
The information in this article is designed to help you ask better questions of the professionals you work with, evaluate their answers with more confidence, and understand the decisions involved in this type of home services project. It is not a substitute for professional assessment of your specific home.
Every home is different. Roof slopes, local weather, tree exposure, soil conditions, and existing system condition all affect what the right solution is for your specific situation. The general principles here apply broadly, but a professional who assesses your home in person will give you guidance that accounts for the details that general articles cannot.
When you are ready to move forward, getting at least two or three quotes from licensed, insured, local contractors is the most important practical step. It lets you compare approaches, assess contractor quality, and confirm that the solution proposed matches your specific situation and budget.
Blown-In Insulation Cost at a Glance
| Cost Factor | Typical Range | Notes |
|---|---|---|
| Cellulose or fiberglass | $0.50 to $1.50 per sq ft | material, $1.50 to $3.00 per sq ft installed |
| Blowing existing wall cavities | $1.70 to $3.70 per sq ft | installed; drilling and patching costs more than an open attic floor |
| Professional installation | $1.50 to $3.00 per sq ft | installed for a complete job |
| Overall range | $1,000 to $3,500, averaging $2,000 |
Cost figures on this page were checked against published pricing on August 23, 2026. How we source cost data.