What Makes a Backyard Putting Green Worth Having?
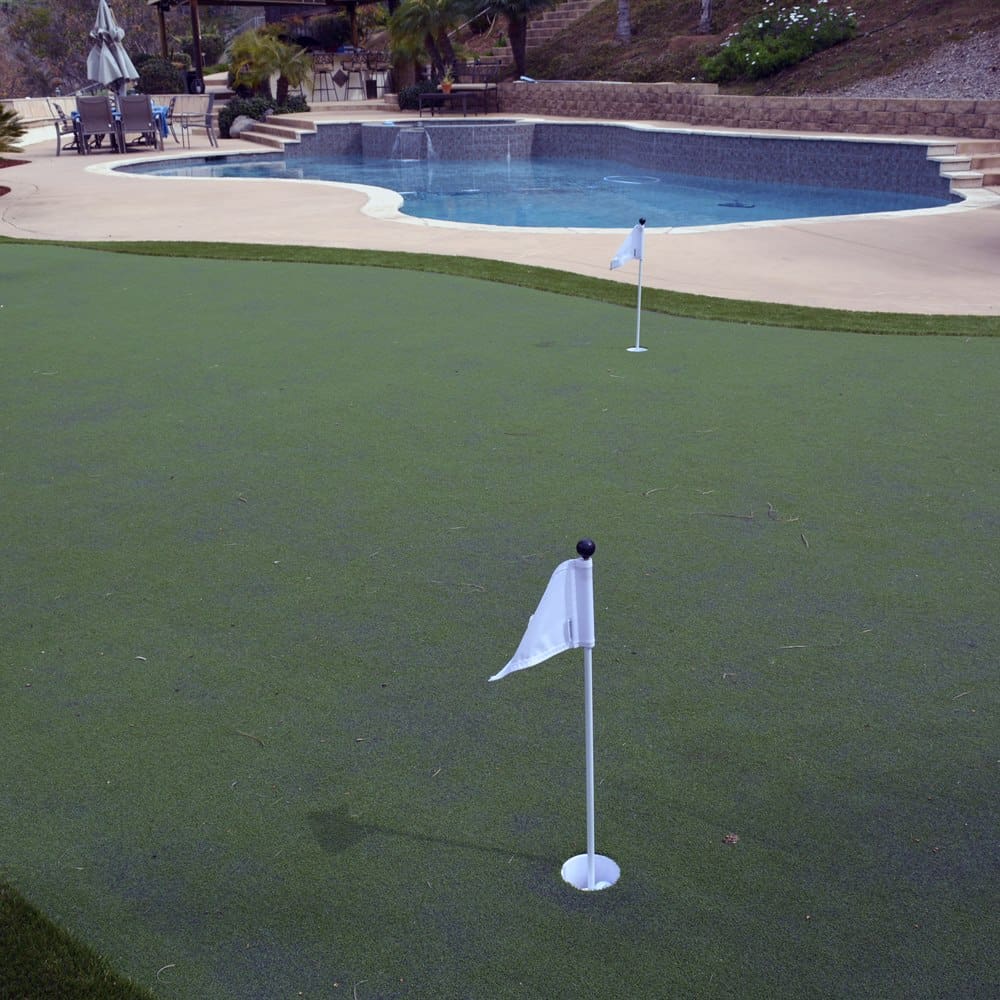
A putting green is worth having when it produces a true, consistent ball roll: dense turf over a firm, fine-aggregate base with properly joined seams, running 7 to 10 on the stimpmeter for home practice. Multiple cups, contouring for breaking putts, and a fringe for chipping are what separate a genuine practice tool from a lawn feature.
Ball Roll Consistency
The primary function of a putting green is to produce a true, consistent ball roll that mimics what you encounter on a real course. This depends on: turf density and uniformity (dense, even nylon turf rolls more truly than uneven or lower-grade product), base firmness (a well-compacted, fine-aggregate base produces a firmer surface with truer roll — a soft or poorly compacted base produces an inconsistent surface), and seam quality (seams in the turf, if not correctly joined and secured, create ridges that deflect ball roll). Ask the installer: ‘What ball speed does this surface produce, measured in stimpmeter feet?’ A real putting green runs 9 to 12 on the stimpmeter; a practice green at 7 to 10 is appropriate for home use. (For more on this, see How Much Does a Backyard Putting Green Cost?.)
Green Speed Appropriate for Practice
Green speed (measured by a stimpmeter — the distance a ball travels on a consistent incline) should be calibrated to the courses the homeowner plays. If you primarily play courses with slower greens (stimpmeter 7 to 9): a practice surface in the same range is most useful. If you play faster greens (10 to 12): a faster practice surface builds appropriate muscle memory. The infill selection affects speed — finer infill produces a faster surface. Discuss the intended practice use and the courses you play with the installer to calibrate the surface speed.
Cup Placement and Breaking Putts
A flat putting green with a single center cup provides only straight-line putting practice. Most putting on a real course involves breaking putts — where the ball must be aimed to the side of the cup and the slope brings it to the hole. A contoured green with cups placed at the high and low sides of the contours provides breaking putts from multiple positions. Three to five cups on a 400 to 600-square-foot contoured green provides enough variety for genuinely useful practice sessions. Flat greens are appropriate for beginners or for primarily chipping practice; contoured greens with multiple cups are better for experienced players. (For more on this, see Hidden Costs of a Backyard Putting Green.)
Fringe for Chipping Practice
A fringe area (a 2 to 3-foot ring of slightly longer turf surrounding the putting surface) allows chipping practice onto the green as well as putting practice. Without a fringe: the green starts at the edge of the installation, limiting it to putting only. With a fringe: the homeowner can practice chip shots from the fringe onto the putting surface, replicating the most common shot encountered in real rounds. Fringe turf at $4 to $8 per square foot is the material alone. Because a fringe is added installed area rather than a trim detail, the ring carries the same base, contouring, and seaming as the green itself and is priced at the same $18 to $40 per square foot installed, so a 2 to 3-foot fringe adds thousands of dollars, not hundreds, to a typical installation, but it significantly expands the practice utility. (For more on this, see Hidden Costs of Backyard Putting Green Installation.)
Putting Green Cost at a Glance
Putting green turf: $3 to $9 per square foot for the material alone — specialized short-pile turf, with nylon at the top of the range and polypropylene at the bottom.
Base and installation: $12 to $32 per square foot — grading, base, cups, and contouring, and the larger half of the installed price.
Custom features: Added cost — multiple cups, sand traps, fringe, and lighting.
Overall range: $18 to $40 per square foot installed, averaging $27 per square foot. Greens under 400 square feet run $30 to $35, 400 to 2,000 square feet $25 to $30, and over 2,000 square feet $20 to $25.
Planning Your Project Budget
The cost ranges in this article are based on industry data and are intended as planning benchmarks, not fixed prices. The actual cost for your project depends on your specific home, your local labor market, the current price of materials, and the scope the contractor confirms after a site inspection.
Always get at least two written quotes on equivalent defined scope before committing to any home services project. Wide price variation between quotes usually reflects differences in material quality, scope completeness (what is included and what is not), or contractor overhead and experience level rather than simple price competition.
Use the cost data in this article to ask better questions during the quoting process: What material is included? What does that per-square-foot or per-linear-foot rate include and exclude? Are permits, cleanup, and disposal included? What is the warranty on labor? These questions turn a quote into a comparable basis for decision-making.
Working With a Contractor on This Project
Getting the right outcome on any home services project starts before the work begins. A few consistent practices make the difference between a smooth project and a frustrating one.
Get at least two or three quotes. A single quote gives you no basis for comparison. Two or three quotes reveal the market rate for the work, expose scope differences between bidders, and let you assess contractor communication quality before any commitment is made. The lowest bid is not automatically the best value if the scope is thin or the materials are underspecified.
Ask for licenses and insurance before work starts. Verify current general liability insurance and, for any work involving workers on your property, workers compensation coverage. Licensing requirements vary by state and trade; confirm the specific requirements in your jurisdiction. A licensed contractor who carries appropriate insurance protects both parties if something goes wrong during the project.
Get the scope in writing. A written proposal that specifies materials, labor scope, timeline, what is included (permits, cleanup, disposal), and warranty terms is the foundation of a professional engagement. Verbal agreements on any of these points invite misunderstanding. For any project over $500, written scope is non-negotiable.
Clarify the payment schedule upfront. A reasonable payment schedule ties major payments to project milestones: a deposit at signing, a payment at material delivery or project start, and a final payment at completion after a walkthrough confirms satisfaction. A contractor who requires full payment upfront before work begins is a red flag in any trade.
Cost figures on this page were checked against published pricing on August 28, 2026. How we source cost data.