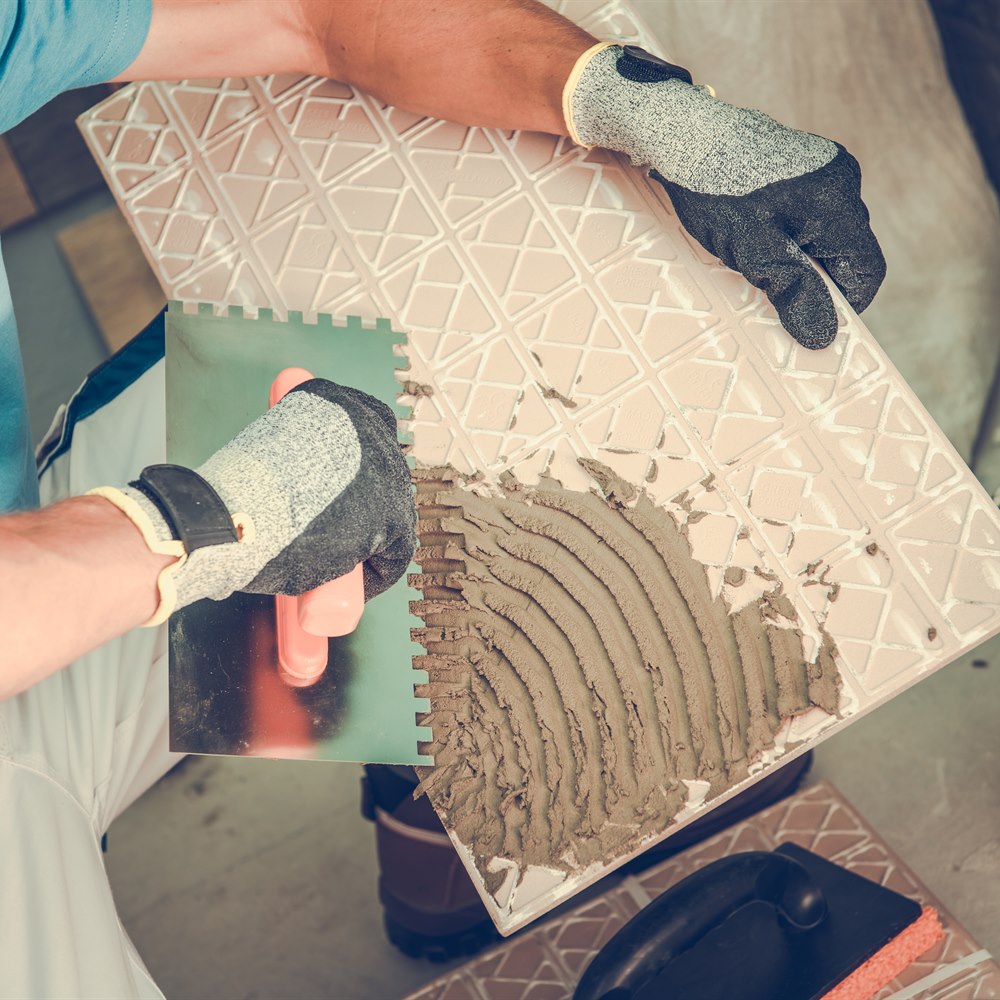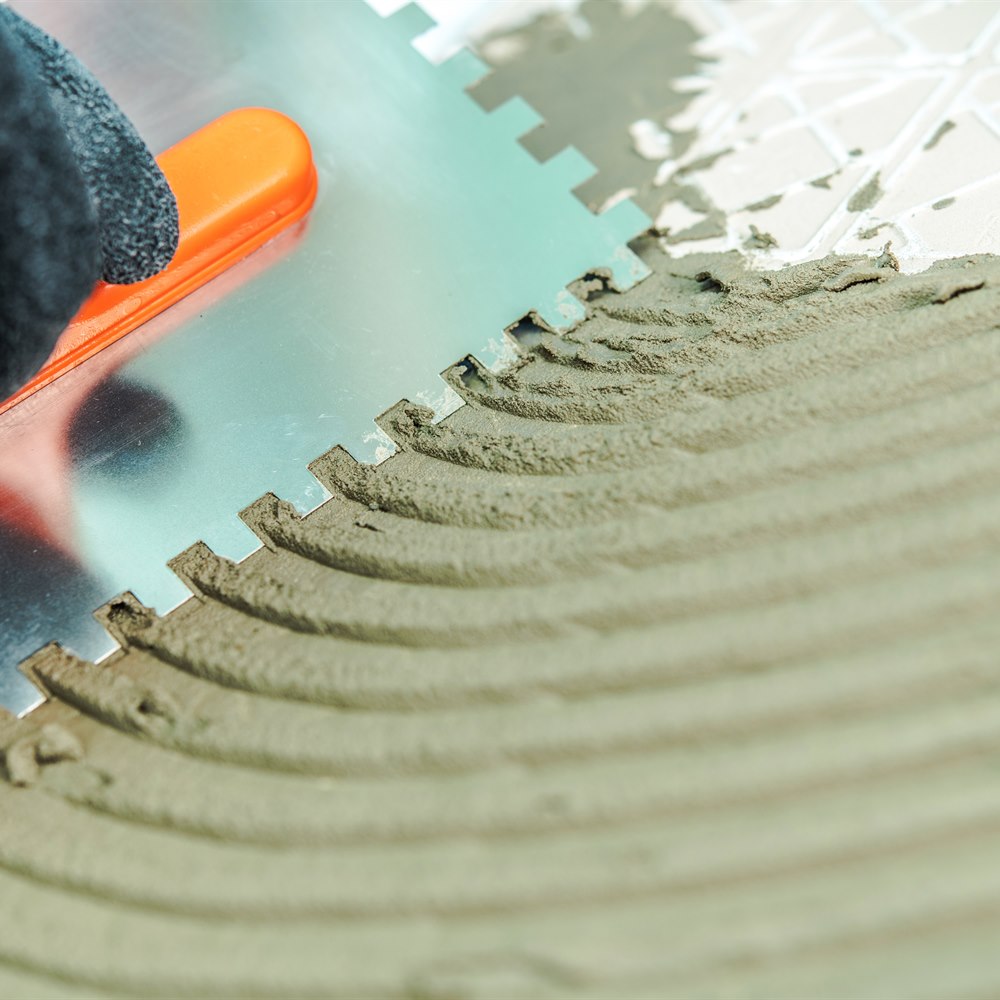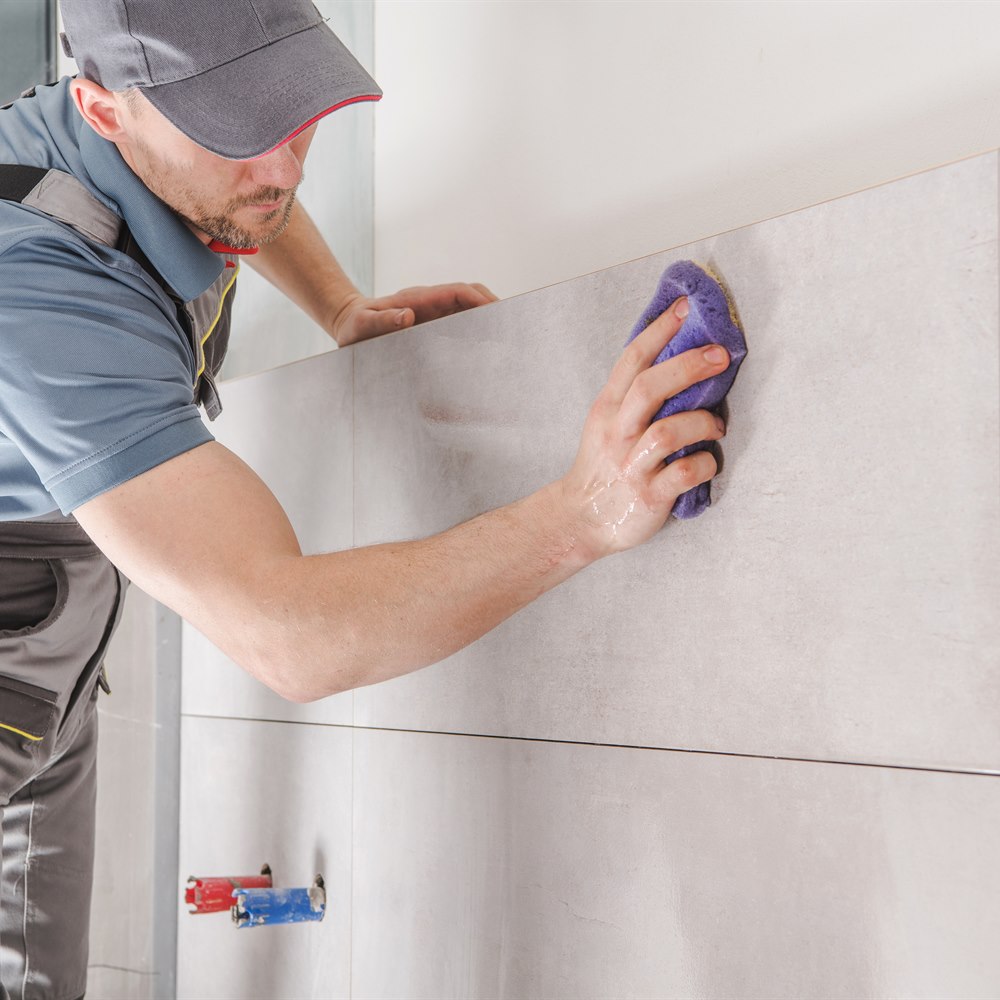
How Do You Find a Quality Tile Installer?
Ask what waterproofing system goes into wet areas and how the layout will be planned — those two answers separate good installers from the rest. Tile installation quality is almost entirely invisible after the tile is set, because the substrate preparation, waterproofing, and layout planning are all buried underneath, so the best contractors are identifiable only before the work begins. Check photos for consistent grout joint width, plumb tile lines, and clean transitions, and get the waterproofing system named in the written quote.
Ask About Waterproofing Specifically
For any shower or wet area tile installation: “What waterproofing system will you use and how will you install it?” A quality answer names a specific system: Schluter Kerdi (sheet membrane applied in thin-set), RedGard (liquid-applied membrane), or USG Durock foam backer. A contractor who says “we use cement board” without describing the waterproofing membrane: is describing the substrate, not the waterproofing. Cement board is not waterproof — the membrane is a separate step that goes over the cement board and forms the actual water barrier. This is the most critical question for any shower installation. (For more on this, see How to Prepare for Tile Installation.)
Ask About the Layout Plan
“How do you determine the starting point for the tile layout?” A quality answer describes: locating the visual center of the room, snapping chalk lines to establish the grid, dry-laying the tile to confirm the cut sizes at the perimeter are acceptable, and adjusting the starting point to avoid slivers (cut tiles that are less than half a tile width) at prominent locations. An installer who starts at a wall and works across without planning the layout: will end up with a tile pattern that does not work symmetrically and may have awkward narrow cuts at the most visible locations.
Check Photos for Evidence of Quality
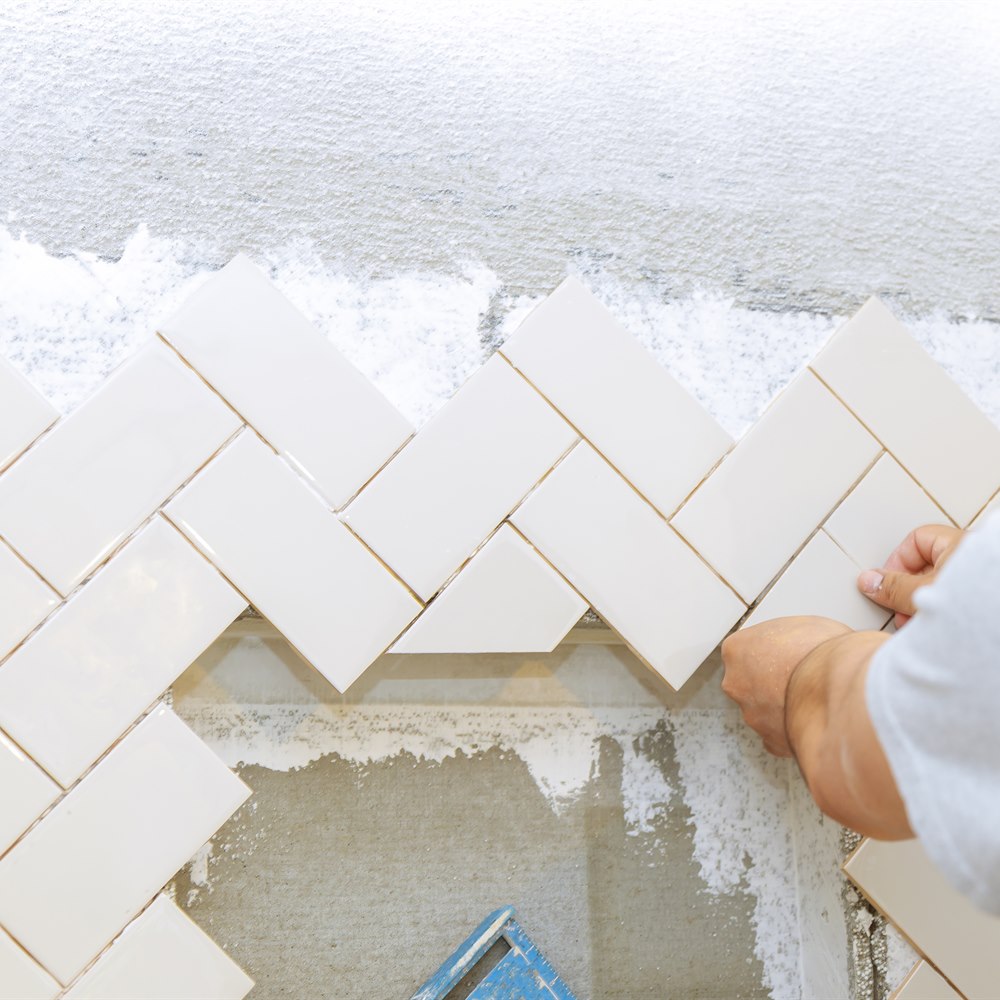
Ask the tile installer for photos of completed work. What to look for: grout joints that are consistent in width throughout the installation, tile lines that are plumb (vertical) and level (horizontal) at walls, corners where the tile meets neatly (not with visible gaps or misalignment), and a clean finish at transitions (to shower fixtures, at door thresholds, and at floor-to-wall transitions). A portfolio with 10 to 20 quality photos is more convincing than 100 photos of varying quality. (For more on this, see Shower Tile: How to Choose and Install Correctly.)
Working With a Contractor on This Project
Getting the right outcome on any home services project starts before the work begins. A few consistent practices make the difference between a smooth project and a frustrating one.
Get at least two or three quotes. A single quote gives you no basis for comparison. Two or three quotes reveal the market rate for the work, expose scope differences between bidders, and let you assess contractor communication quality before any commitment is made. The lowest bid is not automatically the best value if the scope is thin or the materials are underspecified.
Ask for licenses and insurance before work starts. Verify current general liability insurance and, for any work involving workers on your property, workers compensation coverage. Licensing requirements vary by state and trade; confirm the specific requirements in your jurisdiction. A licensed contractor who carries appropriate insurance protects both parties if something goes wrong during the project.
Get the scope in writing. A written proposal that specifies materials, labor scope, timeline, what is included (permits, cleanup, disposal), and warranty terms is the foundation of a professional engagement. Verbal agreements on any of these points invite misunderstanding. For any project over $500, written scope is non-negotiable.
Clarify the payment schedule upfront. A reasonable payment schedule ties major payments to project milestones: a deposit at signing, a payment at material delivery or project start, and a final payment at completion after a walkthrough confirms satisfaction. A contractor who requires full payment upfront before work begins is a red flag in any trade.
Making a Confident Decision
The information in this article is designed to help you ask better questions of the professionals you work with, evaluate their answers with more confidence, and understand the decisions involved in this type of home services project. It is not a substitute for professional assessment of your specific home.
Every home is different. Roof slopes, local weather, tree exposure, soil conditions, and existing system condition all affect what the right solution is for your specific situation. The general principles here apply broadly, but a professional who assesses your home in person will give you guidance that accounts for the details that general articles cannot.
When you are ready to move forward, getting at least two or three quotes from licensed, insured, local contractors is the most important practical step. It lets you compare approaches, assess contractor quality, and confirm that the solution proposed matches your specific situation and budget.
Tile Installation Cost at a Glance
Ceramic floor or wall tile: $10 to $22 per sq ft installed. Porcelain: $15 to $35 per sq ft, denser and more moisture-resistant, suitable for showers and exteriors. Natural stone (marble, travertine, slate): $40 to $90 per sq ft, requires sealing and pH-neutral cleaning. Large-format porcelain (24×24 or larger): adds 20 to 30 percent to the labor and requires a very flat substrate. Kitchen backsplash: $800 to $2,500 for a typical 30 sq ft area, a higher rate per square foot than a floor because of the small area and many cuts. Full bathroom (floor and shower walls): $3,000 to $10,000 total including waterproofing membrane.
Old tile removal: $2 to $7 per sq ft additional. Waterproofing membrane in shower (Kerdi, RedGard, or equivalent): $450 to $750 additional, mandatory for any shower installation. Confirm whether removal and waterproofing are included in any quote before comparing bids. (For more on this, see How Much Does Tile Installation Cost?.)
Cost figures on this page were checked against published pricing on August 29, 2026. How we source cost data.
Frequently Asked Questions
For shower or wet area tile: what waterproofing system do you use? For all tile: how do you plan the layout and determine the starting point? Ask to see photos of completed work -- specifically looking for consistent grout joint width, plumb tile lines at walls, and clean transitions. Get a written quote that specifies the tile, waterproofing system, and any substrate preparation included.
Tap the tile surface with a coin or your knuckle after the thin-set has cured (at least 24 to 48 hours after installation). A hollow sound (as opposed to a solid sound) indicates a void under the tile -- the tile is not fully supported by the thin-set. In shower installations: the absence of a waterproofing membrane cannot be verified without destructive testing. Ask the installer to show you the membrane before it is covered with tile.
The TCNA publishes the Handbook for Ceramic, Glass, and Stone Tile Installation -- the industry standard for tile installation methods, substrate requirements, waterproofing specifications, and grout joint sizing. A tile installer who references TCNA standards is working from a documented industry baseline. Many warranty-claim disputes in the tile industry are resolved by comparing the installation to the applicable TCNA method.
Workmanship warranty: 1 to 2 years against grout cracking, tile lifting or debonding, and visible lippage (tiles that are not level with each other). A grout crack that appears within 3 to 6 months of installation is almost always an installation defect (substrate movement or inadequate cure time) rather than normal wear. Material warranty: follows the manufacturer's specific warranty for the tile and grout products.
A small bathroom floor (35 sq ft) in a standard square tile and straight pattern: accessible for a motivated DIYer. The tools needed: notched trowel, wet tile saw (rental: $50 to $100 per day), grout float, rubber mallet, and tile spacers. A shower tile installation: strongly recommended to be done professionally because the waterproofing is the critical step and mistakes are not visible until water damage appears.