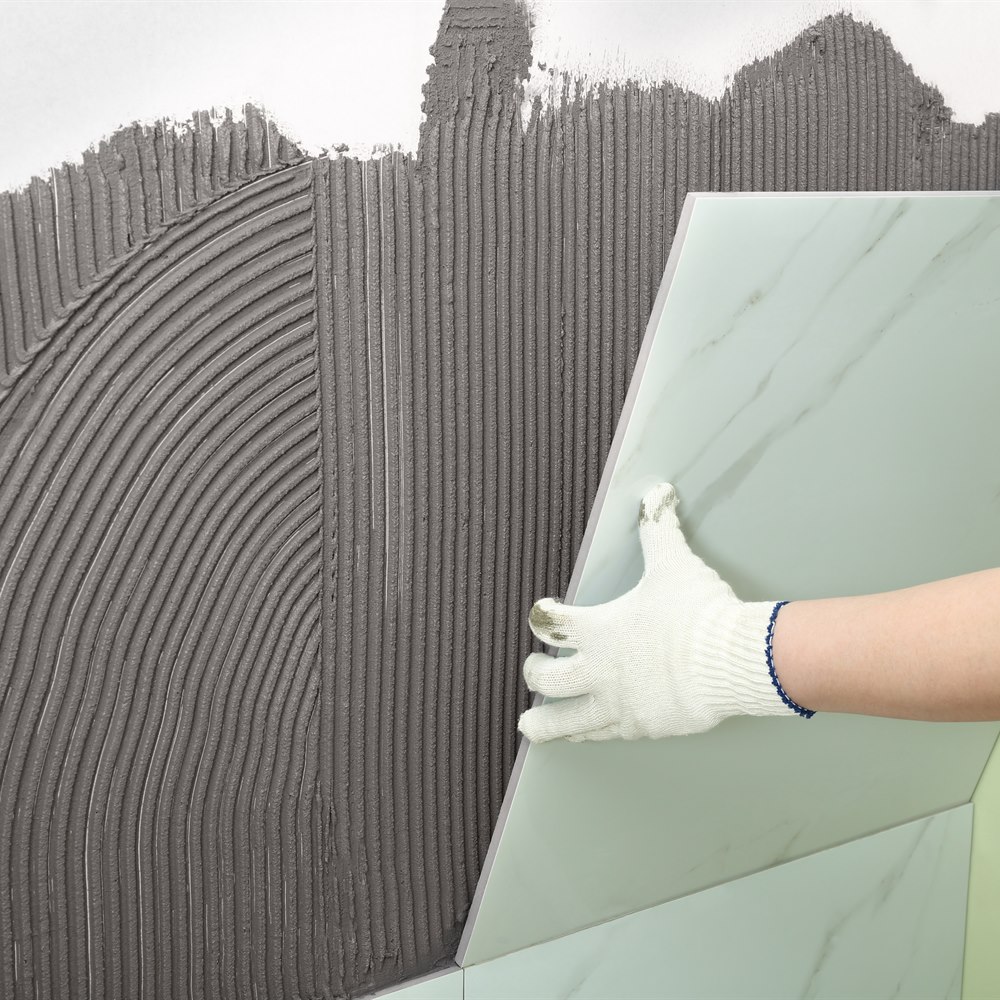
How Do You Prepare for a Tile Installation?
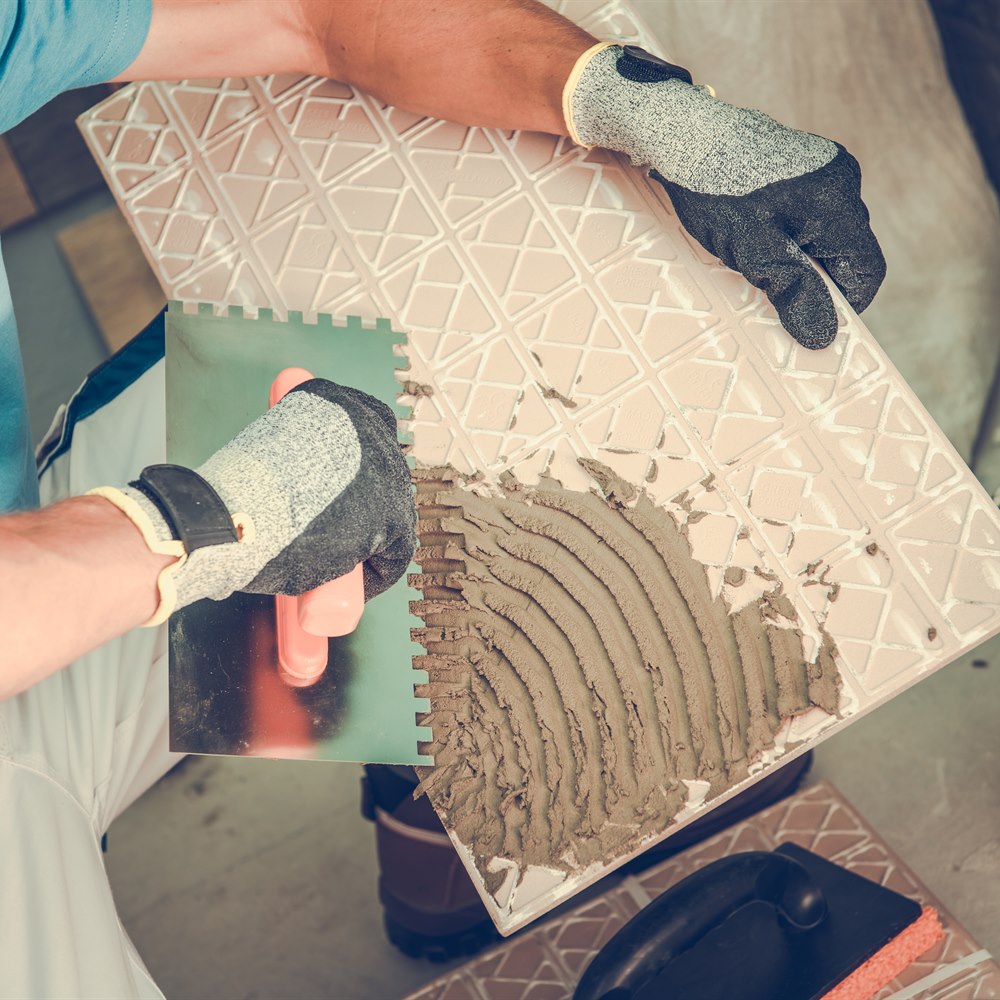
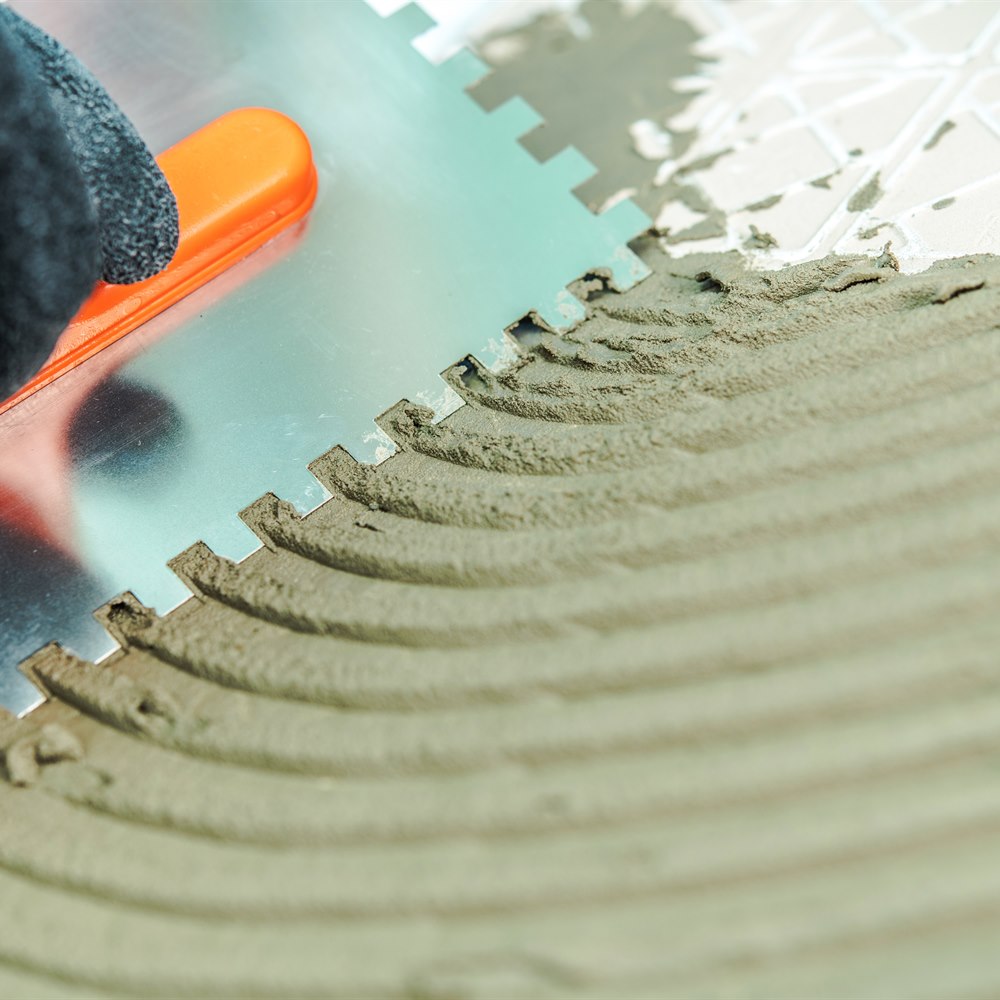
Prepare the substrate first: confirm the subfloor does not deflect, install cement board or an uncoupling membrane over wood framing, waterproof every wet area, and chalk the layout before the first tile is set. Most tile failures trace to substrate problems, not tile or grout defects.
Subfloor Assessment and Repair
The tile industry standard (TCNA Handbook): floor deflection must not exceed L/360 (the length of the span in inches divided by 360). A common joist span of 10 feet (120 inches): maximum allowable deflection of 1/3 inch. Excessive deflection (a bouncy floor) causes grout cracking and tile cracking regardless of how well the tile is installed. If the subfloor deflects: reinforce the joists (sister joists), add a layer of 1/4-inch cement board, or use an uncoupling membrane (like Schluter DITRA) that decouples the tile layer from the structural movement. Check the subfloor for level: any variation over 3/16 inch per 10 feet should be corrected with self-leveling compound before tile installation.
Waterproofing in Wet Areas
A shower or wet area tile installation must include a waterproofing membrane before tile. Options: a traditional 4-mil poly sheeting behind cement board (older standard, still used), a sheet membrane (Schluter Kerdi: a bonded waterproofing membrane applied over cement board), a liquid membrane (RedGard: a roller-applied waterproofing compound over cement board), or a foam tile backer (Schluter DITRA, USG Durock foam: integrates substrate and waterproofing in one product). Without waterproofing behind shower tile: water penetrates the grout joints, soaks the drywall or wood substrate, and causes mold, rot, and tile failure within 5 to 15 years. (For more on this, see How Much Does Tile Installation Cost?.)
Layout Planning
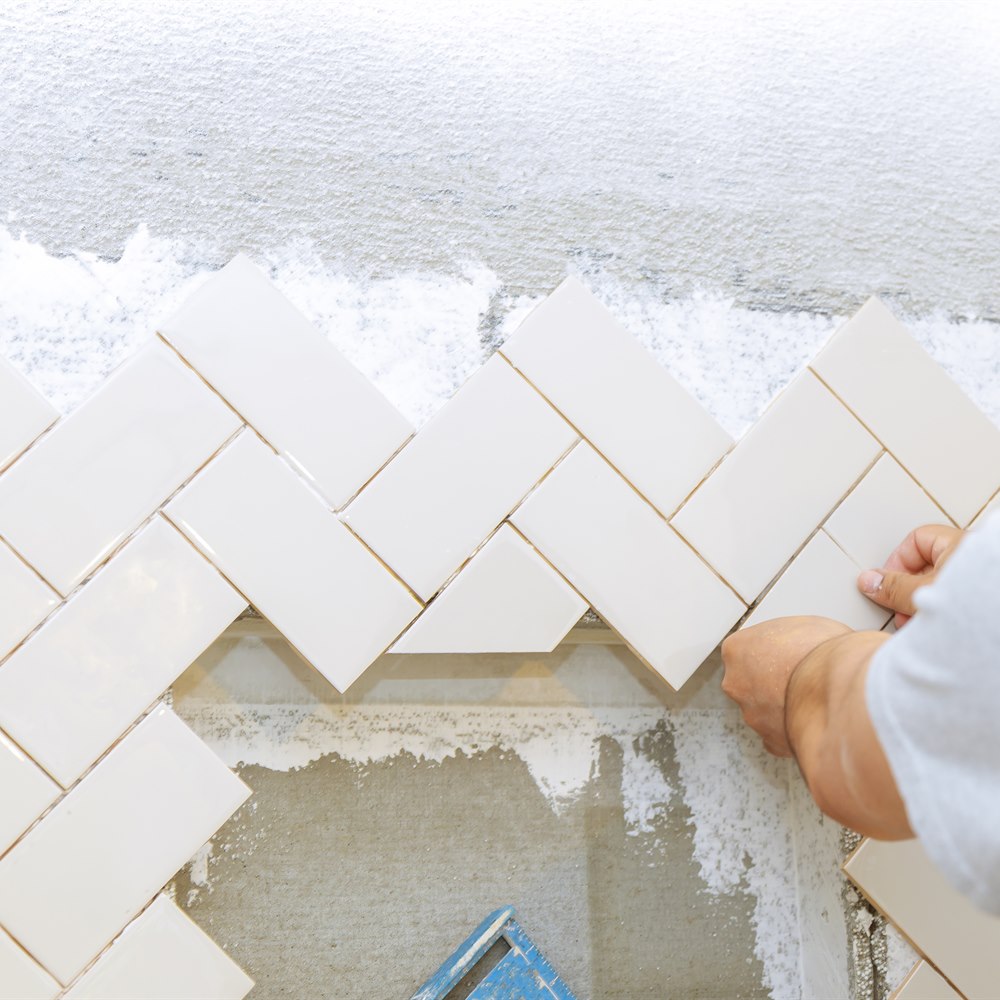
Before the first tile is set: snap chalk lines to establish the starting point and the reference grid. A layout that starts correctly ensures the tile pattern is symmetric and the cut tiles at the perimeter are equal on opposite sides (not a 1-inch sliver on one side and a full tile on the other). In a bathroom floor: center the tile pattern on the most visible wall or on the visual center of the room. In a shower wall: center the tile on the back wall (the wall directly facing the shower entry). (For more on this, see Shower Tile: How to Choose and Install Correctly.)
Working With a Contractor on This Project
Getting the right outcome on any home services project starts before the work begins. A few consistent practices make the difference between a smooth project and a frustrating one.
Get at least two or three quotes. A single quote gives you no basis for comparison. Two or three quotes reveal the market rate for the work, expose scope differences between bidders, and let you assess contractor communication quality before any commitment is made. The lowest bid is not automatically the best value if the scope is thin or the materials are underspecified.
Ask for licenses and insurance before work starts. Verify current general liability insurance and, for any work involving workers on your property, workers compensation coverage. Licensing requirements vary by state and trade; confirm the specific requirements in your jurisdiction. A licensed contractor who carries appropriate insurance protects both parties if something goes wrong during the project.
Get the scope in writing. A written proposal that specifies materials, labor scope, timeline, what is included (permits, cleanup, disposal), and warranty terms is the foundation of a professional engagement. Verbal agreements on any of these points invite misunderstanding. For any project over $500, written scope is non-negotiable.
Clarify the payment schedule upfront. A reasonable payment schedule ties major payments to project milestones: a deposit at signing, a payment at material delivery or project start, and a final payment at completion after a walkthrough confirms satisfaction. A contractor who requires full payment upfront before work begins is a red flag in any trade.
Making a Confident Decision
The information in this article is designed to help you ask better questions of the professionals you work with, evaluate their answers with more confidence, and understand the decisions involved in this type of home services project. It is not a substitute for professional assessment of your specific home.
Every home is different. Roof slopes, local weather, tree exposure, soil conditions, and existing system condition all affect what the right solution is for your specific situation. The general principles here apply broadly, but a professional who assesses your home in person will give you guidance that accounts for the details that general articles cannot.
When you are ready to move forward, getting at least two or three quotes from licensed, insured, local contractors is the most important practical step. It lets you compare approaches, assess contractor quality, and confirm that the solution proposed matches your specific situation and budget.
Tile Installation Cost at a Glance
Ceramic floor or wall tile: $10 to $22 per sq ft installed. Porcelain: $15 to $35 per sq ft, denser and more moisture-resistant, suitable for showers and exteriors. Natural stone (marble, travertine, slate): $40 to $90 per sq ft, requires sealing and pH-neutral cleaning. Large-format porcelain (24×24 or larger): adds 20 to 30 percent to the labor and requires a very flat substrate. Kitchen backsplash: $800 to $2,500 for a typical 30 sq ft area, a higher rate per square foot than a floor because of the small area and many cuts. Full bathroom (floor and shower walls): $3,000 to $10,000 total including waterproofing membrane. (For more on this, see Ceramic vs. Porcelain vs. Natural Stone Tile.)
Old tile removal: $2 to $7 per sq ft additional. Waterproofing membrane in shower (Kerdi, RedGard, or equivalent): $450 to $750 additional, mandatory for any shower installation. Confirm whether removal and waterproofing are included in any quote before comparing bids.
Cost figures on this page were checked against published pricing on August 29, 2026. How we source cost data.
Frequently Asked Questions
Concrete: the best tile substrate -- solid, non-deflecting, and dimensionally stable. Cement board (HardieBacker, USG Durock): the standard substrate for tile over wood-framed floors and walls. Existing tile over concrete: acceptable if the existing tile is sound and solidly bonded. Existing vinyl or linoleum: remove before tiling (can cause bond failure). Drywall: appropriate for wall tile in dry areas only (not showers or wet areas).
Over a wood subfloor: yes, cement board (or an uncoupling membrane like DITRA) is required. Standard drywall and OSB subfloor are not appropriate substrates for floor tile (they absorb moisture and flex, causing grout and tile failure). Cement board is screwed to the subfloor with 1.25-inch cement board screws and taped at the joints with alkali-resistant tape before tile installation.
An uncoupling membrane (Schluter DITRA is the most widely known brand): a thin polymer mat with a grid structure that decouples the tile layer from the subfloor. It allows minor independent movement between the subfloor and the tile layer, reducing the stress that causes grout cracking from subfloor movement. DITRA also acts as a waterproof membrane and can be installed over wood subfloors, concrete, and existing vinyl (in some conditions). Widely used by professional tile installers as an alternative to cement board.
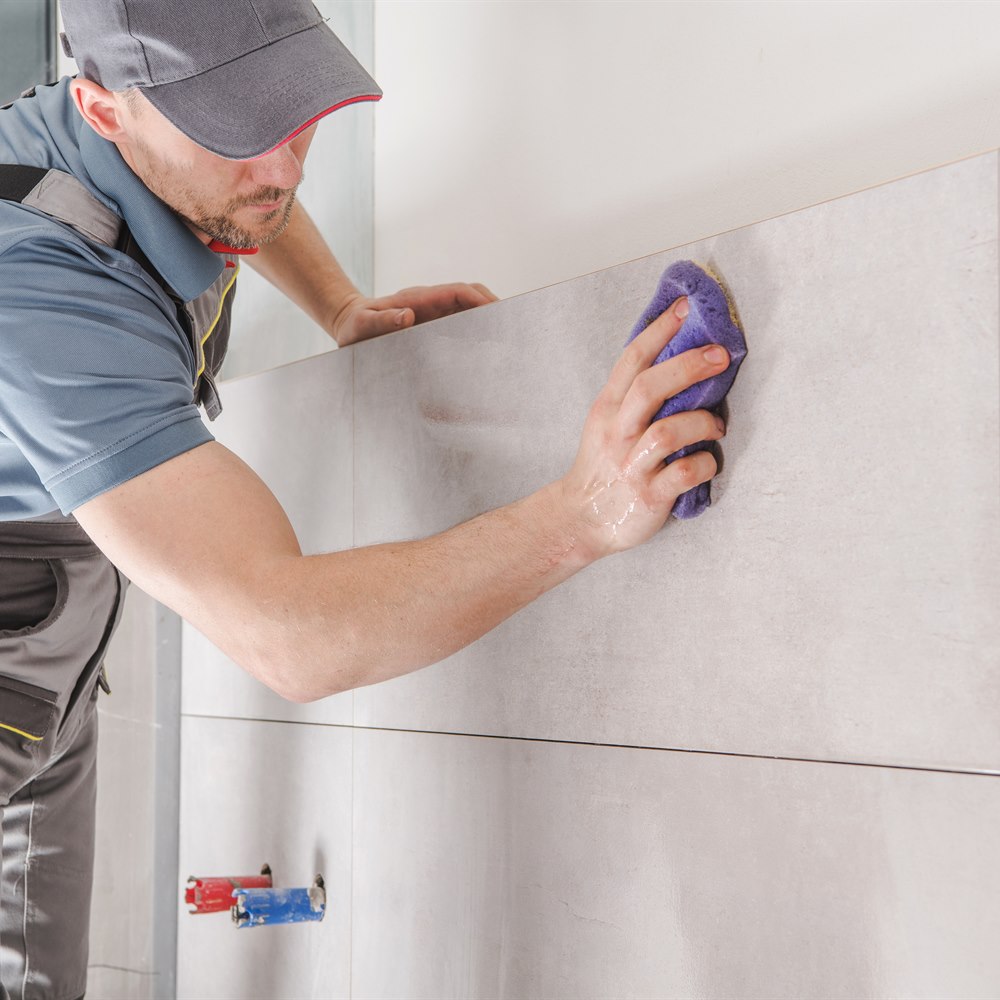
A standard bathroom floor (35 sq ft, straight pattern): 1 day (includes layout, setting tile, and cleanup). Grout: the next day after the thin-set has cured (minimum 24 hours). A full bathroom with floor and shower tile: 3 to 5 days. Kitchen backsplash (30 sq ft): 1 day. Tile drying times add to the overall schedule: thin-set cure (24 hours before grouting), grout cure (24 to 48 hours before sealing and use).
Yes, in some conditions: the existing tile must be solidly bonded (tap-test: a hollow sound indicates debonded tiles), level, and clean. Tiling over existing tile raises the floor height (a concern at transitions to adjacent flooring and at door clearances). The added height can cause issues at thresholds and in some applications. Professional assessment of the existing tile bond quality is recommended before tiling over existing tile.