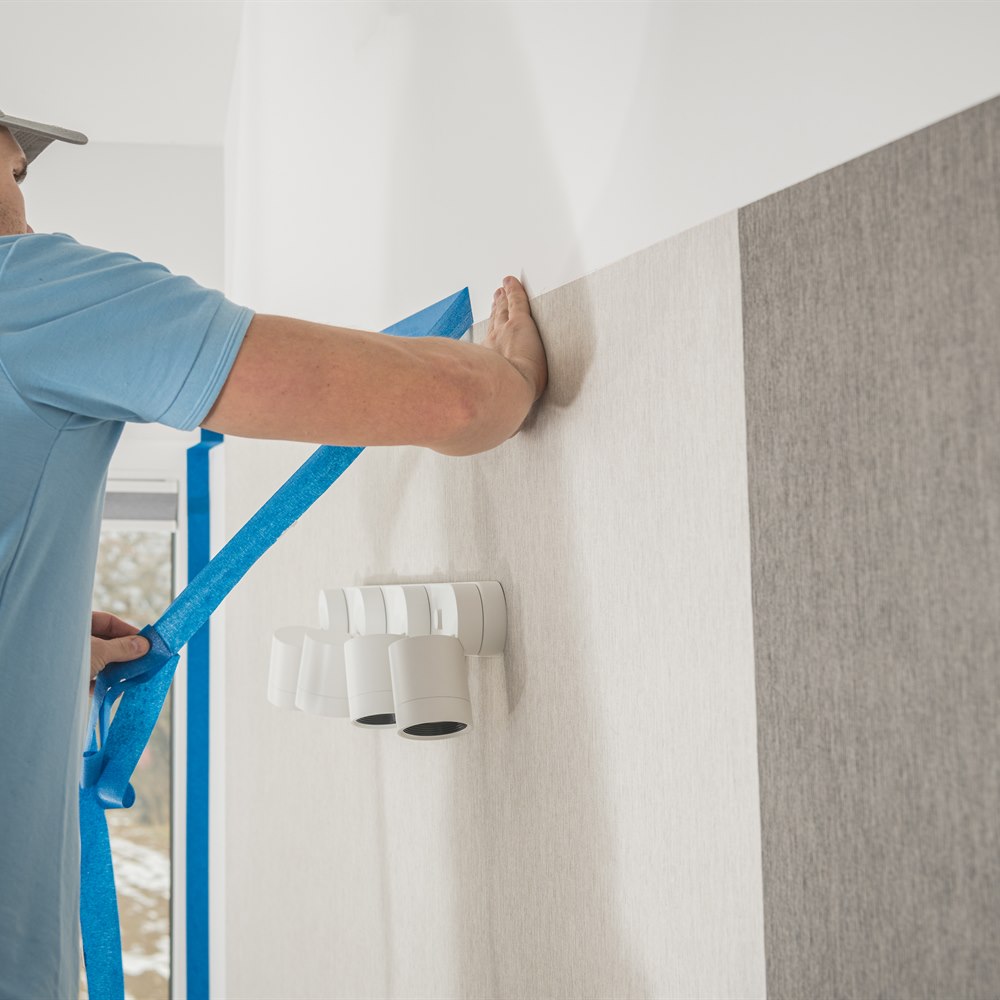
What Happens During Wallpaper Installation?
Professional wallpaper installation takes 1 to 3 days per room — roughly 4 to 6 hours for a powder room, 1 to 2 days for a standard bedroom, and 1 to 2 days more if existing wallpaper has to come off first. Understanding the process helps you prepare the space correctly and set realistic timeline expectations.
Wall Preparation: The Critical First Step
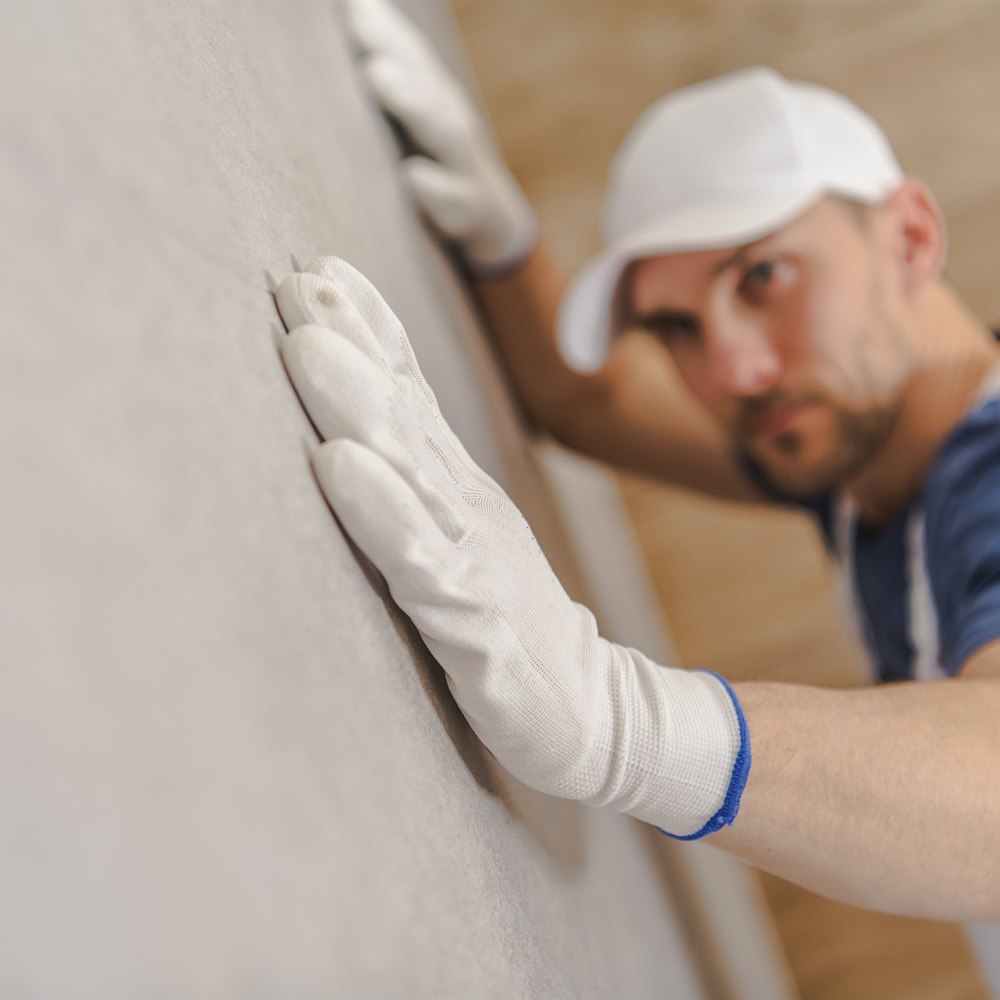
Wallpaper requires a smooth, primed, and dry surface. New drywall: must be primed with a wallpaper primer (not standard interior latex primer) before installation. Existing paint: must be clean, flat (flat or eggshell finish — gloss prevents adhesion), and free of peeling or bubbles. Any wall imperfections (holes, cracks, ridges): will show through the wallpaper. Skim coat and sand imperfections before priming. A wallpaper primer (designed to create an appropriate surface for paste adhesion and to allow future removal without wall damage): applied and allowed to dry (typically 24 hours) before papering begins. Skipping the primer: makes future removal much more difficult (the paste bonds directly to the drywall paper, which tears during removal).
The Installation Process
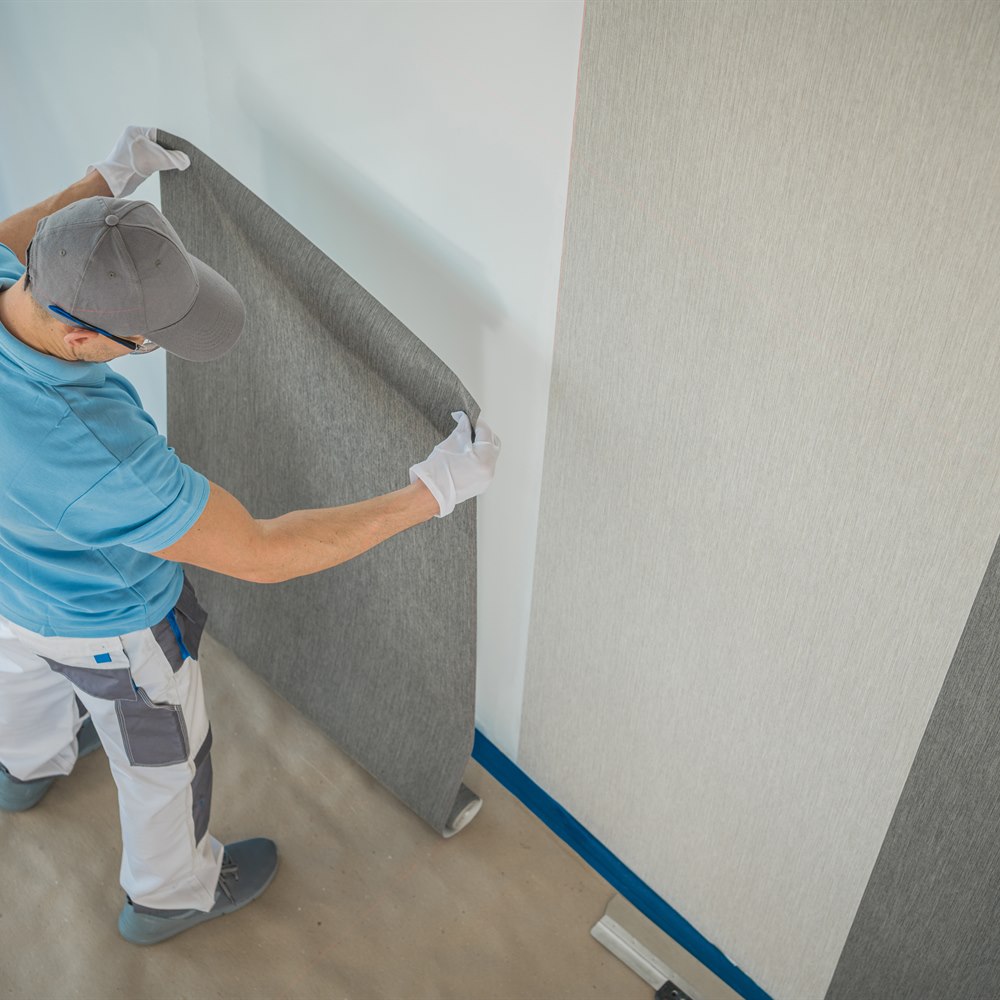
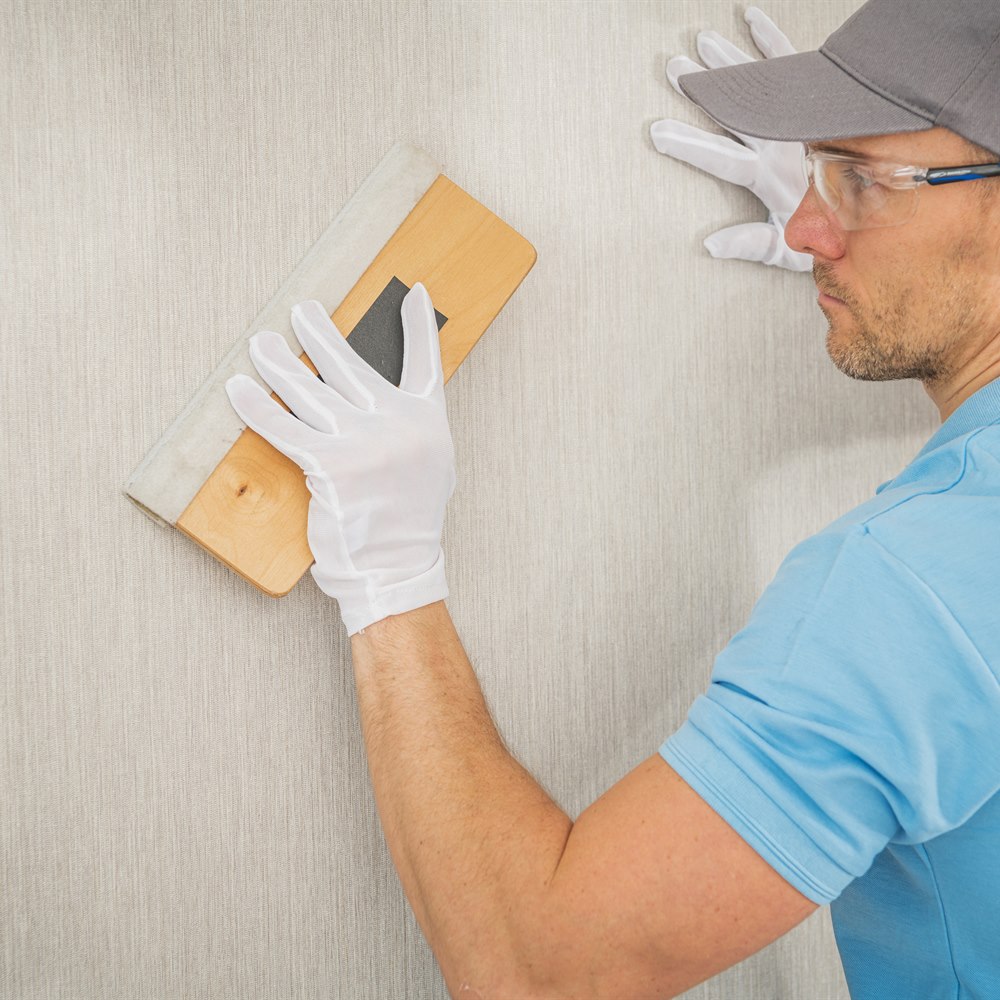
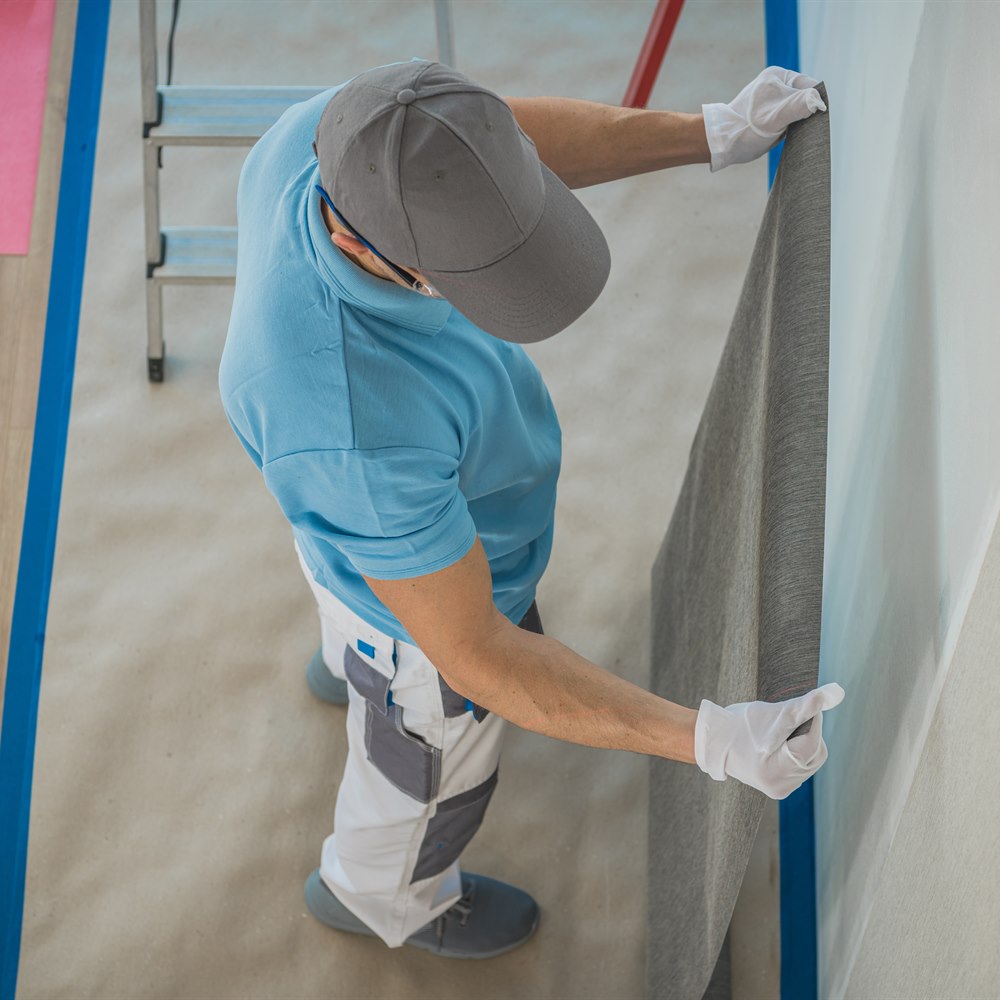
The installer measures the room, calculates the number of drops (vertical strips), and determines where the first strip will be placed (typically starting at a focal point — the wall directly across from the room’s main entry, or the wall that will be most visible). Each strip is cut, pasted (or activated if pre-pasted), booked (folded paste-side-together and allowed to relax for 3 to 5 minutes), and hung. Pattern-matched wallpaper requires trimming the top of each strip to match the pattern on the adjacent strip — this is where waste occurs and why extra material is ordered. Seams are smoothed with a seam roller, air bubbles are smoothed with a wall brush or squeegee, and excess at the top and bottom is trimmed with a straightedge and knife. (For more on this, see How to Find a Good Wallpaper Installer.)
Timeline
An average room (400 sq ft, 4 walls, standard pattern repeat): 1 to 2 days for a professional installer. A powder room (100 sq ft): 4 to 6 hours. A room with an existing wallpaper to remove: add 1 to 2 days for removal and wall preparation. A room requiring skim coating: add 1 to 2 additional days for the skim coat to dry and be sanded. (For more on this, see How to Remove Wallpaper: What to Expect.)
Working With a Contractor on This Project
Getting the right outcome on any home services project starts before the work begins. A few consistent practices make the difference between a smooth project and a frustrating one.
Get at least two or three quotes. A single quote gives you no basis for comparison. Two or three quotes reveal the market rate for the work, expose scope differences between bidders, and let you assess contractor communication quality before any commitment is made. The lowest bid is not automatically the best value if the scope is thin or the materials are underspecified.
Ask for licenses and insurance before work starts. Verify current general liability insurance and, for any work involving workers on your property, workers compensation coverage. Licensing requirements vary by state and trade; confirm the specific requirements in your jurisdiction. A licensed contractor who carries appropriate insurance protects both parties if something goes wrong during the project.
Get the scope in writing. A written proposal that specifies materials, labor scope, timeline, what is included (permits, cleanup, disposal), and warranty terms is the foundation of a professional engagement. Verbal agreements on any of these points invite misunderstanding. For any project over $500, written scope is non-negotiable.
Clarify the payment schedule upfront. A reasonable payment schedule ties major payments to project milestones: a deposit at signing, a payment at material delivery or project start, and a final payment at completion after a walkthrough confirms satisfaction. A contractor who requires full payment upfront before work begins is a red flag in any trade.
Making a Confident Decision
The information in this article is designed to help you ask better questions of the professionals you work with, evaluate their answers with more confidence, and understand the decisions involved in this type of home services project. It is not a substitute for professional assessment of your specific home.
Every home is different. Roof slopes, local weather, tree exposure, soil conditions, and existing system condition all affect what the right solution is for your specific situation. The general principles here apply broadly, but a professional who assesses your home in person will give you guidance that accounts for the details that general articles cannot.
When you are ready to move forward, getting at least two or three quotes from licensed, insured, local contractors is the most important practical step. It lets you compare approaches, assess contractor quality, and confirm that the solution proposed matches your specific situation and budget.
Ranges here are national ballpark figures, not quotes. Actual pricing varies by region, home condition, materials, and contractor. How we source cost data.
Frequently Asked Questions
A standard bedroom (400 sq ft): 1 to 2 days for professional installation. A powder room (100 sq ft): 4 to 6 hours. A room requiring wallpaper removal first: add 1 to 2 days for removal and wall prep. Total from start to finish including wall prep and installation: 2 to 5 days for most rooms.
In some cases -- the existing wallpaper must be well-adhered with no bubbles, peeling, or loose seams. Multiple layers of existing wallpaper: generally not recommended (the weight can pull away from the wall). One layer of well-adhered wallpaper: sometimes appropriate for papering over. The installer must assess the existing wallpaper quality and the wall substrate. If there is any doubt: remove the old wallpaper and properly prepare the wall. Papering over old wallpaper that fails later results in removing two layers instead of one.
Booking is the process of folding pasted wallpaper paste-side-to-paste-side (without creasing the fold) and allowing it to relax for 3 to 5 minutes before hanging. Booking allows the paste to evenly activate and the paper to expand to its final dimensions before it is hung. Hanging un-booked wallpaper: the paper expands and contracts after it is hung, causing bubbles, seam gaps, or misaligned patterns.
Clear the room of furniture (or move it to the center and cover with plastic). Remove all switch plates and outlet covers (the installer will paper around the boxes and trim). Clean the walls with a damp sponge (remove dust, grease, and cobwebs). Patch and sand any imperfections. The walls are the installer's responsibility to prime and prepare as part of the installation, but confirming that obvious imperfections are addressed before the installer arrives prevents delays.
Confirm whether the quote includes: wall preparation (priming, patching), the wallpaper material itself (some quotes are labor-only), removal of existing wallpaper (if applicable), trim at baseboards and ceiling, cleanup. Most professional wallpaper installers provide labor-only quotes (the homeowner purchases the wallpaper). Confirm material quantities with the installer before ordering -- they will know the exact number of rolls needed based on the room dimensions and the pattern repeat.