How Long Does Roof Installation Take?
Most residential roof installations take 1 to 3 days for a standard home. Here is what the process involves and what affects the timeline.
Day 1: Tear-Off and Decking Inspection
A professional crew begins by removing the existing roof: tearing off shingles, felt paper, and any damaged flashing, loading the debris into a dumpster, and clearing the decking surface. Decking is then inspected for soft spots, rot, and damage, and damaged sections are replaced. On a standard 25-to-30-square roof, tear-off and decking work typically takes 4 to 8 hours depending on crew size and the number of layers being removed. Removing two existing layers takes significantly longer than one.
Day 1 to 2: Underlayment, Flashing, and Shingles
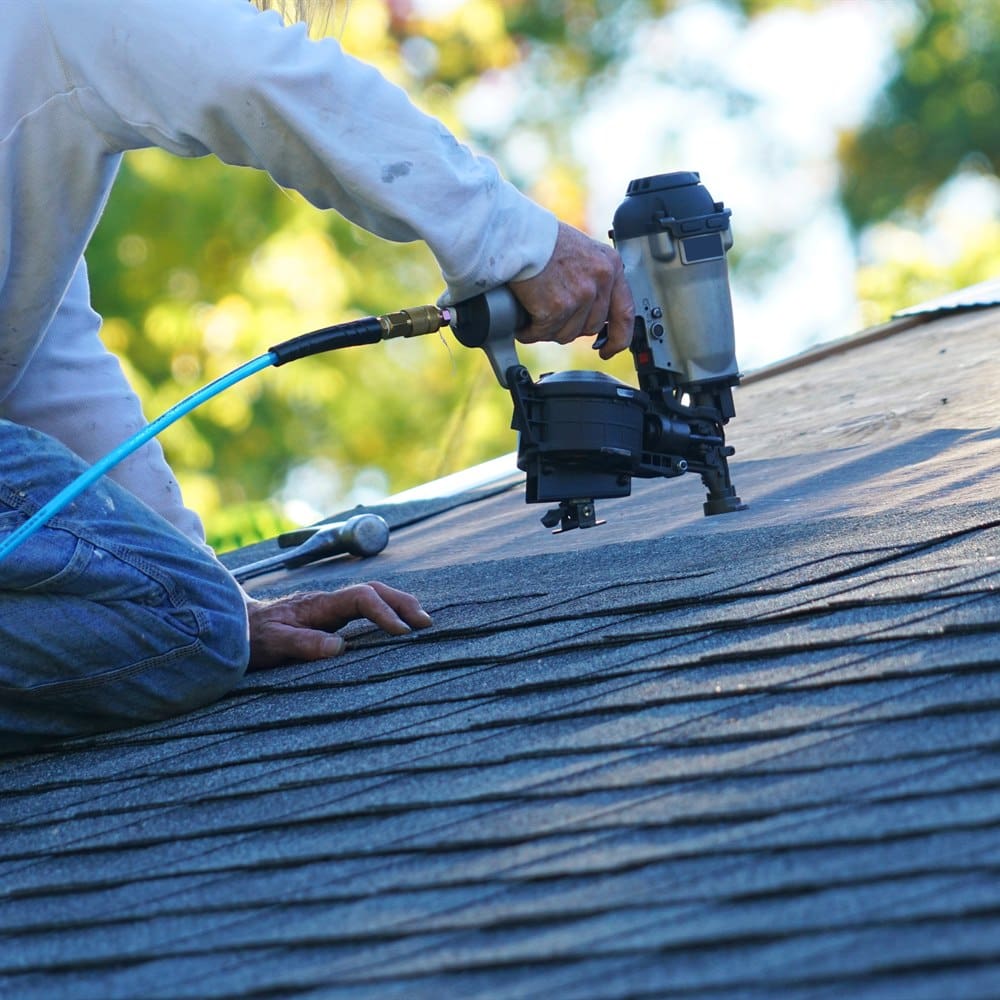
Once decking is confirmed sound, ice-and-water shield is applied at eaves, valleys, and penetrations. Synthetic underlayment is installed over the field. New flashing is installed at all penetrations (chimney, skylights, vents), and valley flashing is set. Shingle installation proceeds from the eave upward. A skilled crew of 3 to 5 people can install 20 to 30 squares of shingles per day in good weather. Most standard residential roofs are fully shingled on day one or two.
Day 2 to 3: Ridge Cap, Final Flashing, and Cleanup
Ridge cap shingles are installed along the peak, ridge vents are set, and any remaining flashing details are completed. Gutters are reattached if they were removed. The crew performs a final magnetic sweep of the yard and driveway to collect roofing nails, the dumpster is removed, and the site is cleaned. On complex roofs with multiple penetrations, additional detail work extends the timeline.
What Extends the Timeline
Multiple layers to remove, significant decking replacement, complex roof geometry with many penetrations, chimney flashing requiring masonry work, weather delays, and material delivery delays all push toward the longer end of the range. Very large roofs (30 or more squares) typically take 3 to 5 days with a standard crew. Premium materials (standing seam metal, tile, slate) take significantly longer: metal standing seam 3 to 7 days, tile and slate 5 to 14 days depending on roof size and complexity. (For more on this, see What Affects Roof Replacement Cost?.)
Planning the Project
Most asphalt shingle replacements complete in 1 to 3 days. Plan for a weather window, since roofing cannot proceed in rain. When you are ready to schedule, connect with a local pro below.
Working With a Contractor on This Project
Getting the right outcome on any home services project starts before the work begins. A few consistent practices make the difference between a smooth project and a frustrating one.
Get at least two or three quotes. A single quote gives you no basis for comparison. Two or three quotes reveal the market rate for the work, expose scope differences between bidders, and let you assess contractor communication quality before any commitment is made. The lowest bid is not automatically the best value if the scope is thin or the materials are underspecified.
Ask for licenses and insurance before work starts. Verify current general liability insurance and, for any work involving workers on your property, workers compensation coverage. Licensing requirements vary by state and trade; confirm the specific requirements in your jurisdiction. A licensed contractor who carries appropriate insurance protects both parties if something goes wrong during the project. (For more on this, see Questions to Ask a Roofing Contractor.)
Get the scope in writing. A written proposal that specifies materials, labor scope, timeline, what is included (permits, cleanup, disposal), and warranty terms is the foundation of a professional engagement. Verbal agreements on any of these points invite misunderstanding. For any project over $500, written scope is non-negotiable.
Clarify the payment schedule upfront. A reasonable payment schedule ties major payments to project milestones: a deposit at signing, a payment at material delivery or project start, and a final payment at completion after a walkthrough confirms satisfaction. A contractor who requires full payment upfront before work begins is a red flag in any trade. (For more on this, see Questions to Ask Before Signing a Roofing Contract.)
Making a Confident Decision
The information in this article is designed to help you ask better questions of the professionals you work with, evaluate their answers with more confidence, and understand the decisions involved in this type of home services project. It is not a substitute for professional assessment of your specific home.
Every home is different. Roof slopes, local weather, tree exposure, soil conditions, and existing system condition all affect what the right solution is for your specific situation. The general principles here apply broadly, but a professional who assesses your home in person will give you guidance that accounts for the details that general articles cannot.
When you are ready to move forward, getting at least two or three quotes from licensed, insured, local contractors is the most important practical step. It lets you compare approaches, assess contractor quality, and confirm that the solution proposed matches your specific situation and budget. The FTC advises hiring only licensed, insured contractors, getting the full scope in writing, and never paying the full amount up front.
Ranges here are national ballpark figures, not quotes. Actual pricing varies by region, home condition, materials, and contractor. How we source cost data.