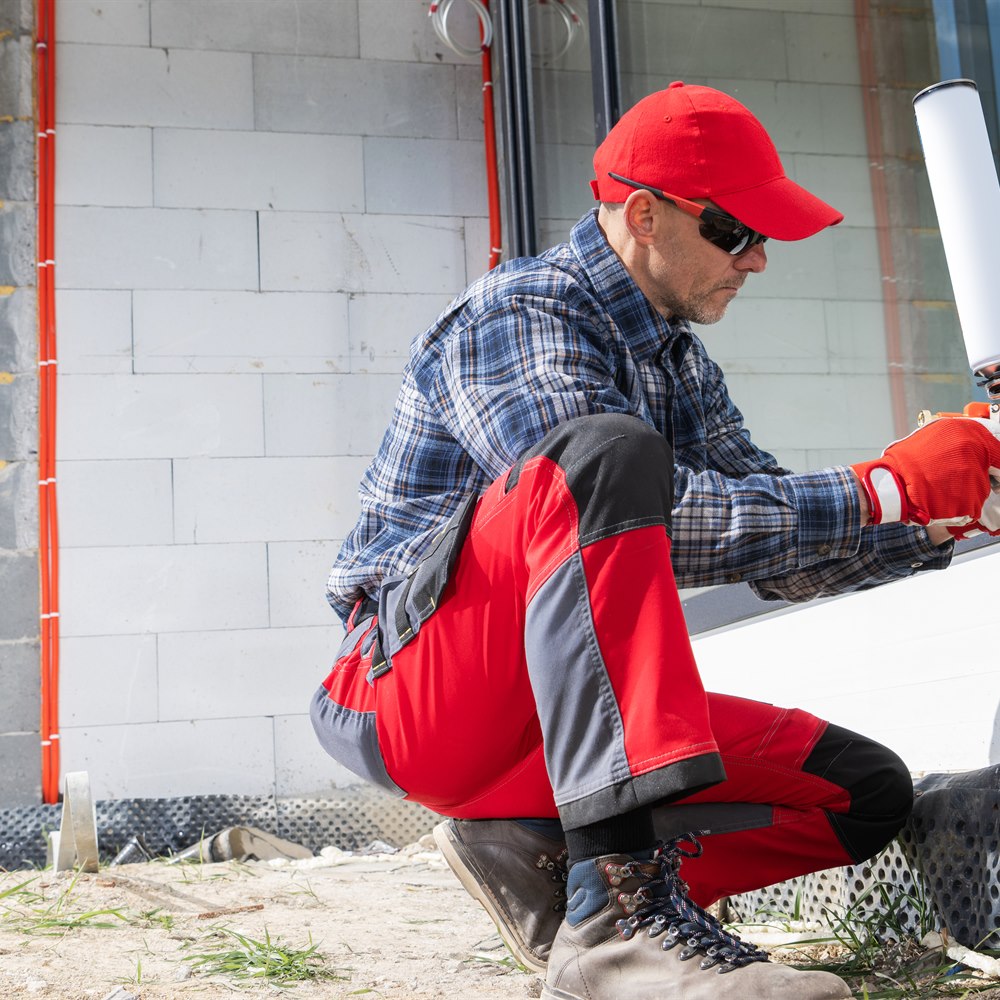
What Air Sealing Can You Do Yourself?
Outlet and switch gaskets, at $5 to $15 per 10-pack, are the highest-return DIY air sealing you can do, followed by caulking a full house perimeter in 2 to 4 hours for $50 to $100 in materials and weatherstripping at $20 to $50 per door. Air sealing spans a wide range of complexity, from straightforward caulking around windows to spray foam work in a hot attic. Here is an honest assessment of what is DIY-appropriate and what produces the most energy benefit.
High-Impact DIY: Electrical Outlet Gaskets and Switch Plates
Foam gaskets installed behind electrical outlet and switch plates on exterior walls block a significant and easy-to-reach source of air infiltration. Cost: $5 to $15 per 10-pack. Installation: remove the cover plate, install the gasket, replace the cover plate no tools or special skills required. This is among the highest-return DIY improvements per hour of work.
Moderate-Impact DIY: Caulking and Weatherstripping
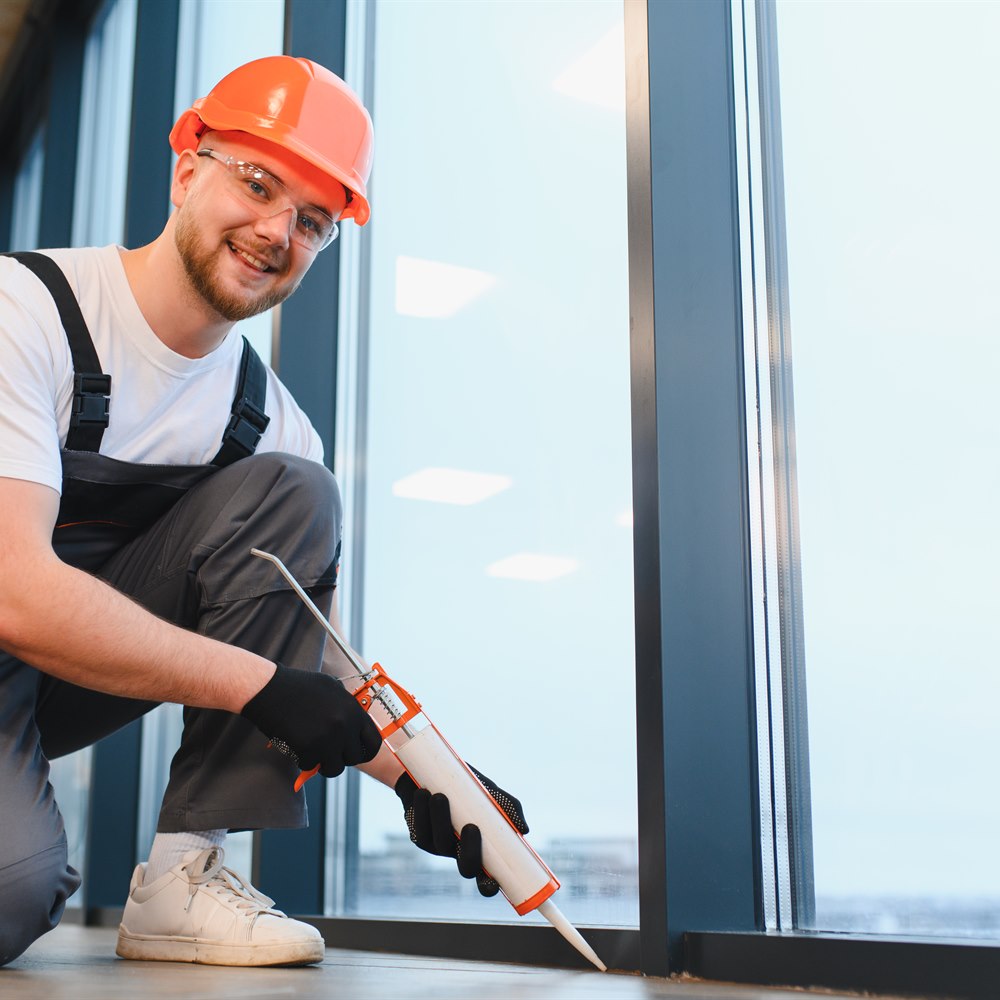
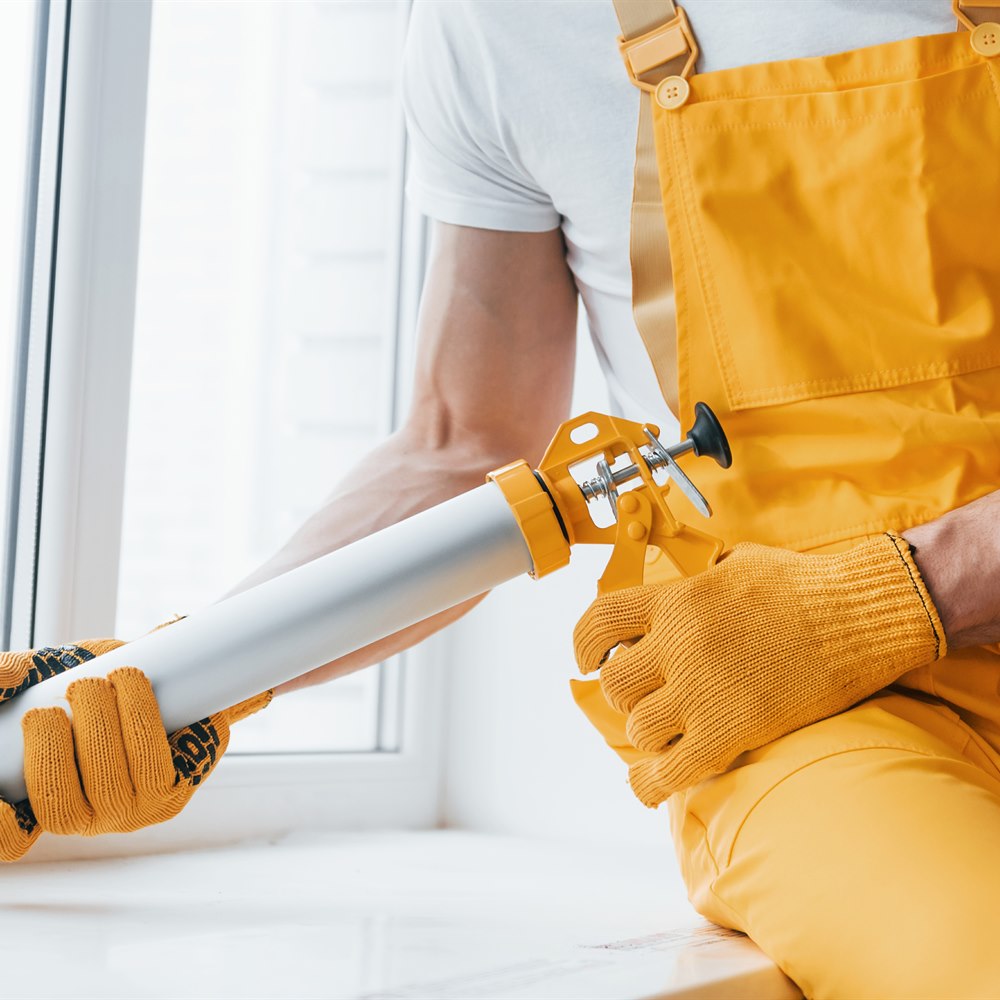
Caulking visible gaps around window and door frames, replacing door weatherstripping, and installing door sweeps are all DIY-appropriate. Quality silicone or polyurethane caulk costs $5 to $15 per tube; a full perimeter caulking job on a house takes 2 to 4 hours and costs $50 to $100 in materials. New door weatherstripping costs $20 to $50 per door and installs with basic tools. These improvements provide moderate energy benefit at low cost.
Lower-Impact but Visible: Window Film
Plastic window film applied over single-pane windows for winter creates a secondary air barrier and adds some insulation value (approximately R-1 to R-2 additional). It is visible and less durable than other improvements but is very low cost ($5 to $15 per window kit) for a season of use. (For more on this, see Air Sealing vs. Insulation: Which Should You Do First?.)
Professional Work for Best Results: Attic Bypasses
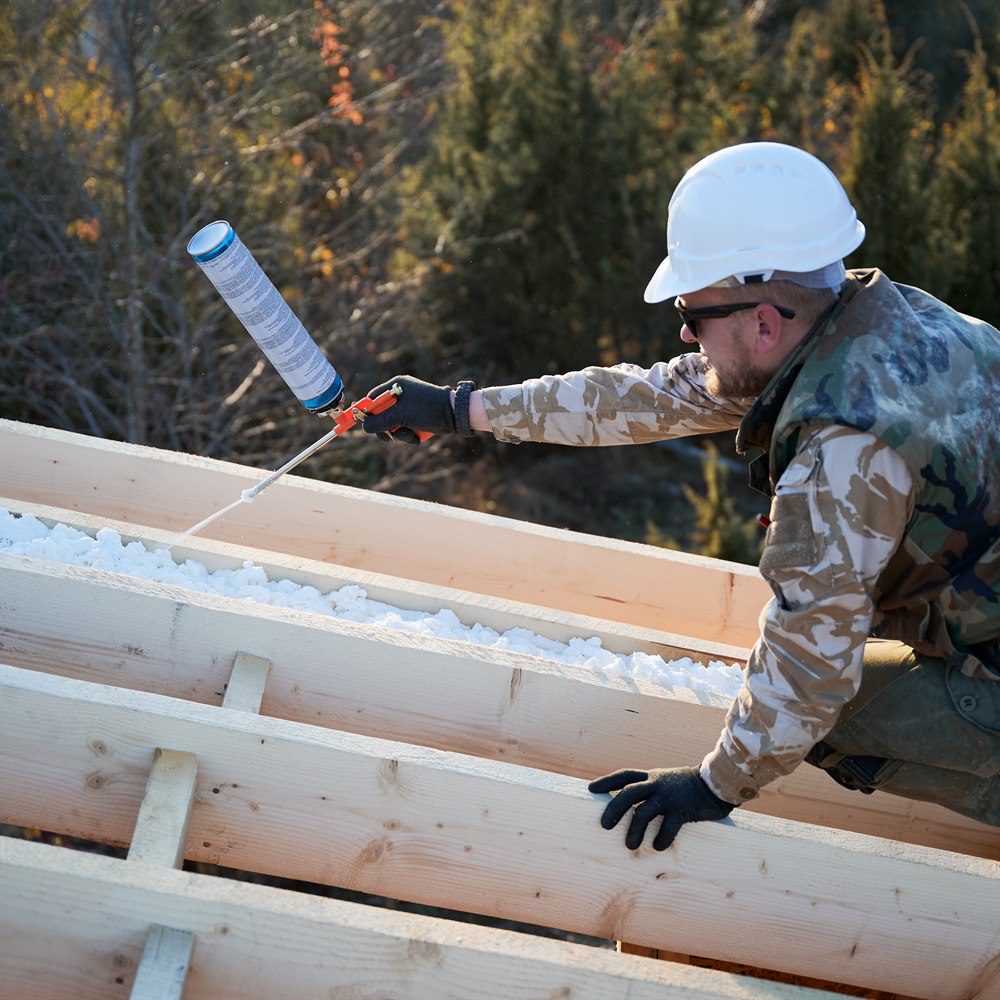
Sealing the penetrations in the attic floor where plumbing, electrical, and framing bypass the thermal and air boundary is the highest-impact air sealing work but requires working in the attic, moving insulation aside, applying spray foam at each penetration, and replacing the insulation. This is physically demanding work in difficult conditions (heat, limited space) that most homeowners find uncomfortable or impractical to do correctly. Professional air sealing contractors have the equipment and experience to do this efficiently and completely. The Department of Energy publishes recommended R-values by climate zone and where insulation pays back fastest.
Working With a Contractor on This Project
Getting the right outcome on any home services project starts before the work begins. A few consistent practices make the difference between a smooth project and a frustrating one.
Get at least two or three quotes. A single quote gives you no basis for comparison. Two or three quotes reveal the market rate for the work, expose scope differences between bidders, and let you assess contractor communication quality before any commitment is made. The lowest bid is not automatically the best value if the scope is thin or the materials are underspecified.
Ask for licenses and insurance before work starts. Verify current general liability insurance and, for any work involving workers on your property, workers compensation coverage. Licensing requirements vary by state and trade; confirm the specific requirements in your jurisdiction. A licensed contractor who carries appropriate insurance protects both parties if something goes wrong during the project. (For more on this, see Questions to Ask an Air Sealing Contractor.)
Get the scope in writing. A written proposal that specifies materials, labor scope, timeline, what is included (permits, cleanup, disposal), and warranty terms is the foundation of a professional engagement. Verbal agreements on any of these points invite misunderstanding. For any project over $500, written scope is non-negotiable.
Clarify the payment schedule upfront. A reasonable payment schedule ties major payments to project milestones: a deposit at signing, a payment at material delivery or project start, and a final payment at completion after a walkthrough confirms satisfaction. A contractor who requires full payment upfront before work begins is a red flag in any trade.
Making a Confident Decision
The information in this article is designed to help you ask better questions of the professionals you work with, evaluate their answers with more confidence, and understand the decisions involved in this type of home services project. It is not a substitute for professional assessment of your specific home.
Every home is different. Roof slopes, local weather, tree exposure, soil conditions, and existing system condition all affect what the right solution is for your specific situation. The general principles here apply broadly, but a professional who assesses your home in person will give you guidance that accounts for the details that general articles cannot.
When you are ready to move forward, getting at least two or three quotes from licensed, insured, local contractors is the most important practical step. It lets you compare approaches, assess contractor quality, and confirm that the solution proposed matches your specific situation and budget.
Air Sealing Cost at a Glance
| Cost Factor | Typical Range | Notes |
|---|---|---|
| Blower door test or energy audit | $300 to $900 per visit | $300 to $500 for a standalone blower door test, $600 to $900 for a full audit with thermal imaging |
| Weatherstripping, per window | $5 to $10 each | an incremental line item inside a larger job, not a visit to seal one window |
| Weatherstripping, per door | $35 to $90 each | more material and labor than a window, and still a line item rather than a job on its own |
| Attic-plane sealing package | $300 to $1,500, averaging $800 | every penetration in the attic floor plus top plates, chases and can-light covers |
Cost figures on this page were checked against published pricing on August 28, 2026. How we source cost data.