
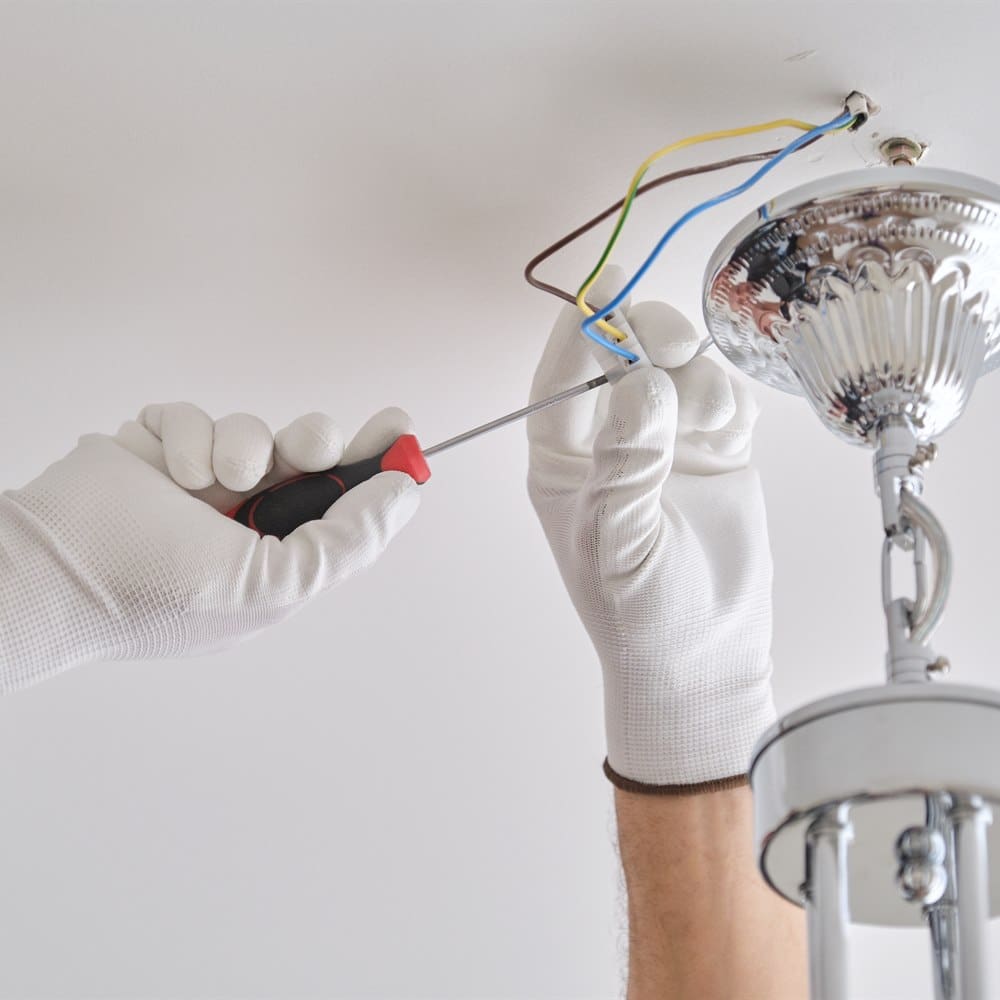
What Happens During Light Fixture Installation?
Light fixture installation takes 30 to 60 minutes for a simple replacement and 1 to 2 hours for a chandelier or other heavy fixture, while recessed lighting in new locations runs 2 to 4 hours per room. It is one of the more straightforward electrical projects. Here is what the process looks like from start to finish.
Pre-Installation Preparation
Confirm the new fixture is on-site and accessible. Identify the circuit breaker controlling the installation location. Clear the area around and below the installation point. For chandeliers, confirm the ceiling height and determine whether structural mounting is needed (fixture over 35 to 50 pounds). If a permit is required (new circuit work), confirm it has been pulled and the inspection has been scheduled. (For more on this, see What Affects Light Fixture Installation Cost?.)
Power Off and Verification
The electrician turns off the relevant circuit breaker and verifies power is off at the fixture location using a non-contact voltage tester. For a switch replacement, the breaker for the circuit controlled by that switch is turned off. For a fixture replacement, the breaker for the circuit feeding the fixture’s junction box is turned off. (For more on this, see How to Find the Best Electrician for Light Fixture Installation.) The Electrical Safety Foundation covers where GFCI and AFCI protection is required and which jobs need a licensed electrician.
Old Fixture Removal
The existing fixture is lowered from the ceiling, and wire connections are disconnected. The electrician inspects the existing junction box a confirming it is appropriate for the new fixture’s weight and type, and replacing it if needed. The mounting hardware from the new fixture is installed on the box if it differs from the old fixture’s mounting configuration.
New Fixture Wiring and Mounting
The new fixture’s supply wires are connected to the house wiring. The fixture is mounted to the ceiling and secured. The canopy is installed, concealing the junction box and wire connections. Power is restored and the fixture is tested. Final adjustments (dimmer programming, smart switch configuration) are made.
Light Fixture Installation Cost at a Glance
| Cost Factor | Typical Range | Notes |
|---|---|---|
| Standard switch installation | $75 to $200 including labor and materials | |
| Dimmer or smart switch | $100 to $250 for upgraded controls | |
| Standard fixture installation | $100 to $500 installed | ceiling, wall, or pendant fixture on existing wiring |
| Chandelier installation | $300 to $1,200 installed | weight, ceiling height, and any added support drive the range |
| Overall range | $75 to $1,200, averaging $200 |
Cost figures on this page were checked against published pricing on August 28, 2026. How we source cost data.
Planning Your Project Budget
The cost ranges in this article are based on industry data and are intended as planning benchmarks, not fixed prices. The actual cost for your project depends on your specific home, your local labor market, the current price of materials, and the scope the contractor confirms after a site inspection.
Always get at least two written quotes on equivalent defined scope before committing to any home services project. Wide price variation between quotes usually reflects differences in material quality, scope completeness (what is included and what is not), or contractor overhead and experience level rather than simple price competition.
Use the cost data in this article to ask better questions during the quoting process: What material is included? What does that per-square-foot or per-linear-foot rate include and exclude? Are permits, cleanup, and disposal included? What is the warranty on labor? These questions turn a quote into a comparable basis for decision-making. (For more on this, see Questions to Ask Before Light Fixture Installation.)
Working With a Contractor on This Project
Getting the right outcome on any home services project starts before the work begins. A few consistent practices make the difference between a smooth project and a frustrating one.
Get at least two or three quotes. A single quote gives you no basis for comparison. Two or three quotes reveal the market rate for the work, expose scope differences between bidders, and let you assess contractor communication quality before any commitment is made. The lowest bid is not automatically the best value if the scope is thin or the materials are underspecified.
Ask for licenses and insurance before work starts. Verify current general liability insurance and, for any work involving workers on your property, workers compensation coverage. Licensing requirements vary by state and trade; confirm the specific requirements in your jurisdiction. A licensed contractor who carries appropriate insurance protects both parties if something goes wrong during the project.
Get the scope in writing. A written proposal that specifies materials, labor scope, timeline, what is included (permits, cleanup, disposal), and warranty terms is the foundation of a professional engagement. Verbal agreements on any of these points invite misunderstanding. For any project over $500, written scope is non-negotiable.
Clarify the payment schedule upfront. A reasonable payment schedule ties major payments to project milestones: a deposit at signing, a payment at material delivery or project start, and a final payment at completion after a walkthrough confirms satisfaction. A contractor who requires full payment upfront before work begins is a red flag in any trade.