What Are the Most Common Ceiling Fan Installation Mistakes?
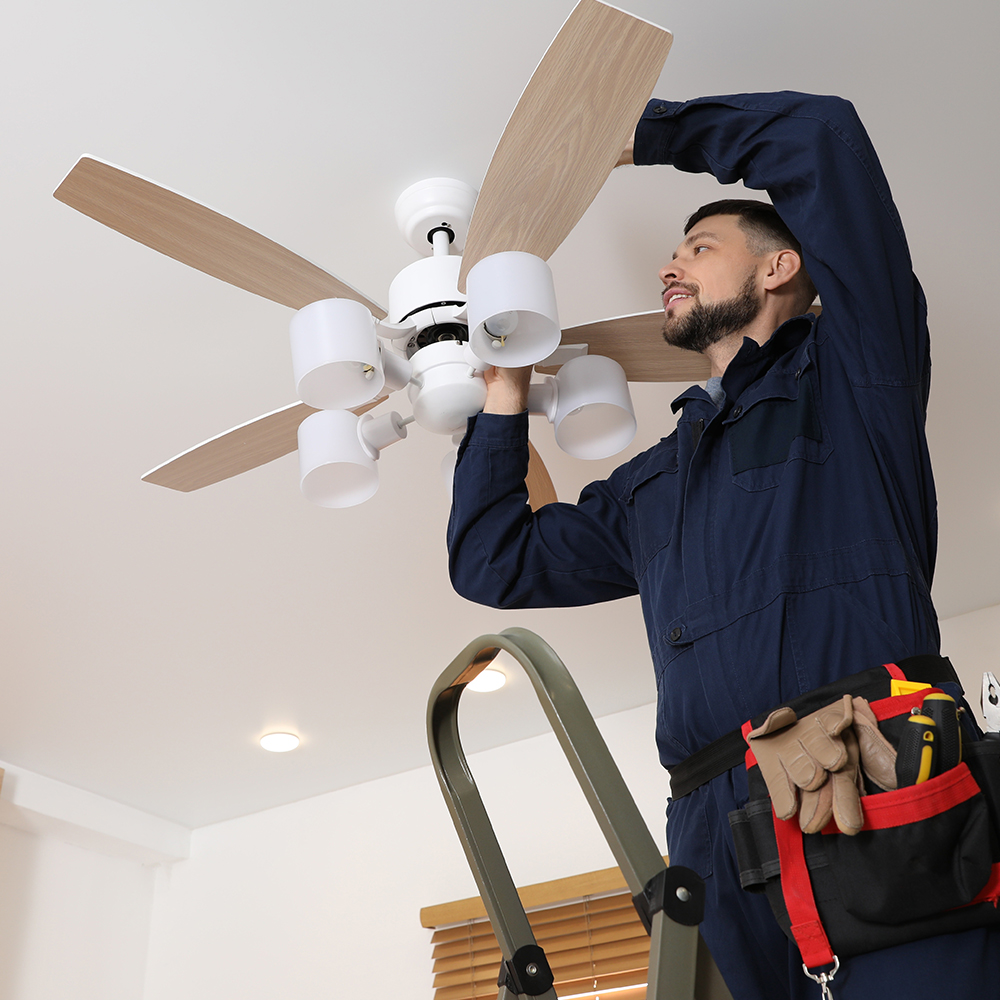
The most dangerous ceiling fan mistake is mounting to a box that is not fan-rated — a standard light fixture box is built for static loads, deforms under a fan’s vibration and aerodynamic forces, and eventually drops the fan, while a fan-rated replacement costs $8 to $26. Ceiling fan installation errors range from annoying (wobble) to dangerous, and here is what goes wrong most often.
Mounting to a Non-Fan-Rated Box
The most dangerous mistake. A standard light fixture box is designed for static loads a a chandelier that hangs still. A ceiling fan imposes dynamic forces: vibration from the motor and aerodynamic forces from the rotating blades. Over time, a standard box deforms and the fan drops. Fan-rated boxes are stamped with the weight rating and ‘Acceptable for Fan Support.’ Always verify the box rating before mounting. If in doubt, replace the box with a fan-rated unit ($8 to $26 for the box itself, with the box-and-brace retrofit kits used in most replacements running about $20 to $26) before proceeding.
Incorrect Wiring
Reversing the hot and neutral wires (connecting the white wire to the black-wire terminal) energizes the neutral conductor and creates a shock hazard when touching the switch or fixture. Always use a non-contact voltage tester before touching any wire, and connect black to black (hot to hot), white to white (neutral to neutral), and ground to ground. Fan wiring has additional conductors for the light kit a follow the fan’s installation manual exactly for the specific wire configuration. (For more on this, see DIY Ceiling Fan Installation: What to Know.) The Electrical Safety Foundation covers where GFCI and AFCI protection is required and which jobs need a licensed electrician.
Fan Wobble from Unbalanced Blades
A wobbling ceiling fan is usually caused by blade imbalance a one blade slightly heavier or mounted at a slightly different angle than the others. Most ceiling fans include a blade balancing kit (small adhesive weights). Test balance by sticking one weight to the top center of a blade; if wobble reduces, add a second weight or try the adjacent blade. The fan manual includes a balancing procedure. Wobble can also result from blades not mounted at exactly the same angle a check that the blade bracket screws are all equally tightened and the blade irons are at the same pitch angle. (For more on this, see Hidden Costs of Ceiling Fan Installation.)
Installing Without a Helper
Ceiling fans weigh 20 to 50 pounds. Holding the motor housing at ceiling height while connecting wiring requires either a helper or a fan hanger hook (included with most fans) that temporarily supports the motor weight while you connect wiring. Installing without help or the hook leads to rushing the wiring connections, increasing error risk, and physical strain. (For more on this, see Ceiling Fan Installation: Questions to Ask Before Hiring.)
Working With a Contractor on This Project
Getting the right outcome on any home services project starts before the work begins. A few consistent practices make the difference between a smooth project and a frustrating one.
Get at least two or three quotes. A single quote gives you no basis for comparison. Two or three quotes reveal the market rate for the work, expose scope differences between bidders, and let you assess contractor communication quality before any commitment is made. The lowest bid is not automatically the best value if the scope is thin or the materials are underspecified.
Ask for licenses and insurance before work starts. Verify current general liability insurance and, for any work involving workers on your property, workers compensation coverage. Licensing requirements vary by state and trade; confirm the specific requirements in your jurisdiction. A licensed contractor who carries appropriate insurance protects both parties if something goes wrong during the project.
Get the scope in writing. A written proposal that specifies materials, labor scope, timeline, what is included (permits, cleanup, disposal), and warranty terms is the foundation of a professional engagement. Verbal agreements on any of these points invite misunderstanding. For any project over $500, written scope is non-negotiable.
Clarify the payment schedule upfront. A reasonable payment schedule ties major payments to project milestones: a deposit at signing, a payment at material delivery or project start, and a final payment at completion after a walkthrough confirms satisfaction. A contractor who requires full payment upfront before work begins is a red flag in any trade.
Making a Confident Decision
The information in this article is designed to help you ask better questions of the professionals you work with, evaluate their answers with more confidence, and understand the decisions involved in this type of home services project. It is not a substitute for professional assessment of your specific home.
Every home is different. Roof slopes, local weather, tree exposure, soil conditions, and existing system condition all affect what the right solution is for your specific situation. The general principles here apply broadly, but a professional who assesses your home in person will give you guidance that accounts for the details that general articles cannot.
When you are ready to move forward, getting at least two or three quotes from licensed, insured, local contractors is the most important practical step. It lets you compare approaches, assess contractor quality, and confirm that the solution proposed matches your specific situation and budget.
Cost figures on this page were checked against published pricing on August 22, 2026. How we source cost data.