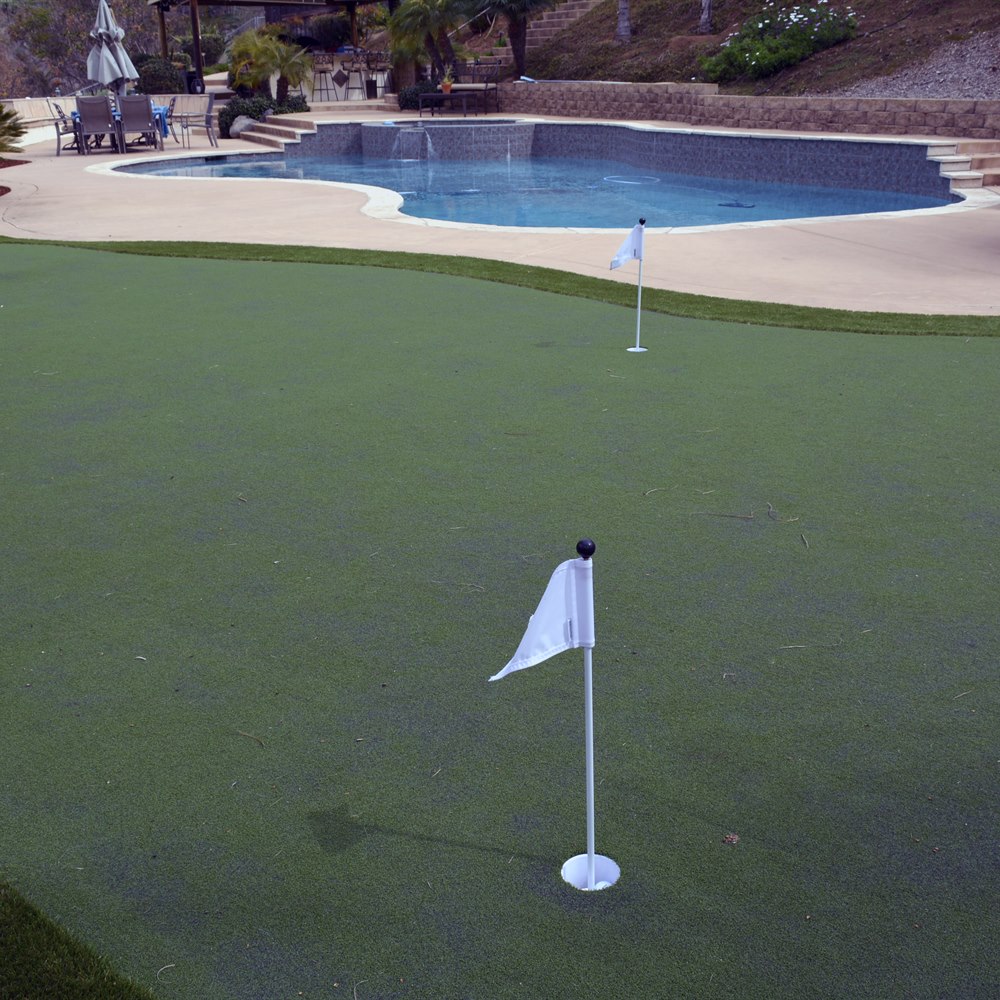
What Should You Plan Before Building a Backyard Putting Green?
A putting green that is well-designed from the start provides far more practice value than one that is simply placed wherever space exists. Here is what to think through before the first stake goes in the ground.
Size and Shape
The minimum useful putting green for a single golfer: 200 square feet (roughly 14×14 feet), providing space for a single cup with 10 to 12 feet of putting distance from the longest position. A more practical size: 300 to 500 square feet, allowing multiple cups and some contouring. A shape with curved edges integrates better into most residential landscapes than a rectangle — an organic, kidney-bean or freeform shape allows the green to work around existing trees, garden beds, or landscape features. Draw the shape on paper (or use a garden hose to lay out the edge on-site) before finalizing the size and shape in the installer quote. (For more on this, see What Makes a Good Backyard Putting Green?.)
Orientation
The most overlooked design consideration: the sun angle at the times you plan to practice. A green oriented so the primary putting direction faces into the morning sun (east) or the afternoon/evening sun (west) creates glare conditions that make practice frustrating. The ideal orientation positions the primary putting direction north (no direct sun glare) or south (full sun illumination without glare in the eyes). Walk the site at the times you plan to use the green and observe the sun direction before finalizing the orientation. (For more on this, see How to Find the Best Putting Green Installer.)
Contouring
A flat green provides only straight-line practice. A contoured green replicates the undulating surfaces of real putting greens and provides breaking putts that are the most challenging aspect of real-course putting. Contouring is created during base preparation by shaping the aggregate base before compaction — it cannot be added after installation. Even modest contouring (2 to 4 inches of elevation change over the green area) provides meaningful breaking putt practice. Discuss the contouring design specifically during the planning phase and confirm how the installer will create and verify the contours. (For more on this, see Hidden Costs of Backyard Putting Green Installation.)
Fringe and Surrounding Area
Plan the fringe width (2 to 3 feet is standard, 4 to 6 feet provides more room for chipping approach shots), the transition from fringe to surrounding landscape (mulch, pavers, natural grass, or hardscape), and whether any surrounding area will be used for chipping approach practice. The fringe area should be slightly elevated above the surrounding grade so that chip shots played from adjacent natural grass do not track soil and debris onto the green surface.
Working With a Contractor on This Project
Getting the right outcome on any home services project starts before the work begins. A few consistent practices make the difference between a smooth project and a frustrating one.
Get at least two or three quotes. A single quote gives you no basis for comparison. Two or three quotes reveal the market rate for the work, expose scope differences between bidders, and let you assess contractor communication quality before any commitment is made. The lowest bid is not automatically the best value if the scope is thin or the materials are underspecified.
Ask for licenses and insurance before work starts. Verify current general liability insurance and, for any work involving workers on your property, workers compensation coverage. Licensing requirements vary by state and trade; confirm the specific requirements in your jurisdiction. A licensed contractor who carries appropriate insurance protects both parties if something goes wrong during the project.
Get the scope in writing. A written proposal that specifies materials, labor scope, timeline, what is included (permits, cleanup, disposal), and warranty terms is the foundation of a professional engagement. Verbal agreements on any of these points invite misunderstanding. For any project over $500, written scope is non-negotiable.
Clarify the payment schedule upfront. A reasonable payment schedule ties major payments to project milestones: a deposit at signing, a payment at material delivery or project start, and a final payment at completion after a walkthrough confirms satisfaction. A contractor who requires full payment upfront before work begins is a red flag in any trade.
Making a Confident Decision
The information in this article is designed to help you ask better questions of the professionals you work with, evaluate their answers with more confidence, and understand the decisions involved in this type of home services project. It is not a substitute for professional assessment of your specific home.
Every home is different. Roof slopes, local weather, tree exposure, soil conditions, and existing system condition all affect what the right solution is for your specific situation. The general principles here apply broadly, but a professional who assesses your home in person will give you guidance that accounts for the details that general articles cannot.
When you are ready to move forward, getting at least two or three quotes from licensed, insured, local contractors is the most important practical step. It lets you compare approaches, assess contractor quality, and confirm that the solution proposed matches your specific situation and budget.
Ranges here are national ballpark figures, not quotes. Actual pricing varies by region, home condition, materials, and contractor. How we source cost data.