How Do You Maintain a Garage Door?
A garage door is the largest moving mechanical system in most homes, and annual maintenance extends its service life and prevents expensive failures. Here is what to do and how often.
Lubricate Moving Parts: Every 6 to 12 Months
Apply a silicone-based or white lithium grease spray to the rollers, hinges, springs, and the top of each torsion spring coil. Avoid WD-40, which is a solvent and cleaner, not a lubricant, and can wash out grease rather than supplement it. Do not lubricate the door tracks the tracks should be clean and smooth, not greasy, so the rollers run cleanly without slipping. Lubrication takes 15 to 20 minutes and reduces noise, friction, and wear on all moving components. (For more on this, see Common Garage Door Mistakes to Avoid.)
Inspect and Adjust Spring Tension: Annually
Test the door balance annually by disconnecting the opener and manually lifting the door to mid-height, then releasing it. A balanced door stays approximately where you put it. A door that falls or rises quickly has incorrect spring tension and requires professional adjustment. Do not attempt to adjust torsion spring tension yourself torsion springs under tension are dangerous. Schedule a professional adjustment if the door is noticeably out of balance.
Inspect Cables, Rollers, and Hinges: Annually
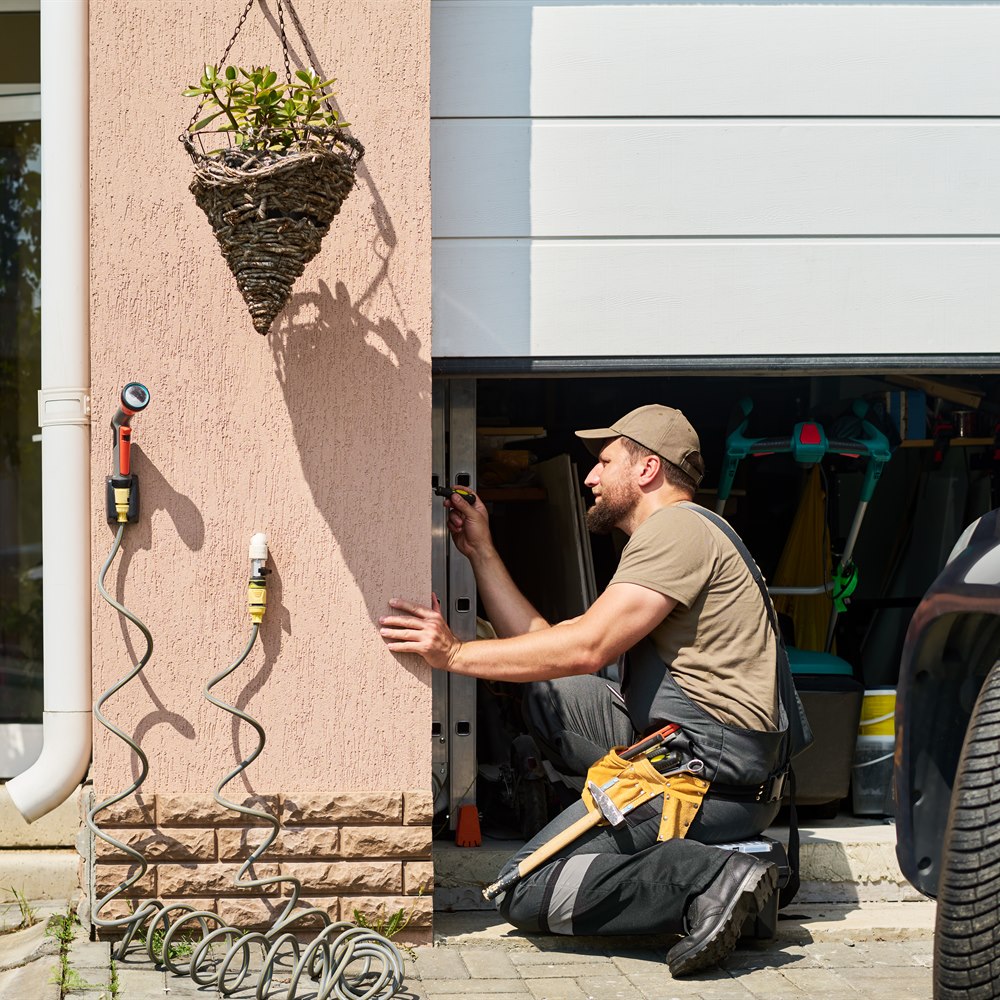
Visually inspect the lift cables for fraying or kinking. Inspect rollers for cracked or worn wheels. Inspect hinges for cracks or loose fasteners. Replace any component that shows visible damage. These inspections take 5 to 10 minutes and catch developing problems before they become emergency failures. (For more on this, see Garage Door Problems: Common Issues and When to Repair vs. Replace.)
Test Safety Features: Monthly
Test the auto-reverse feature monthly: place a 2×4 flat on the floor where the door closes and activate the close cycle. The door should reverse when it contacts the board. Test the photo-eye sensors by interrupting the beam while the door is closing the door should reverse immediately. These safety tests require no tools and take less than 2 minutes. Document a safety feature failure and schedule repair immediately. (For more on this, see Garage Door Safety: What Homeowners Need to Know.)
Check Weatherstripping and Bottom Seal: Annually
Inspect the bottom seal and side weatherstripping for cracking, compression loss, or gaps. A bottom seal that is cracked or no longer contacts the floor allows air, water, insects, and rodents to enter. Bottom seal replacement is a $20 to $60 DIY task that takes 15 to 30 minutes and is one of the highest-value routine maintenance tasks for both comfort and pest control.
Working With a Contractor on This Project
Getting the right outcome on any home services project starts before the work begins. A few consistent practices make the difference between a smooth project and a frustrating one.
Get at least two or three quotes. A single quote gives you no basis for comparison. Two or three quotes reveal the market rate for the work, expose scope differences between bidders, and let you assess contractor communication quality before any commitment is made. The lowest bid is not automatically the best value if the scope is thin or the materials are underspecified.
Ask for licenses and insurance before work starts. Verify current general liability insurance and, for any work involving workers on your property, workers compensation coverage. Licensing requirements vary by state and trade; confirm the specific requirements in your jurisdiction. A licensed contractor who carries appropriate insurance protects both parties if something goes wrong during the project.
Get the scope in writing. A written proposal that specifies materials, labor scope, timeline, what is included (permits, cleanup, disposal), and warranty terms is the foundation of a professional engagement. Verbal agreements on any of these points invite misunderstanding. For any project over $500, written scope is non-negotiable.
Clarify the payment schedule upfront. A reasonable payment schedule ties major payments to project milestones: a deposit at signing, a payment at material delivery or project start, and a final payment at completion after a walkthrough confirms satisfaction. A contractor who requires full payment upfront before work begins is a red flag in any trade.
Making a Confident Decision
The information in this article is designed to help you ask better questions of the professionals you work with, evaluate their answers with more confidence, and understand the decisions involved in this type of home services project. It is not a substitute for professional assessment of your specific home.
Every home is different. Roof slopes, local weather, tree exposure, soil conditions, and existing system condition all affect what the right solution is for your specific situation. The general principles here apply broadly, but a professional who assesses your home in person will give you guidance that accounts for the details that general articles cannot.
When you are ready to move forward, getting at least two or three quotes from licensed, insured, local contractors is the most important practical step. It lets you compare approaches, assess contractor quality, and confirm that the solution proposed matches your specific situation and budget.
Ranges here are national ballpark figures, not quotes. Actual pricing varies by region, home condition, materials, and contractor. How we source cost data.