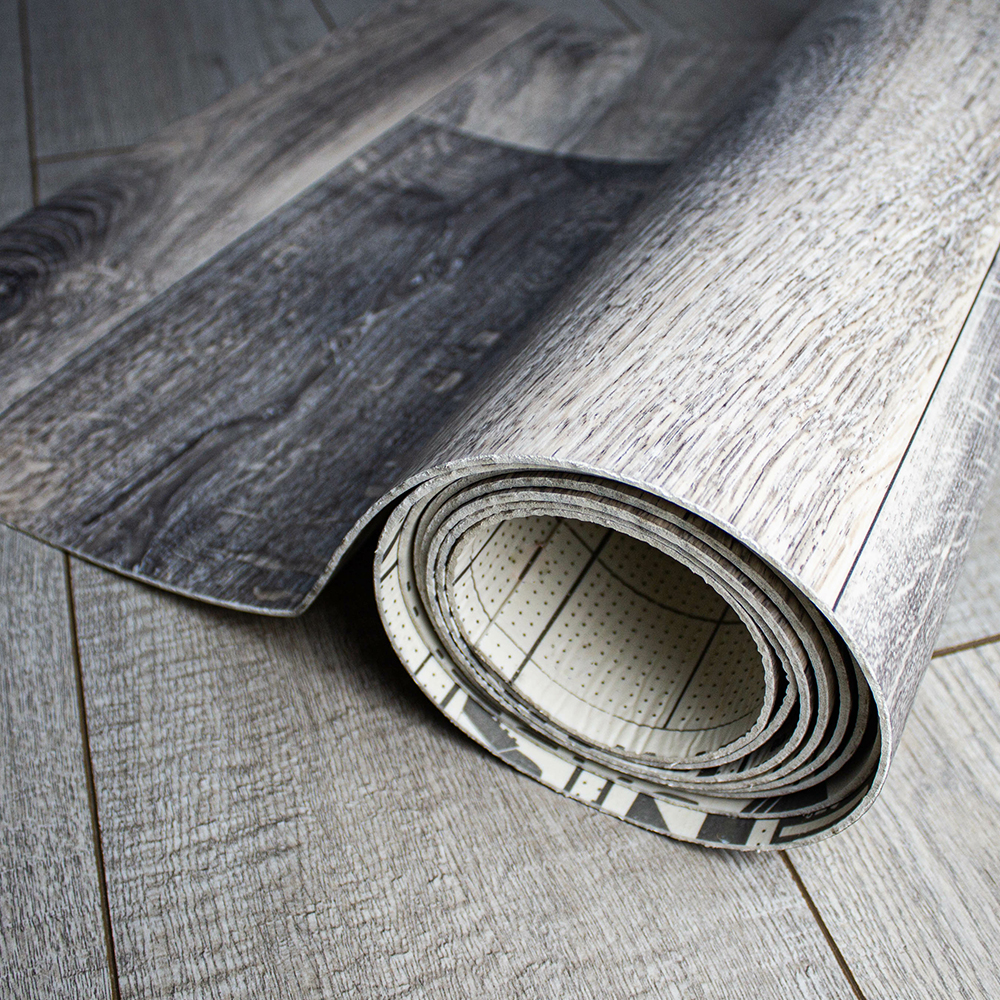
Which Flooring Is Best for Each Room?
The right flooring varies by room — moisture levels, foot traffic, and comfort needs are different in each space.
Living Room and Dining Room
Hardwood or engineered hardwood: the traditional premium choice, adds appraised home value, and provides a warm, elegant appearance. LVP: the practical alternative that handles spills and pet accidents without the risk of water damage. Tile: appropriate in warm climates where hard, cool surfaces are preferred. Carpet: comfortable but difficult to clean in high-traffic entertaining areas. Most homeowners choose a consistent hard surface (hardwood, engineered hardwood, or LVP) throughout the main living areas for a unified open-plan appearance.
Bedrooms
Carpet remains the most popular bedroom flooring because it is warm underfoot when getting out of bed, quiet (better acoustic absorption than hard floors), and comfortable for children who play on the floor. Hardwood or LVP in bedrooms: appropriate and increasingly popular as part of a whole-home consistent flooring scheme. The moisture risk in bedrooms is low, so both laminate and hardwood are appropriate here.
Kitchen
Waterproof flooring is essential in kitchens — spills, dishwasher leaks, and humidity make non-waterproof materials (hardwood, laminate) problematic. LVP: the most popular kitchen flooring choice — waterproof, comfortable to stand on for long periods, and easy to clean. Tile (ceramic or porcelain): durable and waterproof but hard on feet and ankles after prolonged standing. Sheet vinyl: the lowest-cost waterproof option for kitchens.
Bathroom
Tile (ceramic or porcelain): the standard bathroom flooring material — waterproof, durable, and hygienic. 12×12 or 12×24-inch tiles are easiest to keep clean. Small mosaic tile (1-inch or 2×2-inch): adds visual interest but has more grout lines to clean. LVT (luxury vinyl tile in stone or tile looks): a waterproof alternative that is warmer and softer underfoot than ceramic. Never install wood, laminate, or carpet in a bathroom.
Working With a Contractor on This Project
Getting the right outcome on any home services project starts before the work begins. A few consistent practices make the difference between a smooth project and a frustrating one.
Get at least two or three quotes. A single quote gives you no basis for comparison. Two or three quotes reveal the market rate for the work, expose scope differences between bidders, and let you assess contractor communication quality before any commitment is made. The lowest bid is not automatically the best value if the scope is thin or the materials are underspecified.
Ask for licenses and insurance before work starts. Verify current general liability insurance and, for any work involving workers on your property, workers compensation coverage. Licensing requirements vary by state and trade; confirm the specific requirements in your jurisdiction. A licensed contractor who carries appropriate insurance protects both parties if something goes wrong during the project.
Get the scope in writing. A written proposal that specifies materials, labor scope, timeline, what is included (permits, cleanup, disposal), and warranty terms is the foundation of a professional engagement. Verbal agreements on any of these points invite misunderstanding. For any project over $500, written scope is non-negotiable.
Clarify the payment schedule upfront. A reasonable payment schedule ties major payments to project milestones: a deposit at signing, a payment at material delivery or project start, and a final payment at completion after a walkthrough confirms satisfaction. A contractor who requires full payment upfront before work begins is a red flag in any trade.
Making a Confident Decision
The information in this article is designed to help you ask better questions of the professionals you work with, evaluate their answers with more confidence, and understand the decisions involved in this type of home services project. It is not a substitute for professional assessment of your specific home.
Every home is different. Roof slopes, local weather, tree exposure, soil conditions, and existing system condition all affect what the right solution is for your specific situation. The general principles here apply broadly, but a professional who assesses your home in person will give you guidance that accounts for the details that general articles cannot.
When you are ready to move forward, getting at least two or three quotes from licensed, insured, local contractors is the most important practical step. It lets you compare approaches, assess contractor quality, and confirm that the solution proposed matches your specific situation and budget.
Flooring Cost at a Glance
Sheet vinyl: $2 to $5 per sq ft installed. LVP or LVT: $3 to $8 per sq ft, the most widely installed residential flooring type. Laminate: $3 to $8 per sq ft, not waterproof. Carpet: $2 to $8 per sq ft for most residential grades, 7 to 15-year service life. Engineered hardwood: $6 to $12 per sq ft, more stable than solid, appropriate over radiant heat. Solid hardwood: $8 to $15 per sq ft, refinishable over 50 to 100 years, adds the most home value. Ceramic or porcelain tile: $6 to $13 per sq ft installed, waterproof and durable, standard for kitchens and bathrooms.
A 500-square-foot main living area costs $1,500 to $7,500 depending on material. A whole-home project covering 1,500 sq ft runs $4,500 to $22,500. Old flooring removal adds $0.50 to $2.00 per sq ft. Always get at least two written quotes specifying the material by manufacturer, product name, and wear-layer thickness so bids are directly comparable.
Frequently Asked Questions
LVP (luxury vinyl plank): the most popular kitchen flooring -- 100 percent waterproof, comfortable underfoot for standing cooking, and easy to clean. Porcelain tile: more durable and waterproof but harder underfoot and colder. Sheet vinyl: the lowest-cost waterproof option. Avoid: laminate, hardwood, and carpet -- none are waterproof and all are damaged by kitchen moisture and spills.
Porcelain or ceramic tile: the standard and most durable choice. LVT (luxury vinyl tile): warmer and softer than ceramic, completely waterproof, and increasingly popular. Sheet vinyl: the lowest-cost waterproof bathroom option. The tile or LVT should extend into the shower surround or up the tub skirt if possible for a cohesive, water-resistant installation.
Yes -- and it is a popular design choice, especially LVP throughout the main floor of a home. A consistent flooring material throughout the open-plan main level (excluding bathrooms and laundry) creates visual continuity that makes the space feel larger. Bathrooms and wet areas: use the same LVP if it is waterproof, or tile for the wet zones. Bedrooms: the same LVP, or a transition to carpet at the bedroom doorway.
LVP (luxury vinyl plank): the most popular basement flooring -- 100 percent waterproof, appropriate for any level of moisture, and comfortable underfoot. Tile: appropriate for fully dry basements. Carpet: appropriate only for basement spaces with no history of moisture and with a fully conditioned space. Avoid: hardwood (too moisture-sensitive for most basements) and laminate (swells with any moisture).
Avoid: solid hardwood over radiant heat (the heat cycling causes dimensional movement that gaps and cups the boards). Appropriate: engineered hardwood (more stable than solid over radiant heat), LVP (check the manufacturer's max temperature spec -- most LVP is rated to 85 to 95 degrees F surface temperature), and tile (ideal for radiant heat -- high thermal mass conducts and stores heat effectively).