What Goes Wrong When Installing Wallpaper?
Wallpaper can transform a space beautifully, but mistakes, in wall prep, measuring, pattern matching, or hanging technique, can lead to bubbles, peeling seams, misaligned patterns, or a poor result. Avoiding the common ones ensures a smooth, professional wallpaper installation. Here’s what goes wrong and how to avoid it.
Mistake: Poor Wall Preparation
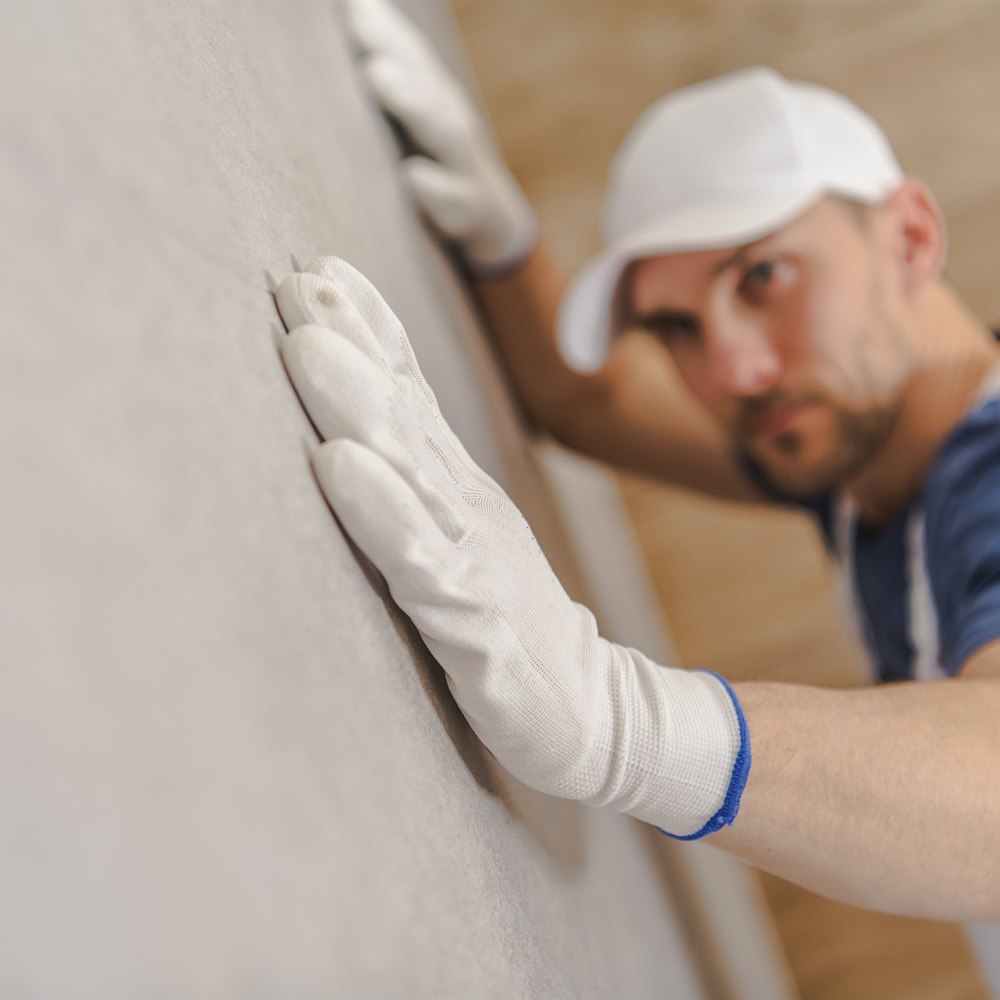
How to avoid it: Hanging wallpaper on unprepared walls, dirty, damaged, uneven, or unprimed, leads to poor adhesion, visible imperfections showing through, and paper that peels or bubbles. Avoid it by properly preparing the walls: cleaning, repairing holes and cracks, smoothing rough or textured surfaces, and priming (which aids adhesion and future removal). Because wallpaper adheres and looks best on smooth, clean, primed walls, and because flaws show through, proper prep is essential. Skipping wall preparation to save time leads to a poor result, so preparing the walls properly is the foundation of a good wallpaper installation. (For more on this, see Hidden Costs of Wallpaper Installation.)
Mistake: Inaccurate Measuring and Ordering
How to avoid it: Measuring wrong and ordering too little wallpaper, or not accounting for the pattern repeat, leaves you short, and matching more later can be difficult (dye lots vary, patterns get discontinued). Avoid it by measuring accurately, accounting for the pattern repeat (which increases the material needed), and ordering enough, plus extra for waste and future repairs. Because running short mid-project or being unable to match a dye lot later is a real problem, careful measuring and ordering enough (with extra) is important. Ordering all you need, from the same dye lot, with some spare, prevents this frustrating and costly mistake. (For more on this, see What Makes Wallpaper Cost More (or Less)?.)
Mistake: Poor Pattern Matching
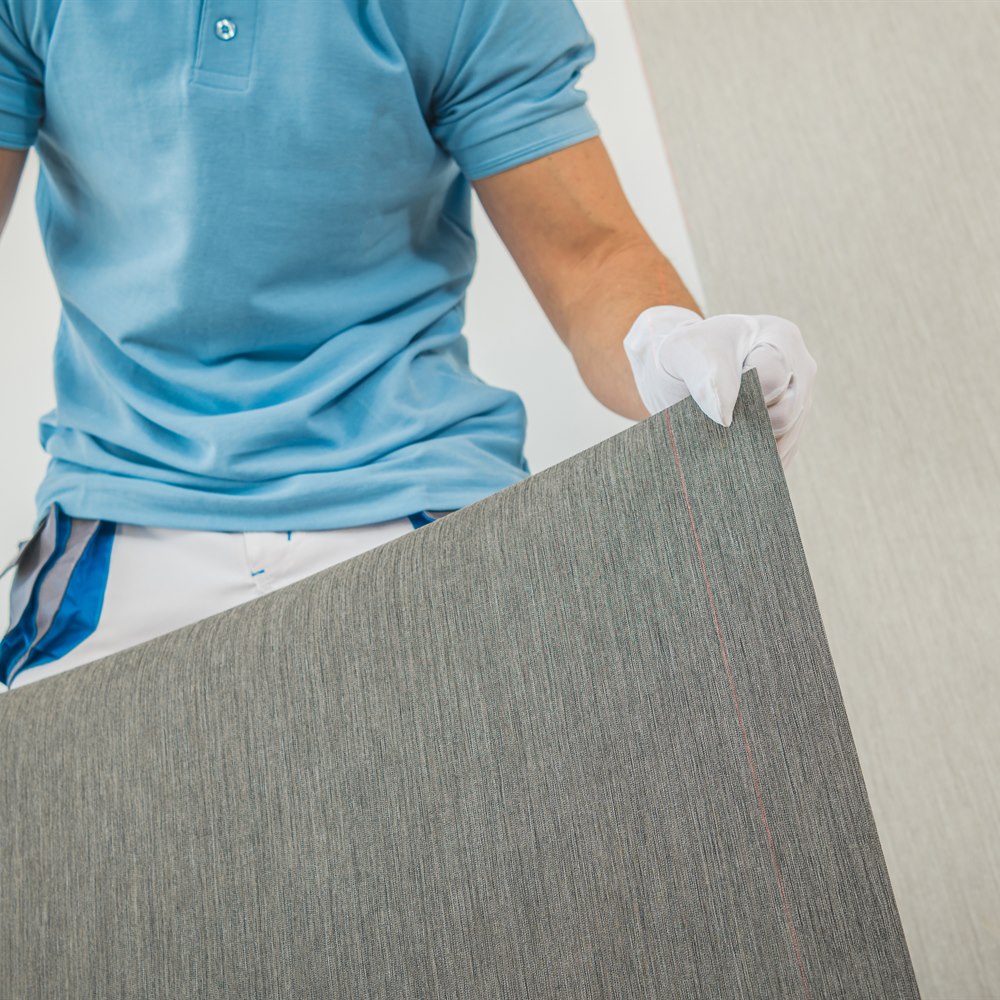
How to avoid it: Failing to align the pattern properly across seams, so the pattern doesn’t match at the joints, creates an obvious, amateurish result. Avoid it by carefully matching the pattern across each strip, aligning the design at the seams so it flows continuously, which requires precise measuring, cutting, and hanging. Pattern matching is one of the skilled aspects of wallpaper hanging, and getting it wrong is immediately visible. This is a key reason patterned wallpaper is often best installed professionally. Careful, precise pattern matching across every seam is essential to a professional-looking result, so this shouldn’t be rushed or done carelessly.
Mistake: Bubbles, Wrinkles, and Poor Smoothing
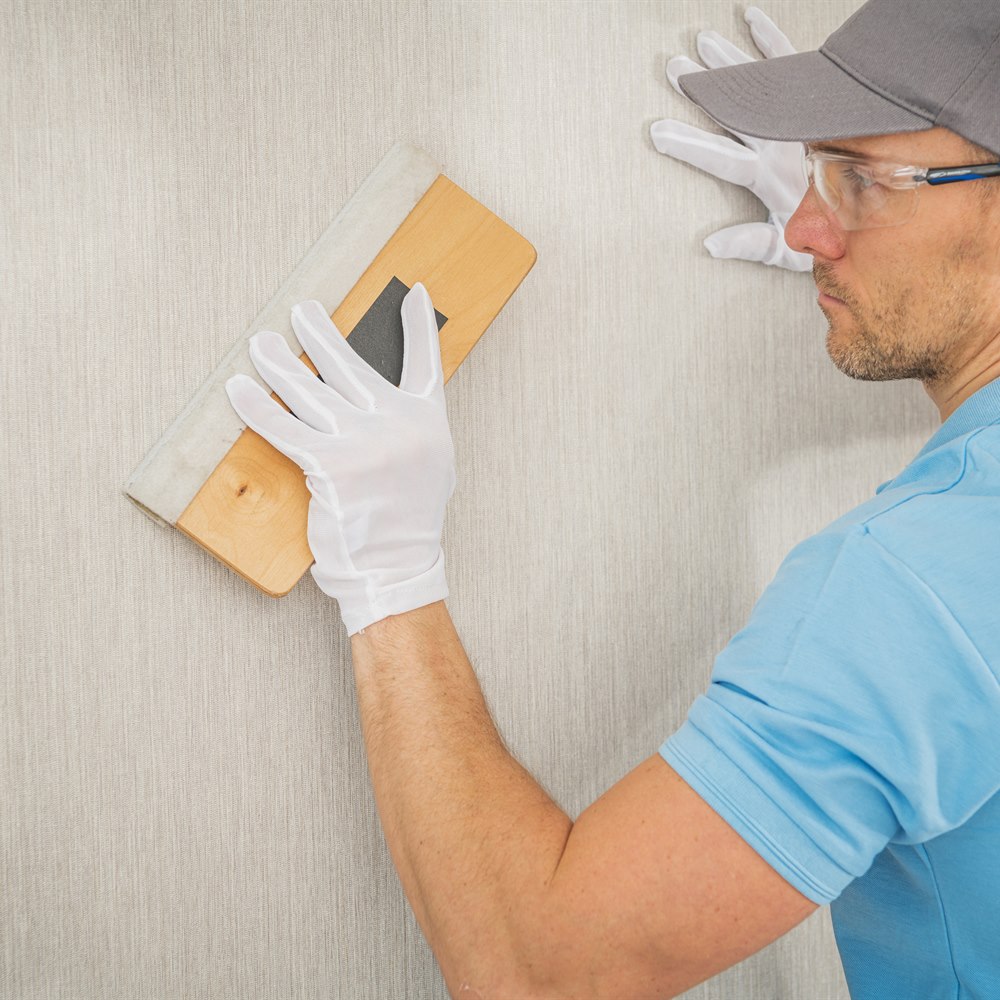
How to avoid it: Not smoothing the paper properly, leaving air bubbles, wrinkles, or lumps, mars the finish. Avoid it by smoothing each strip carefully as it’s hung, working out air bubbles and wrinkles from the center outward with a smoothing tool, ensuring full contact with the wall. Trapped air and wrinkles are common when smoothing is rushed or done poorly, and they show in the finished wall. Proper smoothing technique, patiently working out imperfections as you go, produces a flat, even result, while careless smoothing leaves visible bubbles and wrinkles. Taking care to smooth each strip properly is key to a clean finish.
Mistake: Misaligned or Crooked Hanging
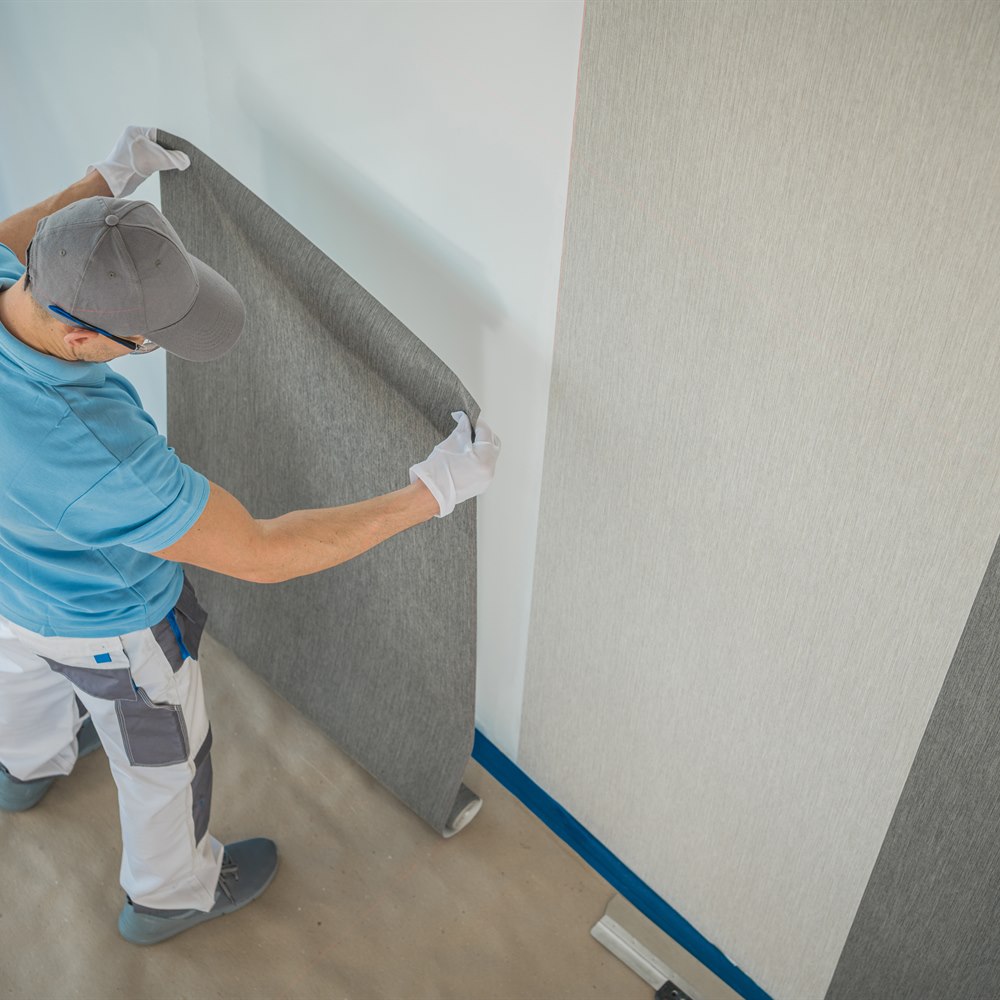
How to avoid it: Hanging the first strip crooked, or not keeping strips plumb, throws off the whole installation, since each strip references the previous one, so an initial error compounds. Avoid it by using a level or plumb line to hang the first strip perfectly straight, and checking alignment as you go. Because walls and corners aren’t always perfectly square, relying on them instead of a plumb line leads to crooked paper. Starting straight and maintaining plumb alignment throughout is essential to a properly hung installation. A crooked start, easy to make without a plumb line, ruins the result, so careful alignment from the first strip is critical.
Mistake: DIYing a Job Beyond Your Skill
How to avoid it: Attempting a difficult wallpaper job, an intricate pattern, expensive paper, high ceilings, or a tricky room, without the skill risks a poor, costly result (wasted expensive paper, a botched look). Avoid it by matching the job to your ability, DIY suits simple installations, forgiving papers (like peel-and-stick), and accent walls, while complex patterns, premium papers, and difficult rooms are often better left to professionals. Because wallpaper mistakes waste material and look bad, being honest about the job’s difficulty and your skill matters. For demanding jobs, professional installation protects your investment in the paper, so don’t DIY beyond your comfort with expensive or complex projects. (For more on this, see How Much Does Wallpaper Installation Cost?.)
Staying Ahead of Mistakes
The common wallpaper mistakes, poor wall prep, inaccurate measuring, poor pattern matching, bubbles and wrinkles, crooked hanging, and DIYing beyond your skill, are all avoidable with proper preparation, careful measuring, precise technique, and matching the job to your ability. When you’re ready to connect with a qualified local pro, connect below.
Frequently Asked Questions
Poor wall preparation. Hanging wallpaper on unprepared walls, dirty, damaged, uneven, or unprimed, leads to poor adhesion, visible imperfections showing through, and paper that peels or bubbles. Properly prepare the walls: cleaning, repairing holes and cracks, smoothing rough surfaces, and priming (which aids adhesion and removal). Because wallpaper adheres and looks best on smooth, clean, primed walls, proper prep is essential, skipping it leads to a poor result.
Measure accurately, account for the pattern repeat (which increases the material needed), and order enough plus extra for waste and future repairs, all from the same dye lot. Running short mid-project or being unable to match a dye lot later is a real problem, since dye lots vary and patterns get discontinued. Careful measuring and ordering enough with some spare prevents this frustrating and costly mistake, so don't underestimate the material needed.
Because failing to align the pattern across seams, so it doesn't match at the joints, creates an obvious, amateurish result that's immediately visible. Carefully match the pattern across each strip, aligning the design at the seams so it flows continuously, which requires precise measuring, cutting, and hanging. Pattern matching is one of the skilled aspects of wallpaper hanging and a key reason patterned wallpaper is often best installed professionally, so it shouldn't be rushed.
Smooth each strip carefully as it's hung, working out air bubbles and wrinkles from the center outward with a smoothing tool, ensuring full contact with the wall. Trapped air and wrinkles are common when smoothing is rushed or done poorly, and they show in the finished wall. Proper smoothing technique, patiently working out imperfections as you go, produces a flat, even result, so taking care to smooth each strip properly is key to a clean finish.
It depends on the job and your skill. DIY suits simple installations, forgiving papers (like peel-and-stick), and accent walls, while complex patterns, premium papers, high ceilings, and difficult rooms are often better left to professionals. Attempting a difficult job without the skill risks a poor, costly result, wasted expensive paper, a botched look. Being honest about the job's difficulty and your ability matters, since for demanding jobs, professional installation protects your investment.