What Should You Check When Your Furnace Won’t Turn On?
Check the thermostat, the air filter, the circuit breaker, and the control board error code before you call anyone — each step takes under 2 minutes, and many furnace no-heat calls are resolved by these checks alone. Run them in sequence and you may save the cost of a service call.
Step 1: Check the Thermostat
Confirm the thermostat is set to HEAT mode (not COOL or FAN ONLY) and the set temperature is above the current room temperature. Replace the batteries in a battery-powered thermostat dead thermostat batteries are a surprisingly common cause of a ‘furnace problem.’ Try a manual override: set the temperature 5 degrees above the current room temperature and wait 2 minutes. If the furnace does not start: proceed to the next check. (For more on this, see Common Furnace Problems and What Causes Them.)
Step 2: Check the Air Filter
A severely clogged filter can trigger the furnace’s high-limit safety switch, shutting the system off to prevent overheating. Pull the filter and inspect it if it is visibly gray or black with accumulated debris, replace it immediately. After replacing: reset the thermostat and try again. If the filter is clean: proceed to the next check. ENERGY STAR publishes certified efficiency ratings for heating and cooling equipment, which is the cleanest way to compare models.
Step 3: Check the Circuit Breaker
The furnace has a dedicated circuit at the main electrical panel. Check whether the breaker is tripped (the switch will be in the middle position, not fully ON or OFF). If tripped: push to OFF, then firmly to ON. A breaker that trips again immediately indicates an electrical fault requiring a technician. A breaker that holds: try the furnace again. (For more on this, see Questions to Ask Before Hiring a Furnace Repair Technician.)
Step 4: Check the Furnace Error Code
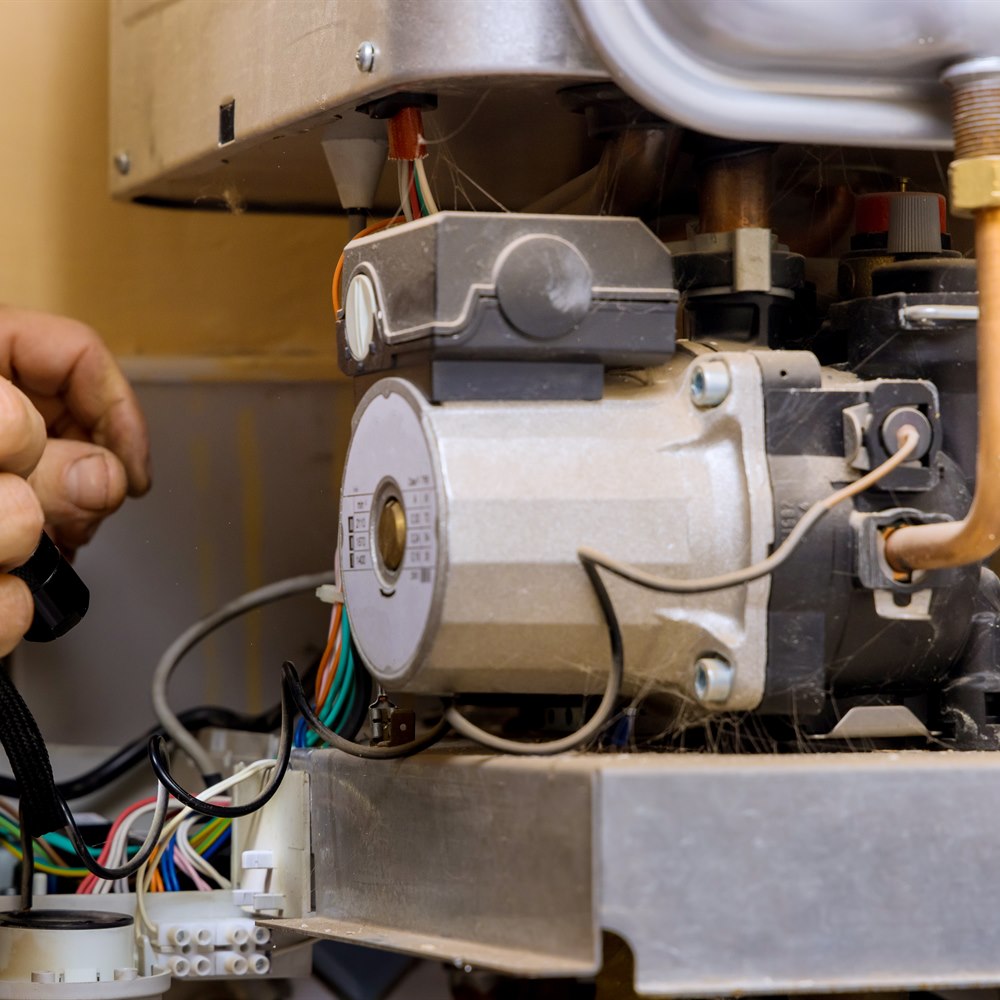
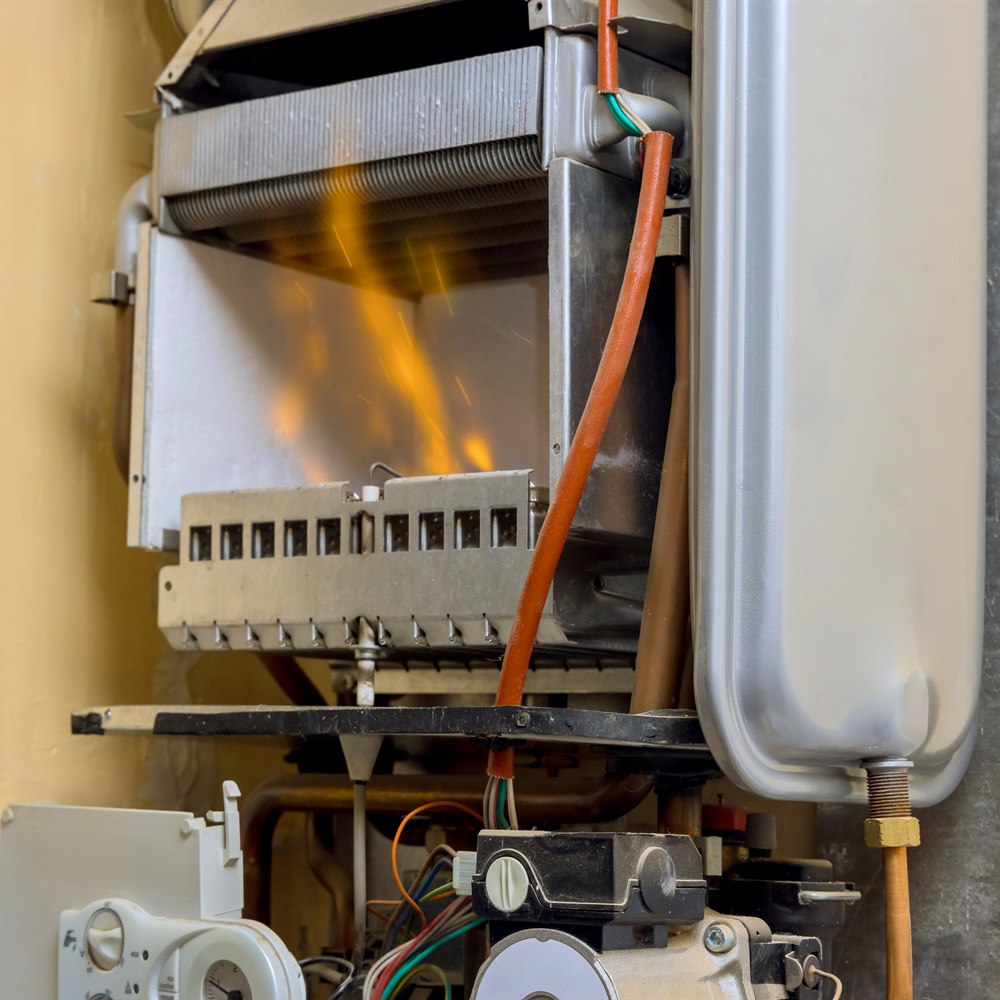
Most modern furnaces display error codes through a blinking LED light on the control board. The error code pattern (number of blinks) corresponds to a fault code listed on a label inside the furnace door. Common codes: 3 blinks = pressure switch failure; 4 blinks = open high-limit device (overheating); 6 blinks = polarity reversed; 8 blinks = igniter lockout. The fault code helps the technician (and you) understand the specific failure before the service call. (For more on this, see Understanding Furnace Error Codes.)
Furnace Repair Cost at a Glance
| Cost Factor | Typical Range | Notes |
|---|---|---|
| Diagnostic or service call | $75 to $200, often credited toward repair | Billed separately from the repair itself |
| Common repairs (igniter, flame sensor, thermocouple, thermostat) | $150 to $500 | The cheap-part tier: a flame sensor is $150 to $300 and a hot-surface igniter $250 to $500 |
| Mid-tier components (blower motor, inducer motor, gas valve, control board) | $500 to $1,600 | A blower motor is $600 to $1,600, an inducer motor or gas valve $500 to $1,100, and a control board $500 to $1,200 |
| Heat exchanger | $1,500 to $3,700 | A cracked exchanger is a carbon monoxide hazard, and at this price it normally means replacing the furnace rather than repairing it |
| Overall range | $150 to $3,700, averaging $500 |
Cost figures on this page were checked against published pricing on August 25, 2026. How we source cost data.
Planning Your Project Budget
The cost ranges in this article are based on industry data and are intended as planning benchmarks, not fixed prices. The actual cost for your project depends on your specific home, your local labor market, the current price of materials, and the scope the contractor confirms after a site inspection.
Always get at least two written quotes on equivalent defined scope before committing to any home services project. Wide price variation between quotes usually reflects differences in material quality, scope completeness (what is included and what is not), or contractor overhead and experience level rather than simple price competition.
Use the cost data in this article to ask better questions during the quoting process: What material is included? What does that per-square-foot or per-linear-foot rate include and exclude? Are permits, cleanup, and disposal included? What is the warranty on labor? These questions turn a quote into a comparable basis for decision-making.
Working With a Contractor on This Project
Getting the right outcome on any home services project starts before the work begins. A few consistent practices make the difference between a smooth project and a frustrating one.
Get at least two or three quotes. A single quote gives you no basis for comparison. Two or three quotes reveal the market rate for the work, expose scope differences between bidders, and let you assess contractor communication quality before any commitment is made. The lowest bid is not automatically the best value if the scope is thin or the materials are underspecified.
Ask for licenses and insurance before work starts. Verify current general liability insurance and, for any work involving workers on your property, workers compensation coverage. Licensing requirements vary by state and trade; confirm the specific requirements in your jurisdiction. A licensed contractor who carries appropriate insurance protects both parties if something goes wrong during the project.
Get the scope in writing. A written proposal that specifies materials, labor scope, timeline, what is included (permits, cleanup, disposal), and warranty terms is the foundation of a professional engagement. Verbal agreements on any of these points invite misunderstanding. For any project over $500, written scope is non-negotiable.
Clarify the payment schedule upfront. A reasonable payment schedule ties major payments to project milestones: a deposit at signing, a payment at material delivery or project start, and a final payment at completion after a walkthrough confirms satisfaction. A contractor who requires full payment upfront before work begins is a red flag in any trade.